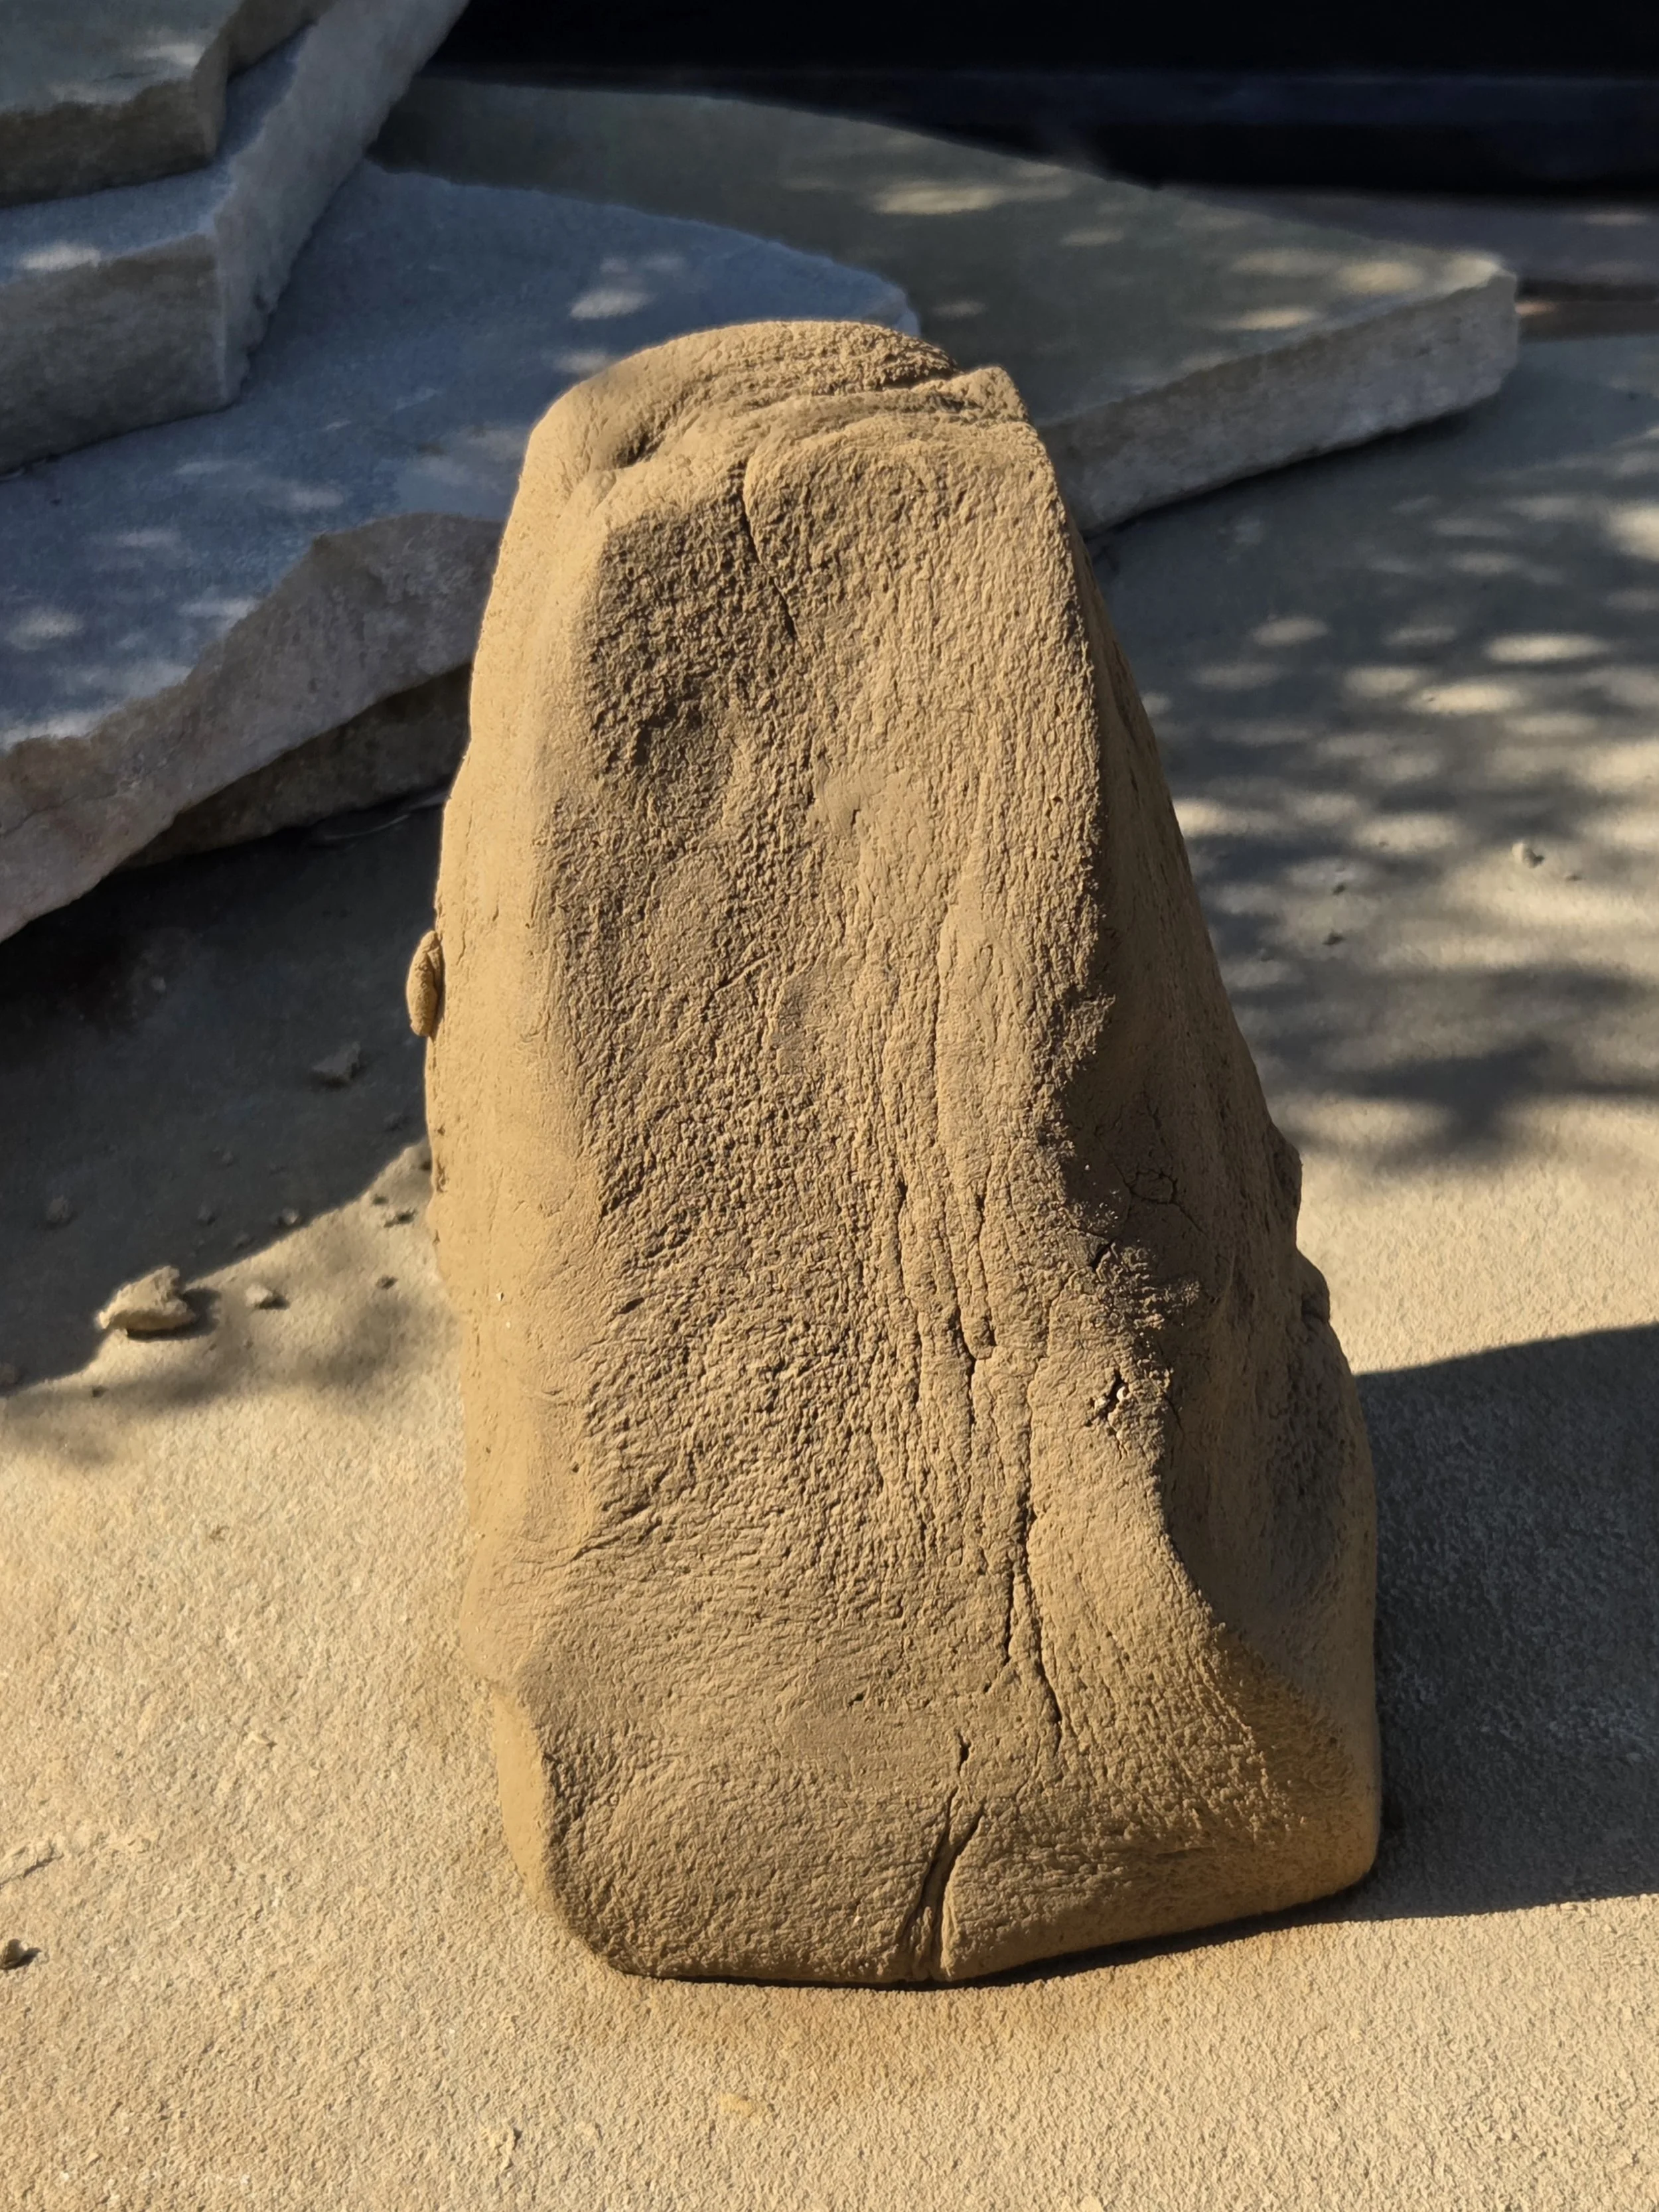
Spring 2026
Ceramics Portfolio
My studio practice, research, and final works of the Spring session of Advanced Ceramics at the UMN
Please View on Desktop
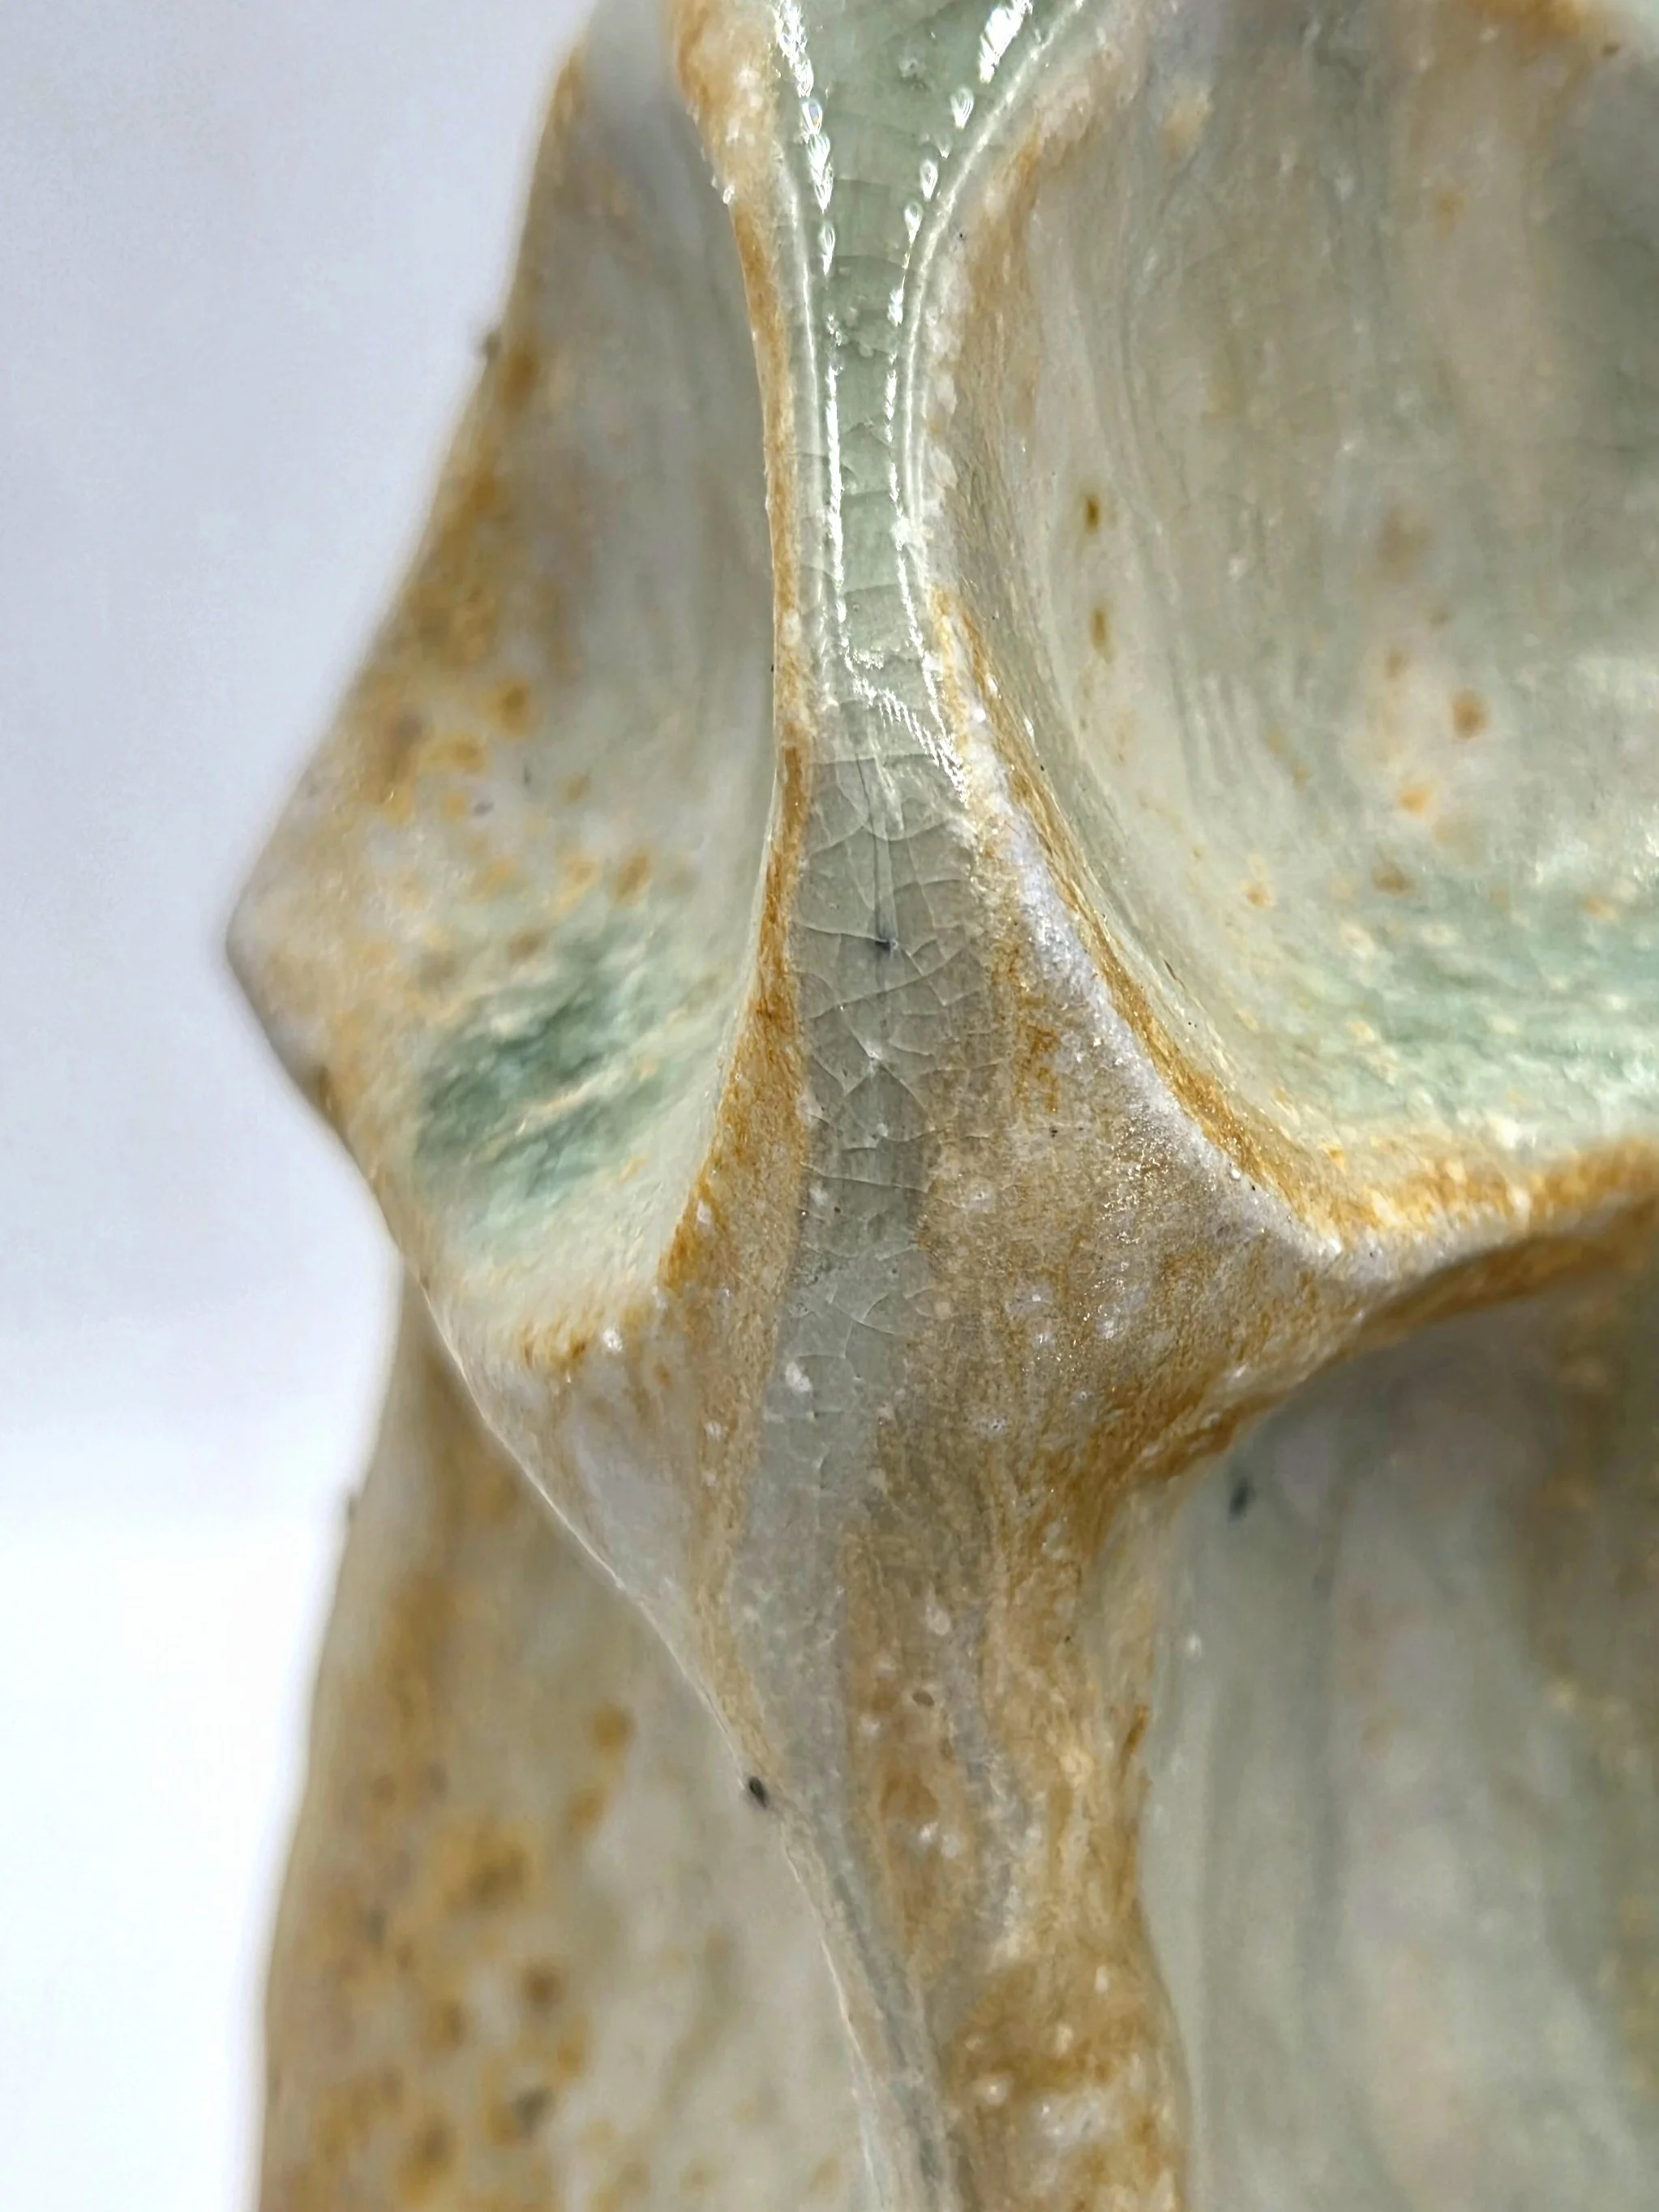
This semester, the core aspects of my studio practice have been material research, data collection, and experimentation with clay bodies and glaze mixing. Being in advanced ceramics and being a TA this semester provided me with the experience to operate kilns, mix clay bodies and glazes, and foster my desire to explore with materials, construction techniques, and various firing atmospheres.
My testing and exploration of materials this semester have helped me further establish which styles of surface activation intrigue me as an artist, and also realize that my excitement often extends to how my clay and glazing choices transform through the kiln. I believe that my documentation of my experiments has created a pool of information that I will utilize on a larger scale, in the form of bodies of work, with my artistic narrative and intentions for exhibition.
Introduction
Developing My Studio Practice
Maker’s Mark
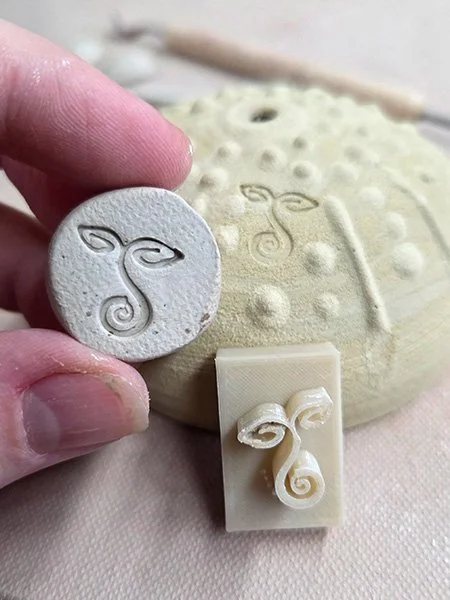
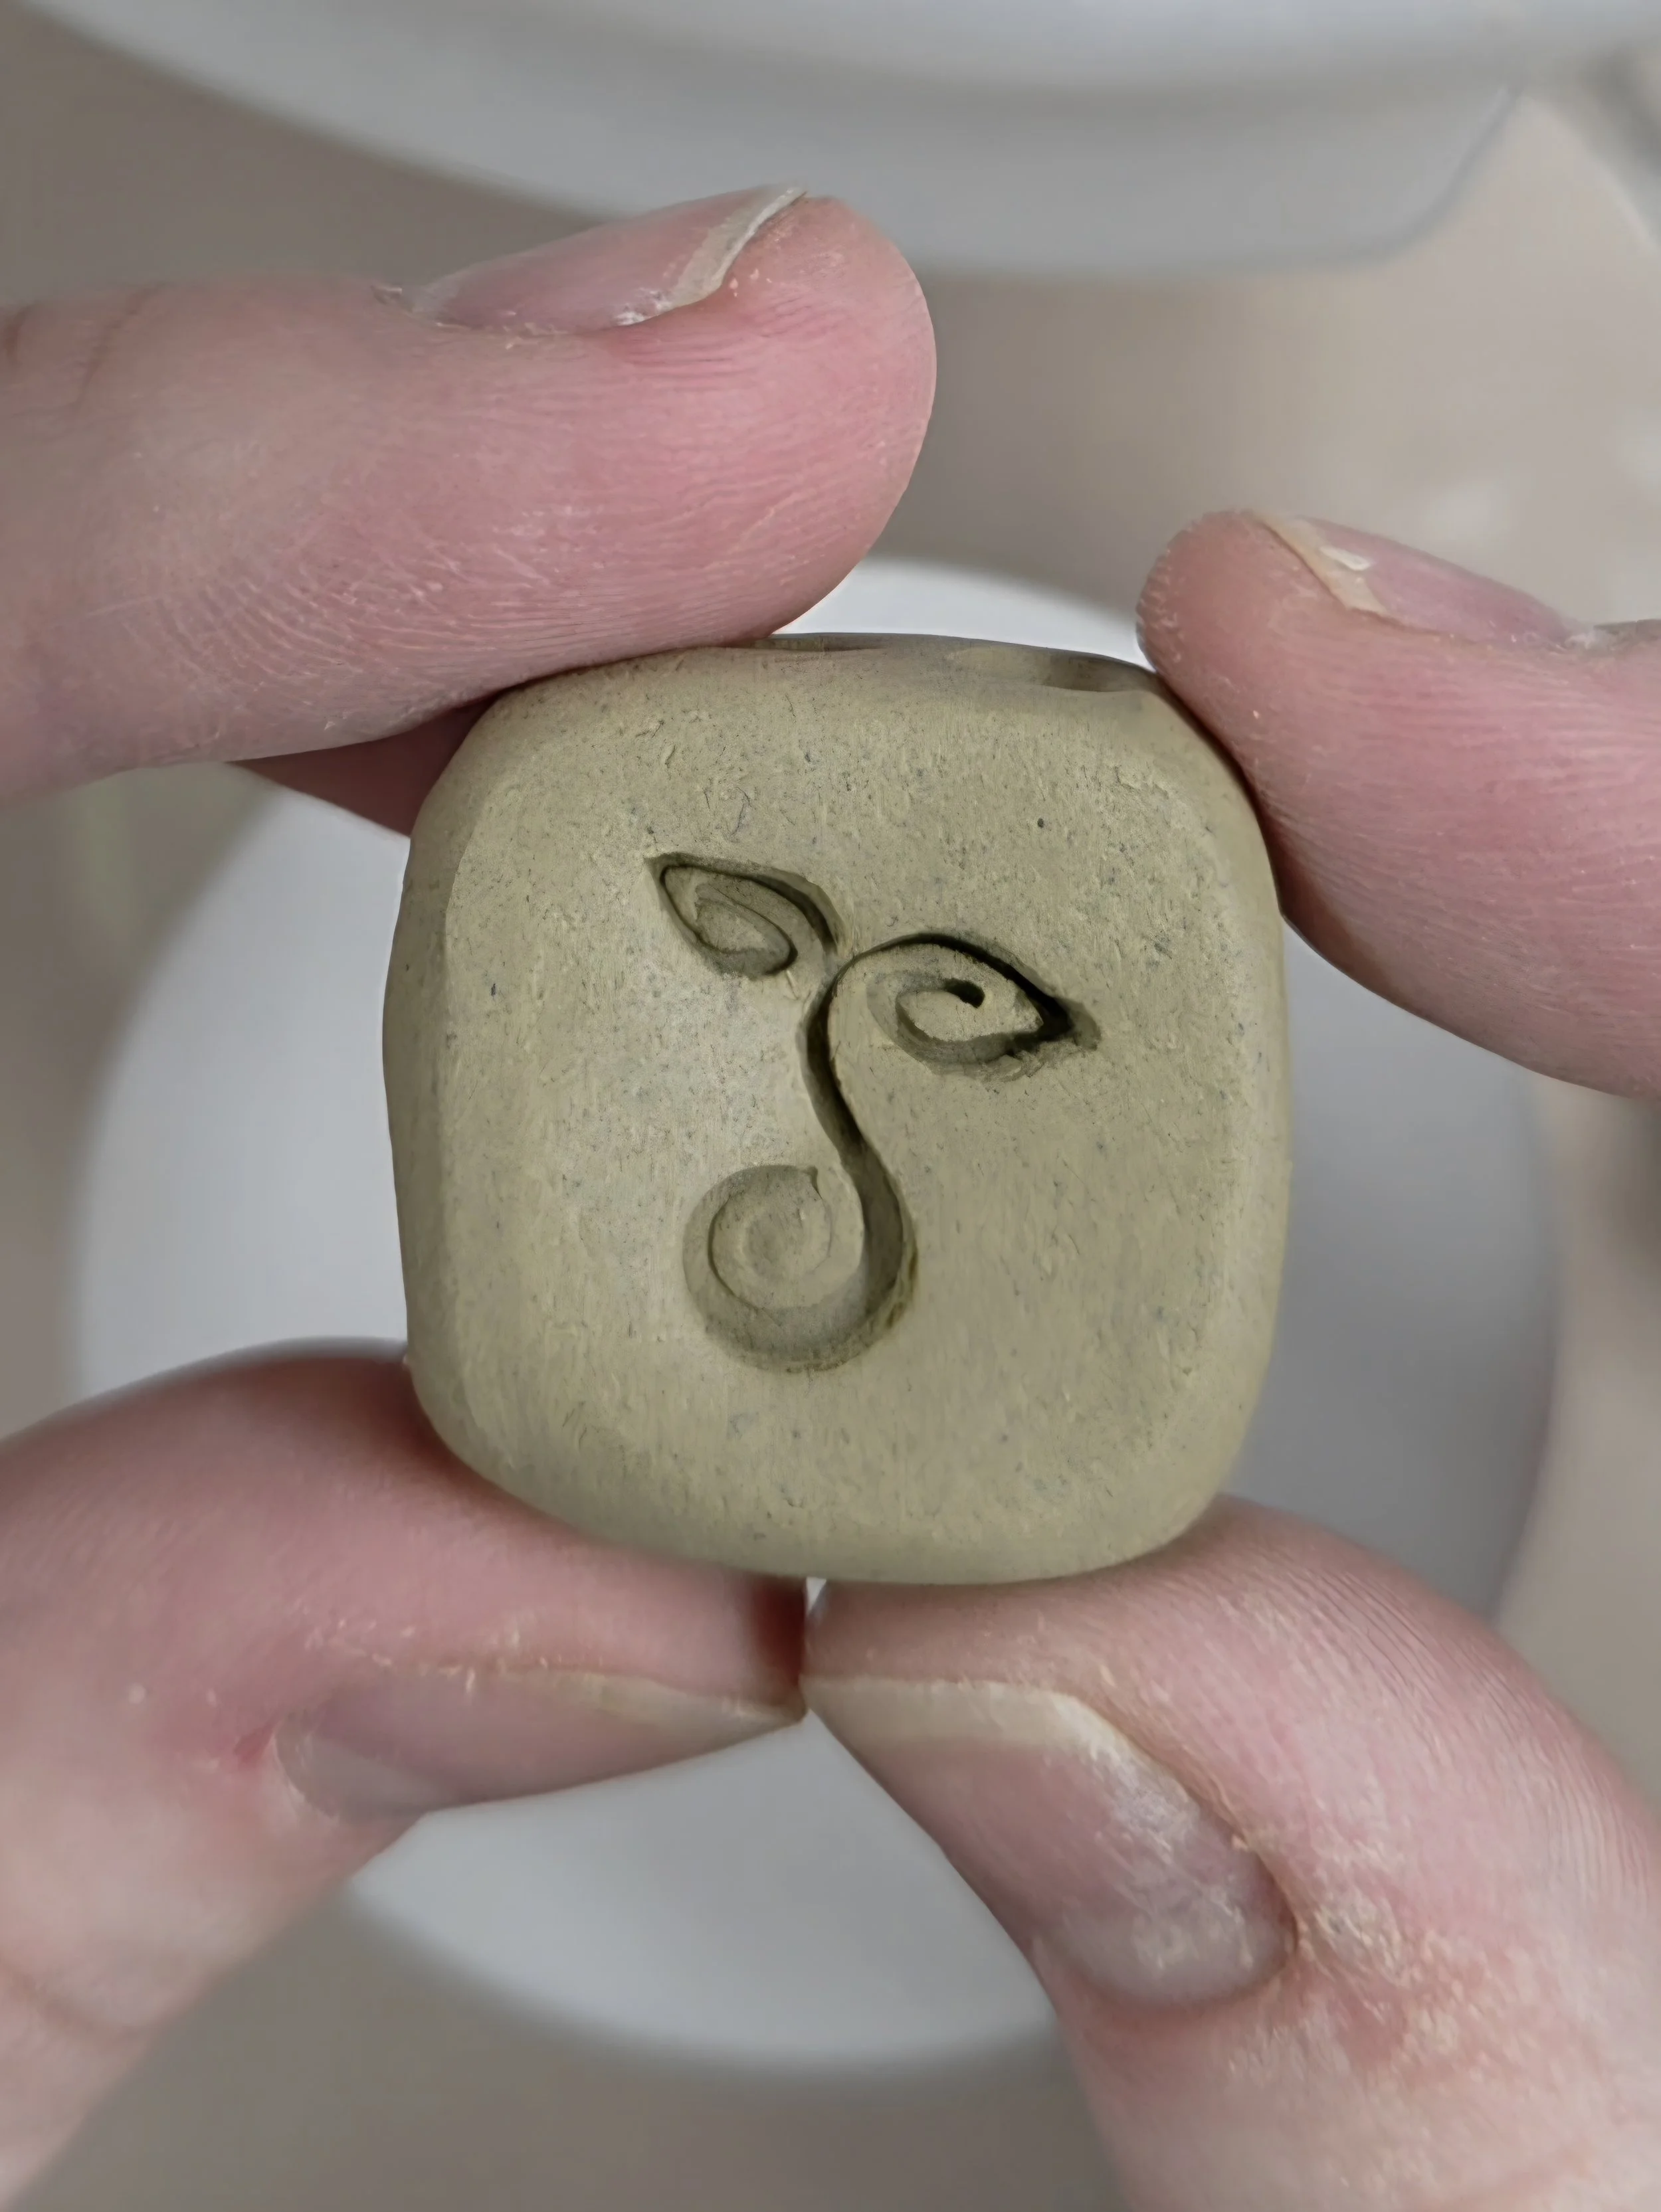
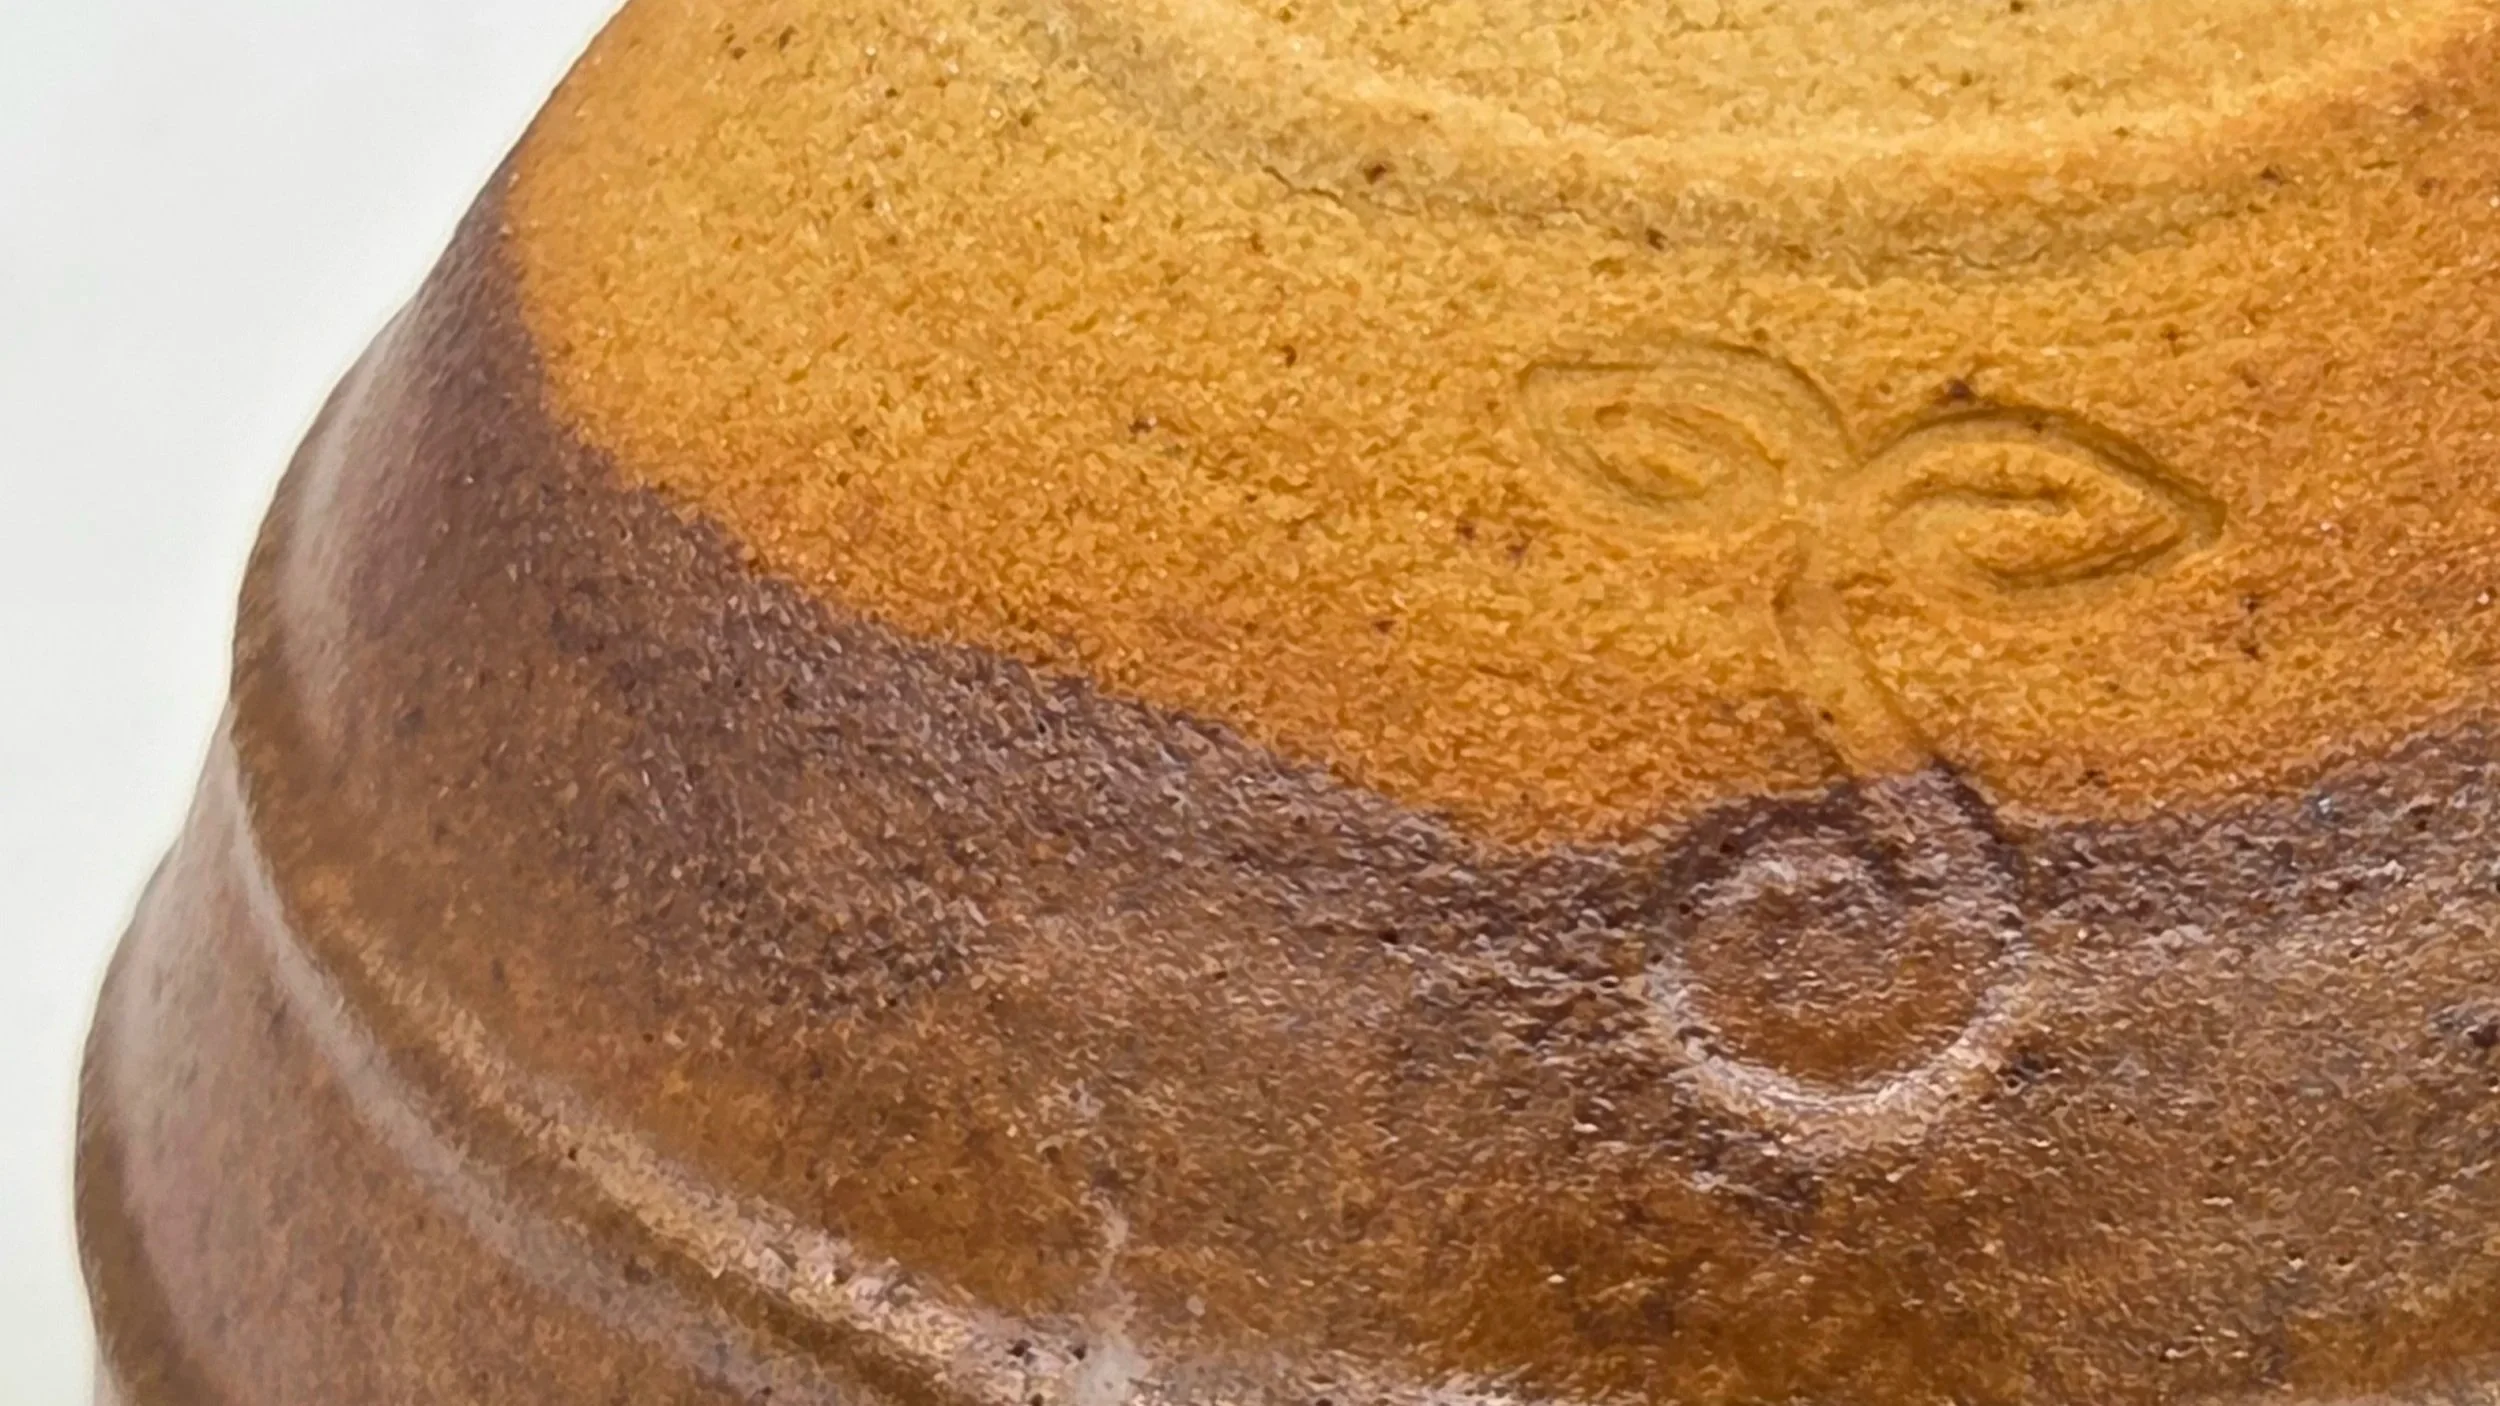
I designed a personal mark for my ceramics and I have been using it throughout the semester on all of my work. The design is a logo for “Tiny Starts” a personal brand which references my childhood nickname of “Tiny”. “Tiny Starts” symbolizes that even the tallest tree or most intricate orchid all grew from a small seed. Like a seed, I aspire to grow as far as I can take myself.
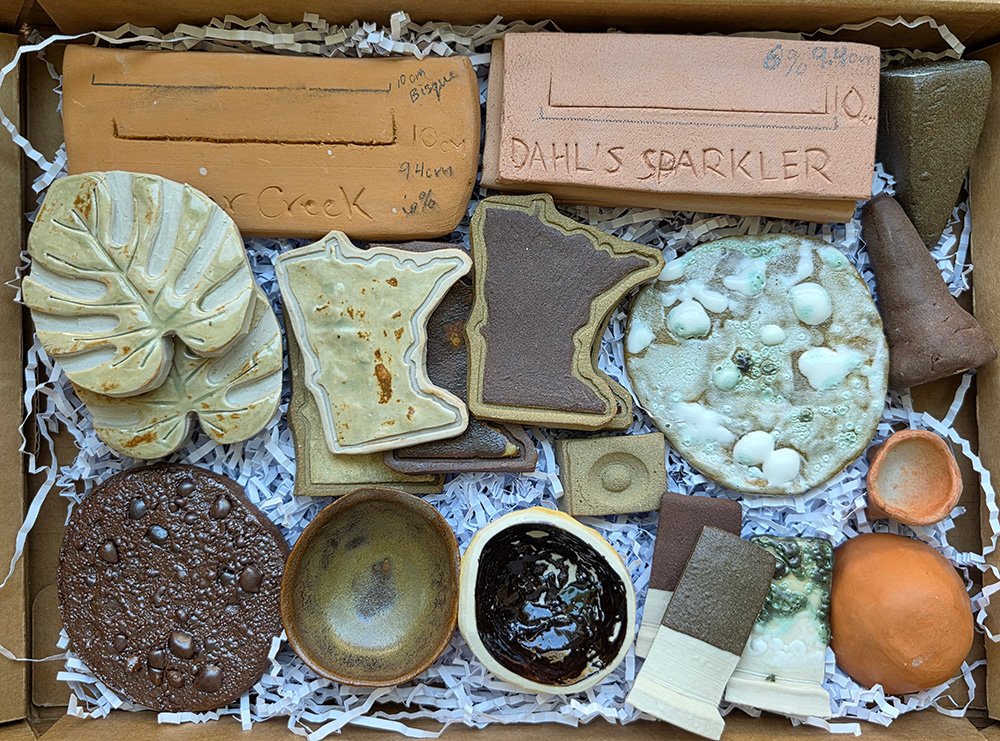
Test Tiles of Many Forms
I utilized an array of forms for testing throughout this semester. I conducted tests for clay body shrinkage rates, local clay firing thresholds & slip application, and ash glazes. I also designed several 3-D print stencils to utilize for test tile creation. (See monstera leaf and MN outline)
Over 10 clay bodies tested
4 MN location clays processed and tested
4 Ash-based glazes mixed and tested
Sonic qualities of ceramics tested
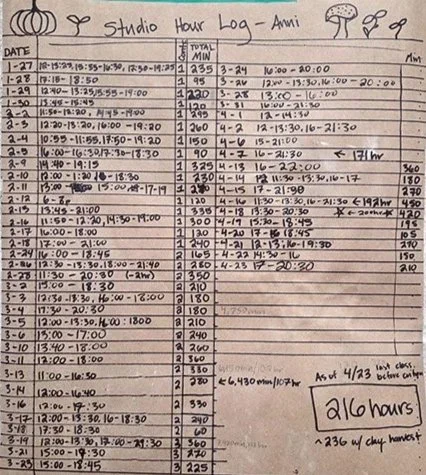
12,560 Minutes, 216 Hours
The final count for my logged studio hours (1/27-4/23) is 216 hours. Including clay processing and harvesting: 230hr.
Testing, testing, testing
Sculpting, Throwing & Trimming
Clay and Glaze Mixing
Glazing and Firing
Local Clay Processing
Sounds of Clay
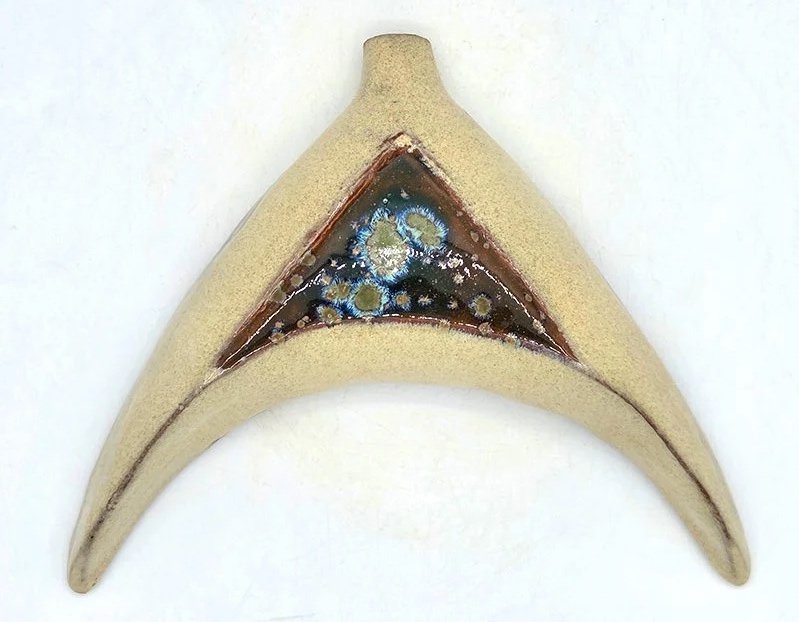
Double Whistle
Lunar Whistle
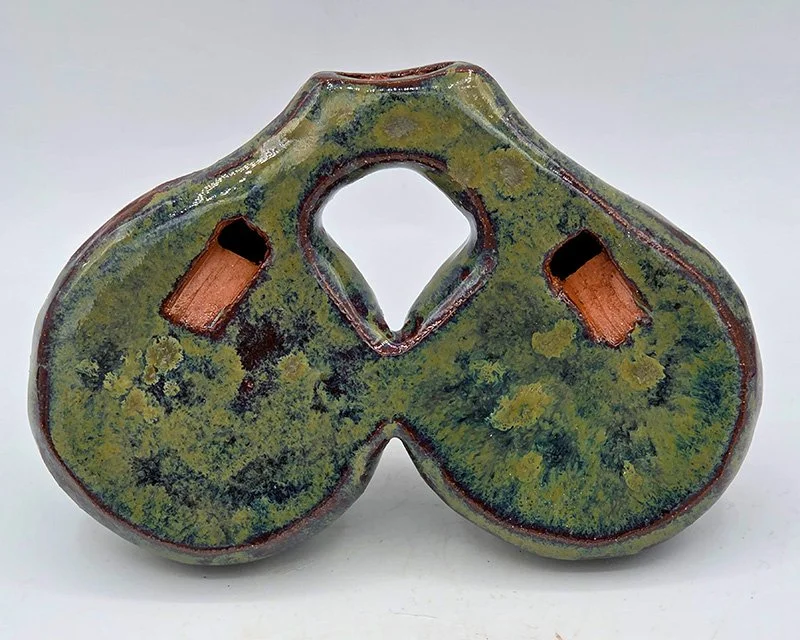
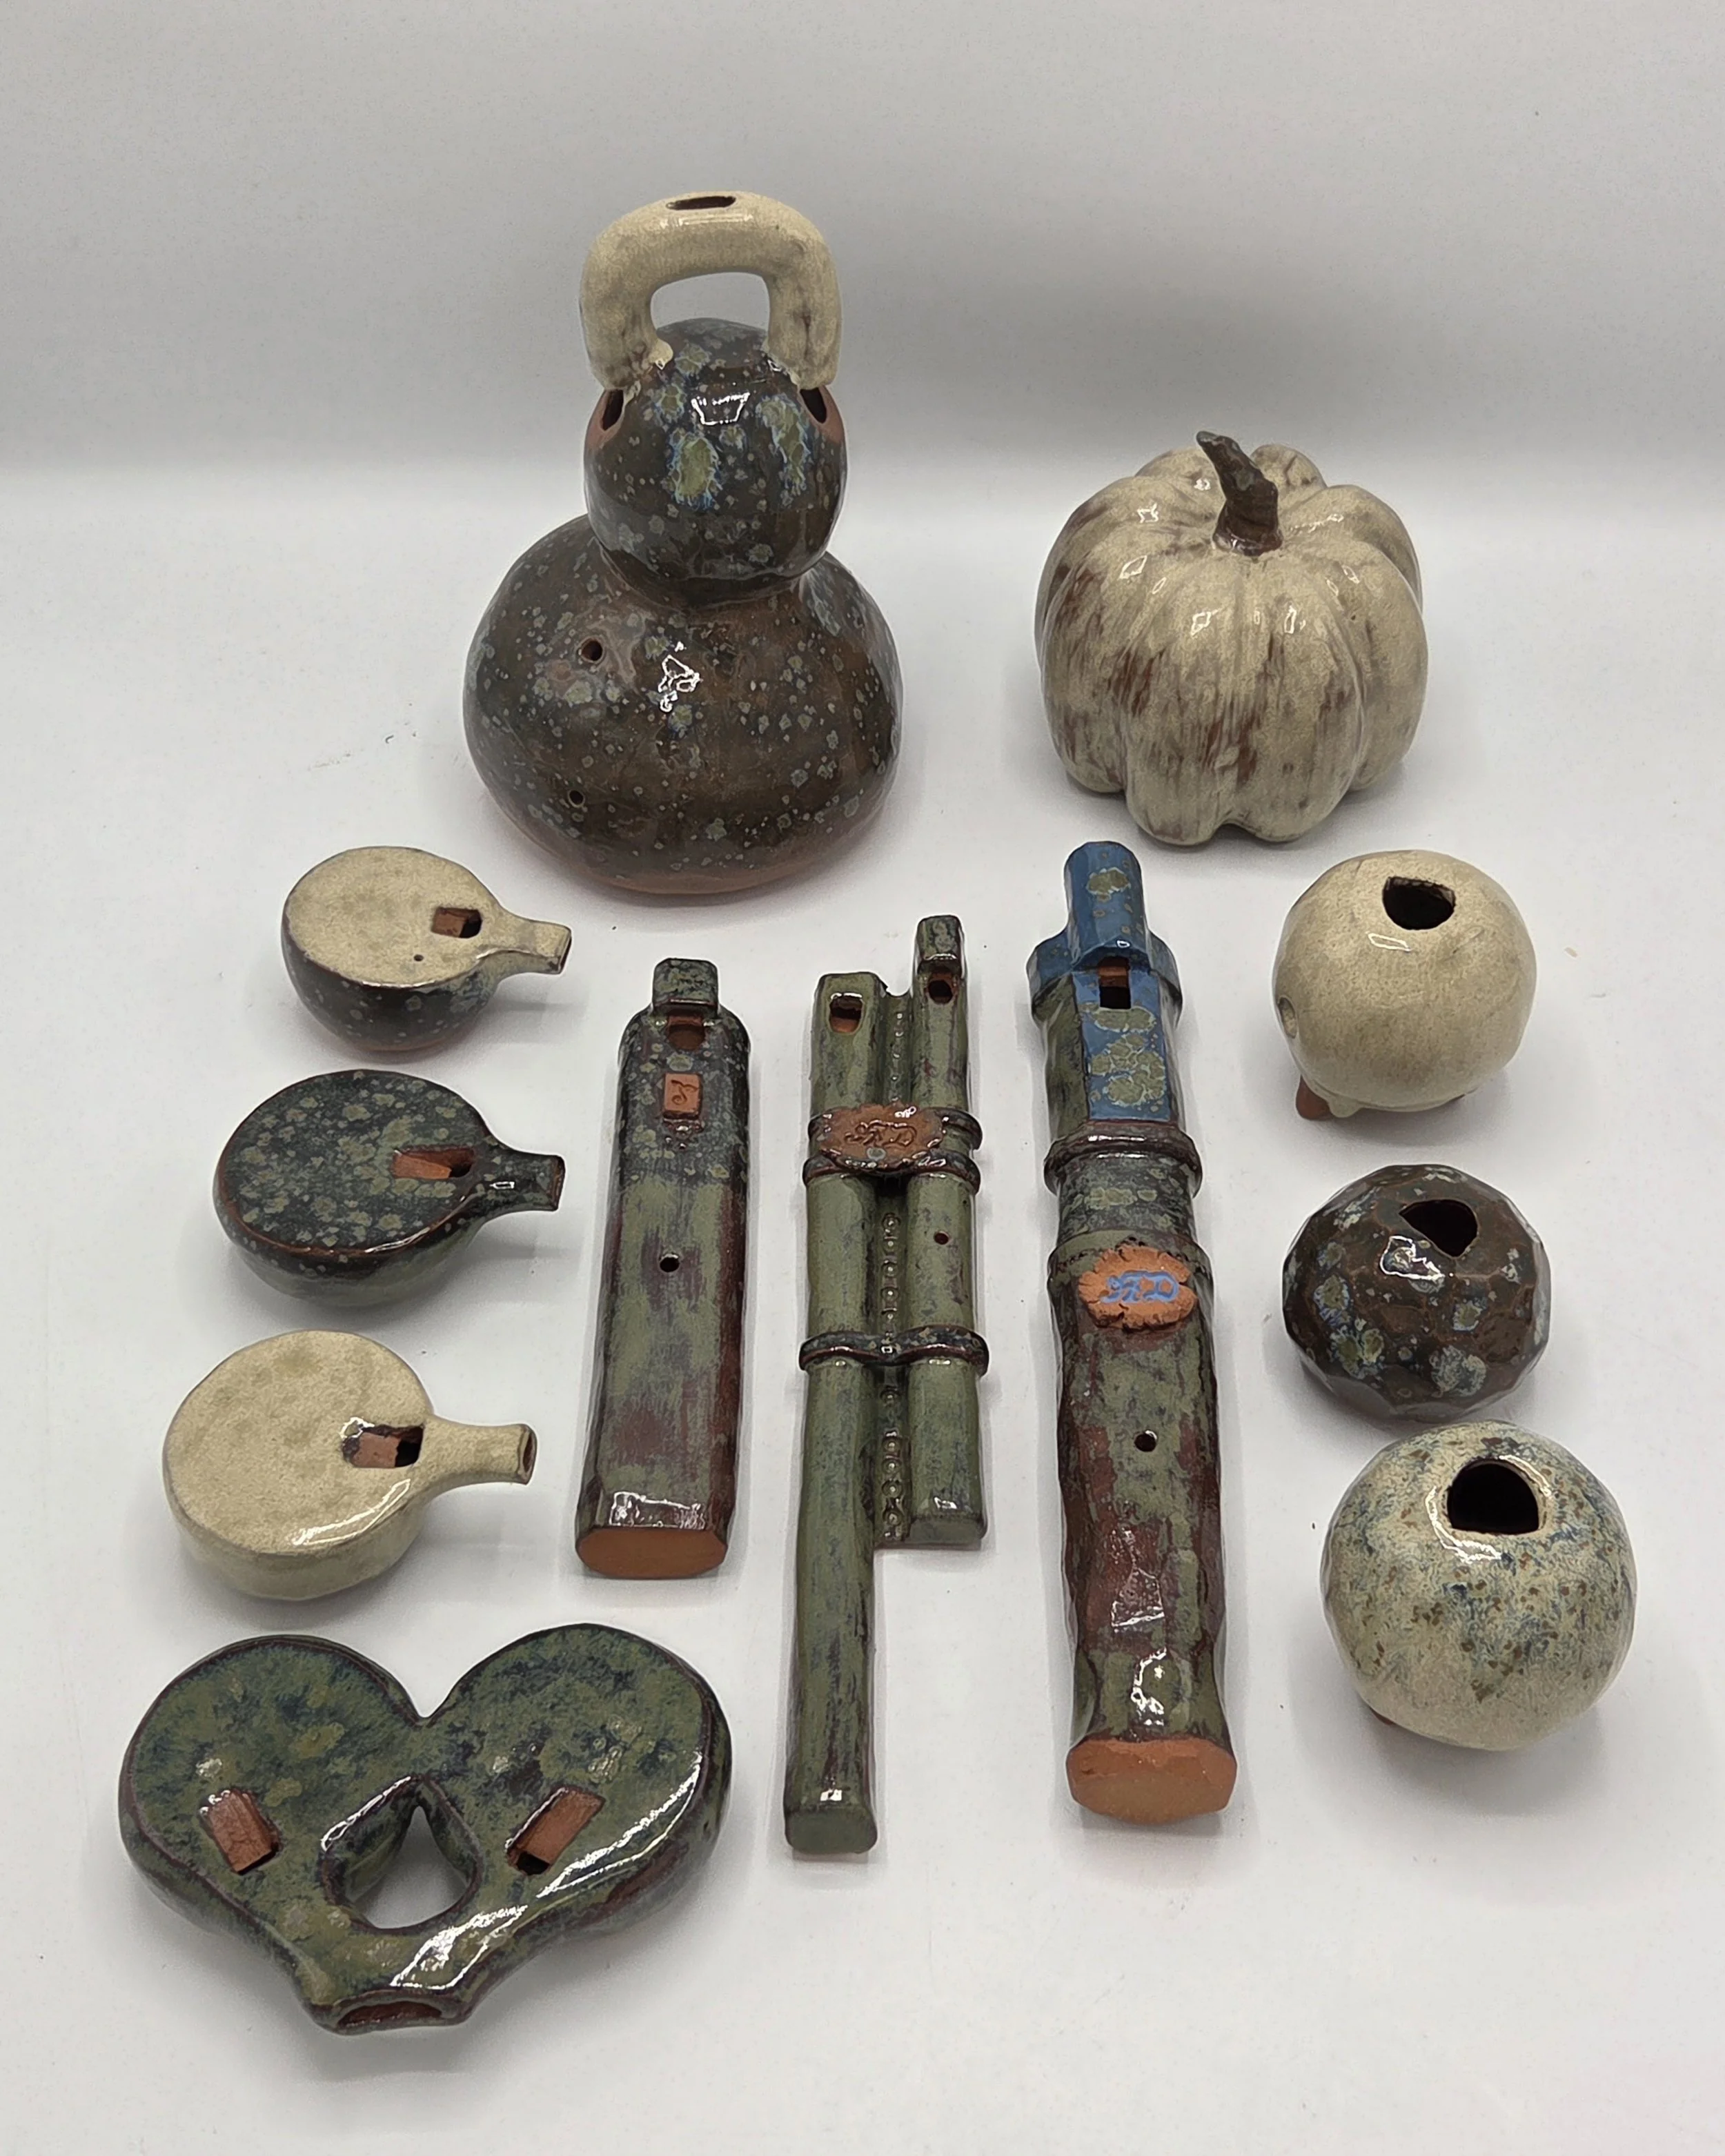
Instrument Ensemble, Earthenware
Function and Play:
For my first contract in Advanced Ceramics, I elected to construct vessels that would be made into instruments. For this body of work, my focus was to explore the function of a vessel within ceramics. Most often, I have associated functional ceramic vessels with dinnerware, liquid receptacles, and porcelain-cast domestic items such as a sink. I considered the element of breath and air being held within a vessel and how that relates to function.
The construction of each vessel was led by two factors:
The internal structure of the vessel: The curve of the inner chamber and its smoothness directly affect how sound waves travel through the instrument. The mouthpiece style and precision of carving makes or breaks the sound quality of an instrument through minor adjustments.
The human experience and comfort: These vessels are made to hold the breath of a person, so the comfort when holding the vessel and the ease at which is takes to play the instrument affects the desire to play the instrument. A heavy, awkward, and difficult instrument to play is likely not going to be utilized often (if at all)
The elements of whimsy and joy were also foundational in this body of work:
My goal for the musicality of these instruments was a merry or calming tone, so I matched these auditory goals with the external aesthetics of earthly with an overtone of whimsy
Construction & Final Instruments:
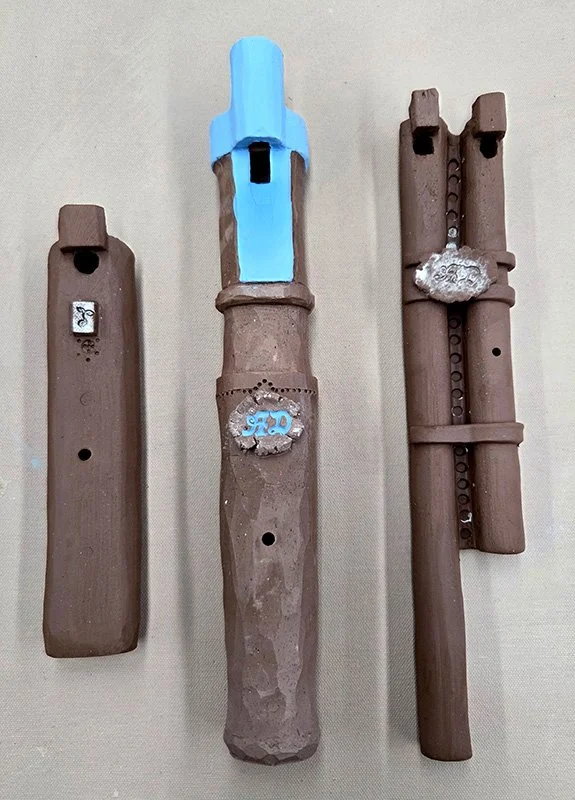
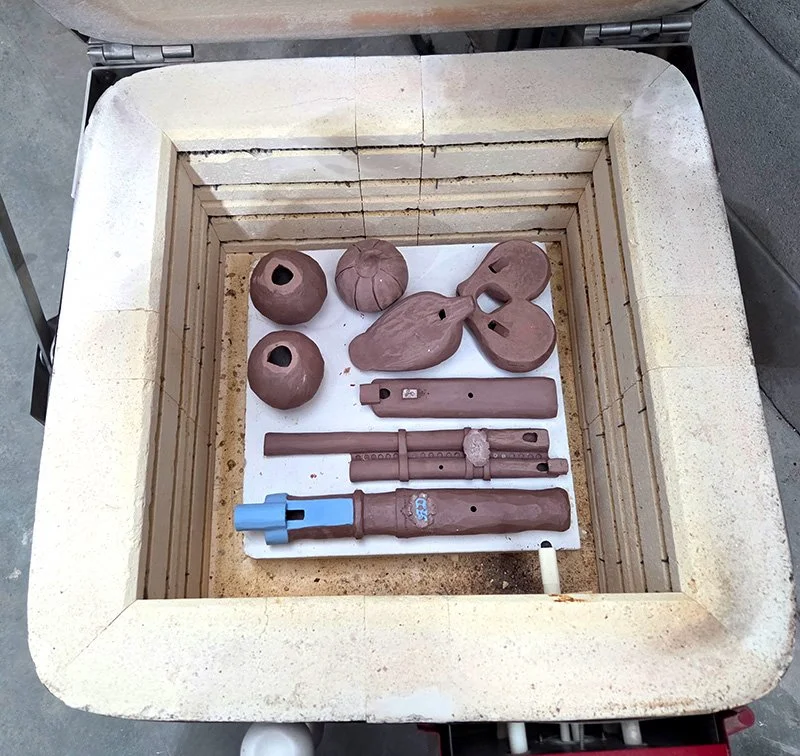
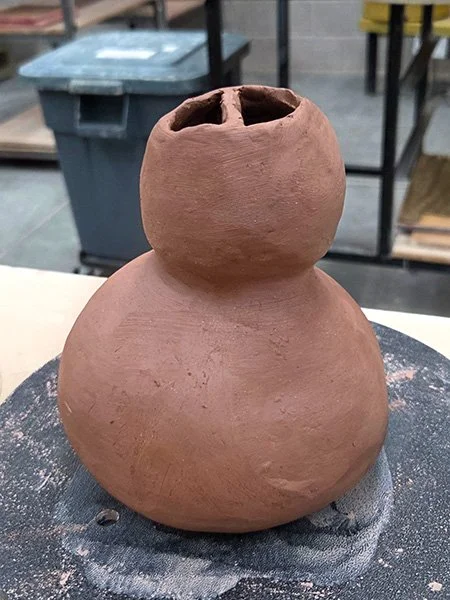
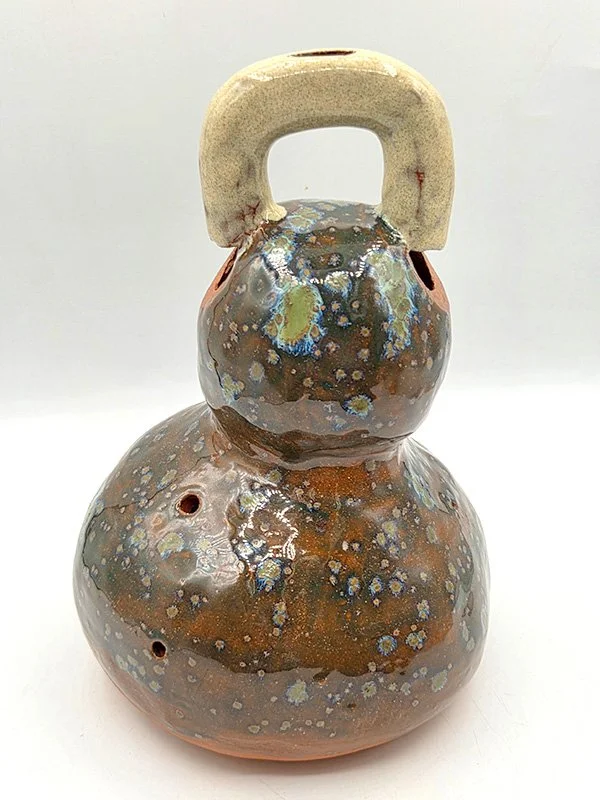
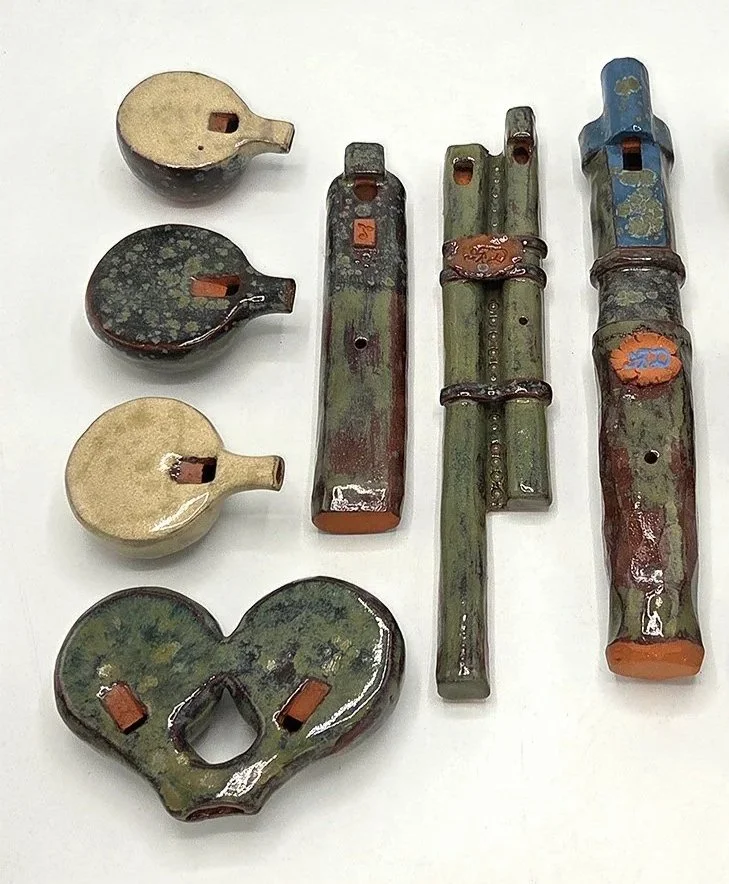
Each instrument was constructed using low-fire, terracotta clay and bisqued to C/07. After glazing with low-fire glazes, each instrument was fired to C/04.
How Sound Changes from Greenware to Bisque:
Playing The Sighing Gourd:
Clay Body Exploration
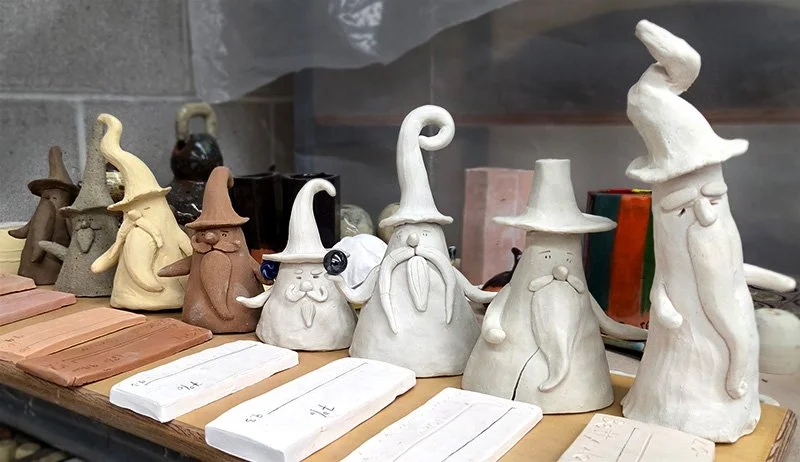
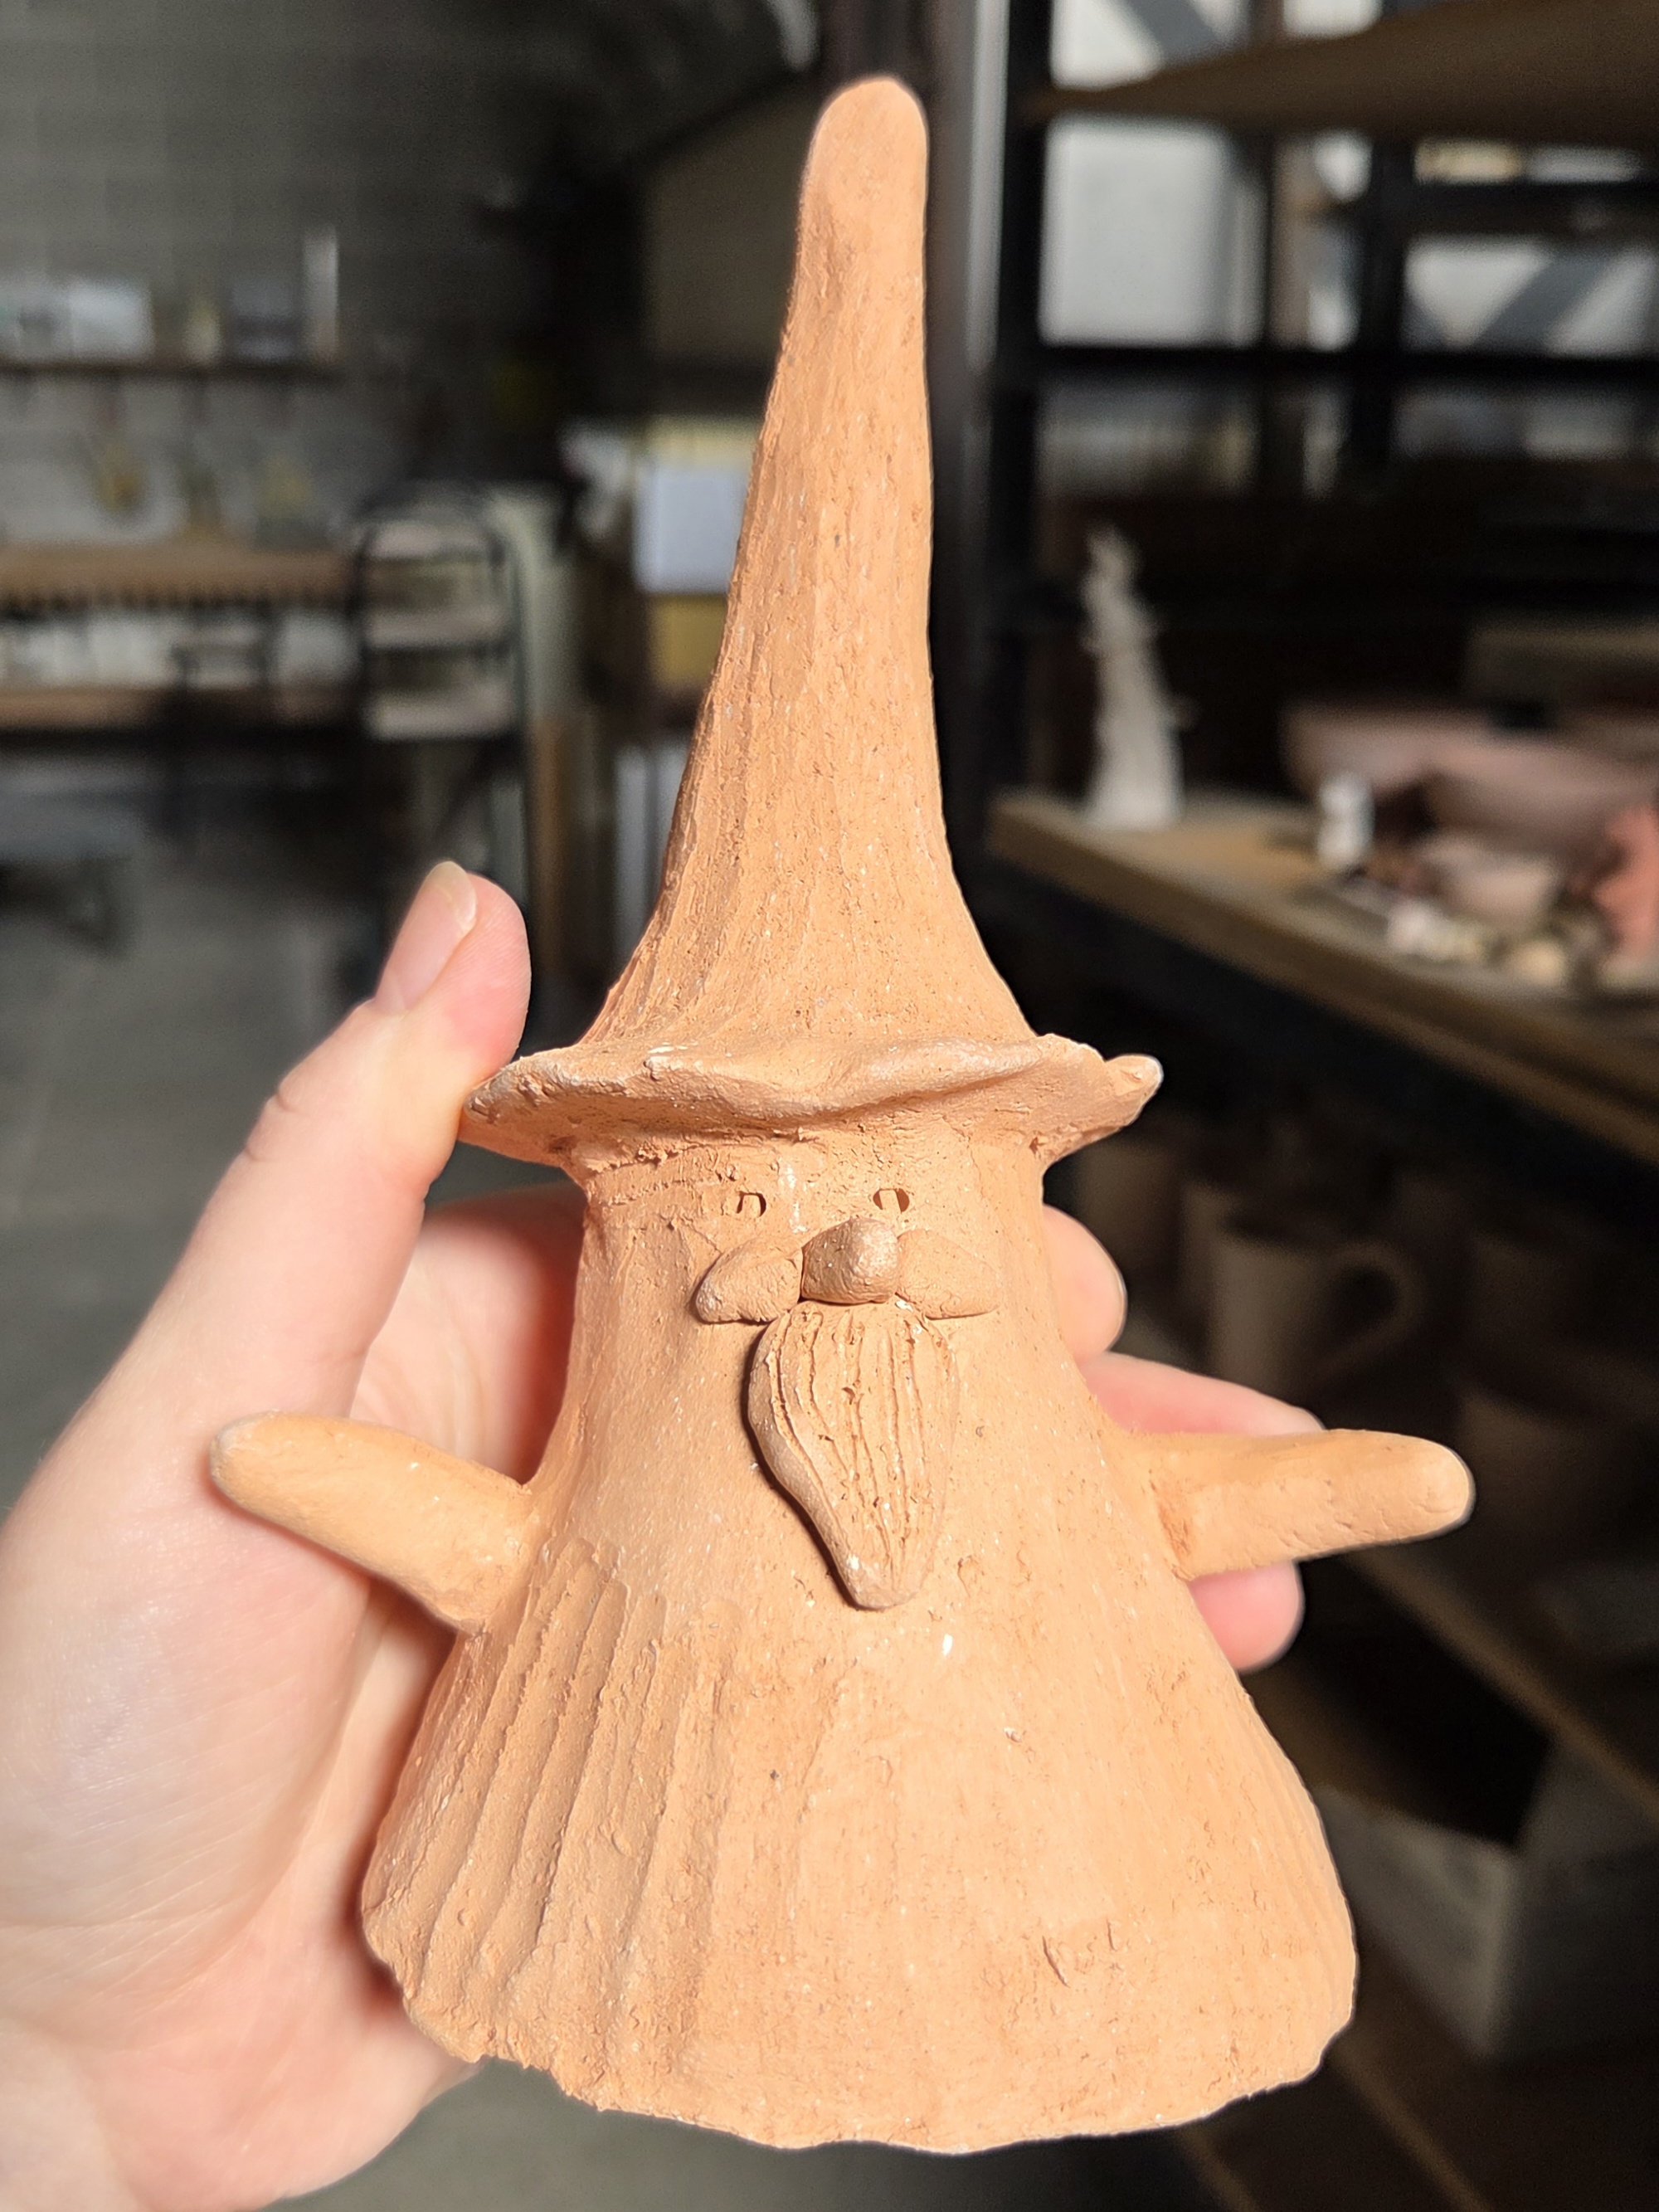
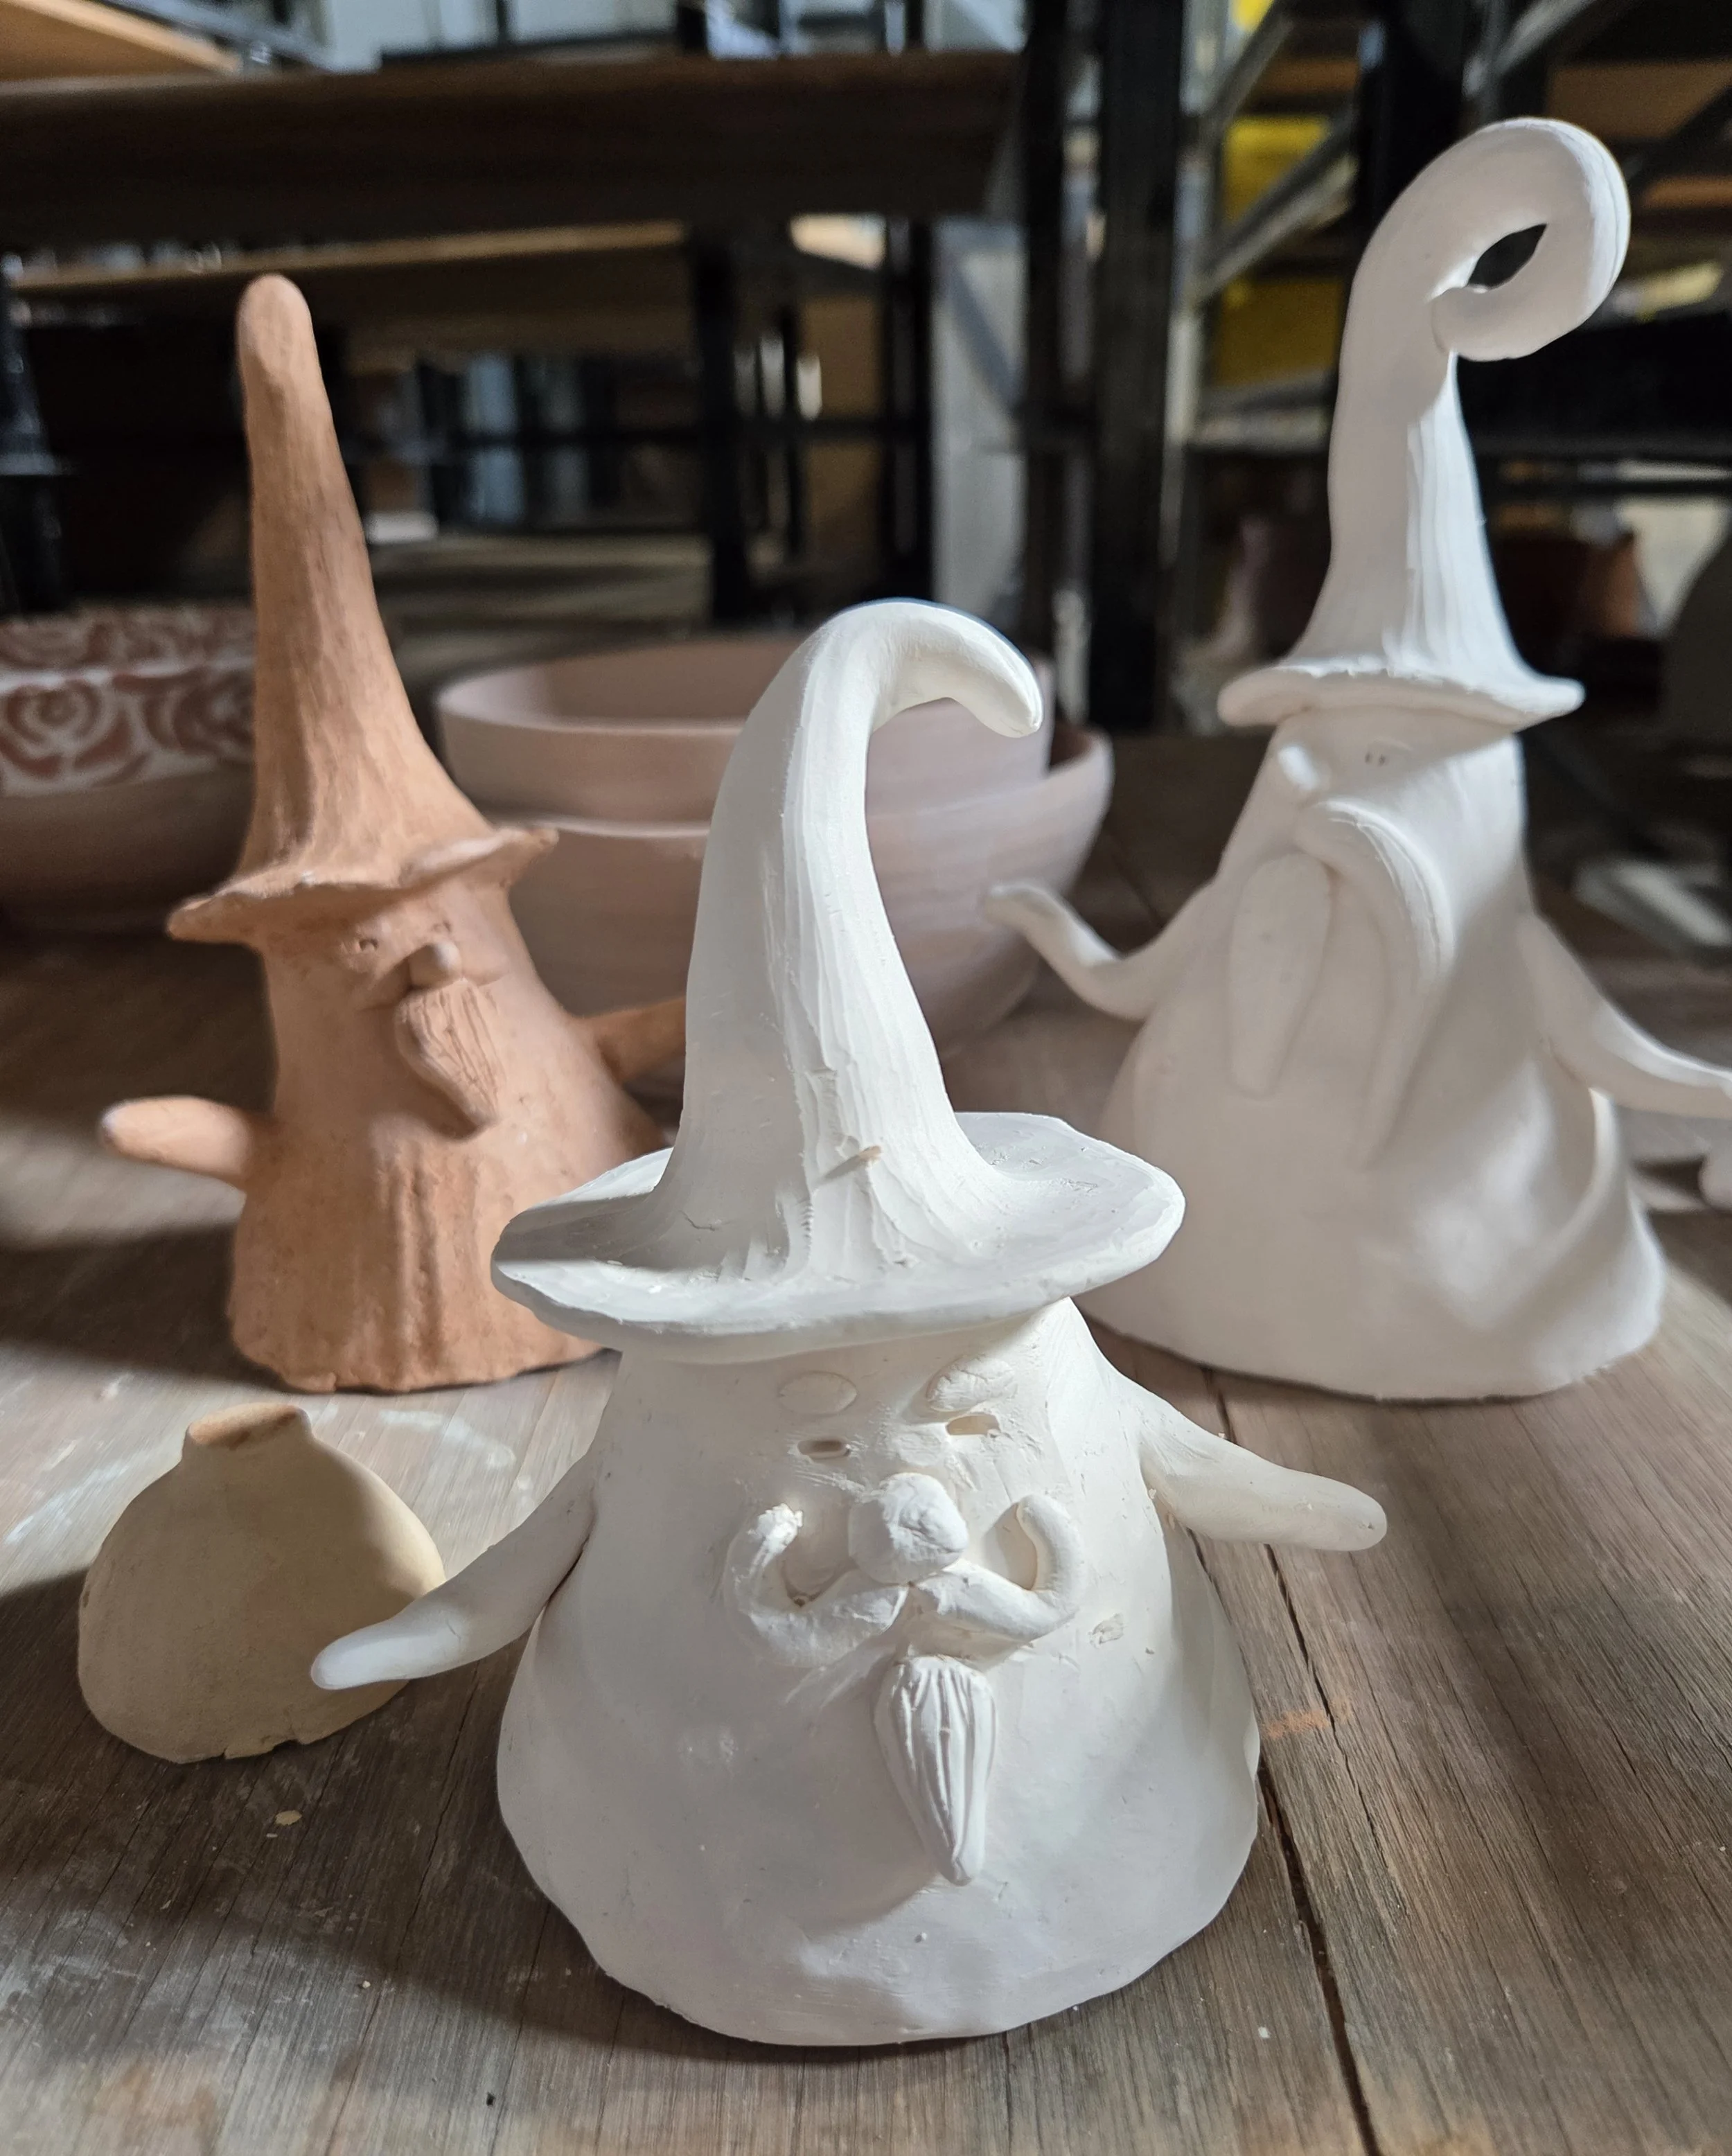
For my second contract, I chose to mix and utilize several clay bodies and create an archival set of sculptural test tiles. I found my subject in wizards, as mages have an association with the elemental and alchemical. Also, because the iconic figure of a wizard or a cloaked hermit brings me joy!
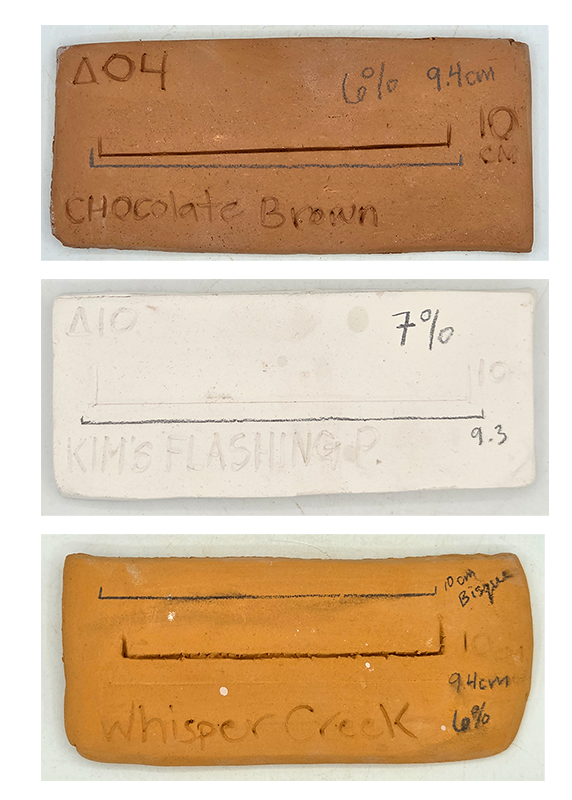
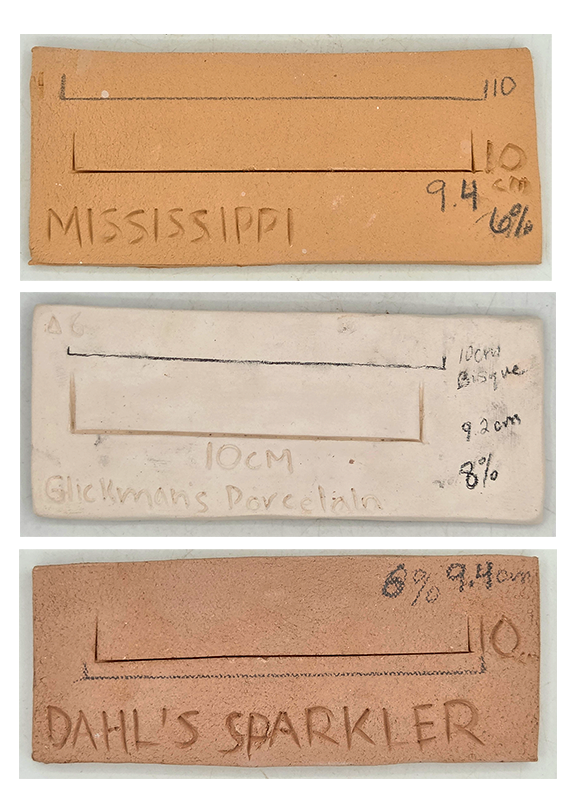
I began by mixing each clay body [or had harvested it] and created 1/4” thick slabs. I then marked a 10cm horizontal line as well as the name of the clay body. I then bisqued each bonedry slab to C/07, after which I remeasured the etched line and recorded it. I subtracted this measurement from 10cm and multiplied it by ten to convert this measurement to a percentage.
By choosing my tests to be figurines, I gained more information on the clay’s personality such as its plasticity, how well it bends and stretches, and how well it compresses and smoothes. The range of [handbuilding] attributes from each clay body provided visual variation between each wizard.
The Wizard En-clay-ve
Clay Body Plasticity and Sculptural Attributes:
En-clay-ve Greenware:
Praise The Gourd
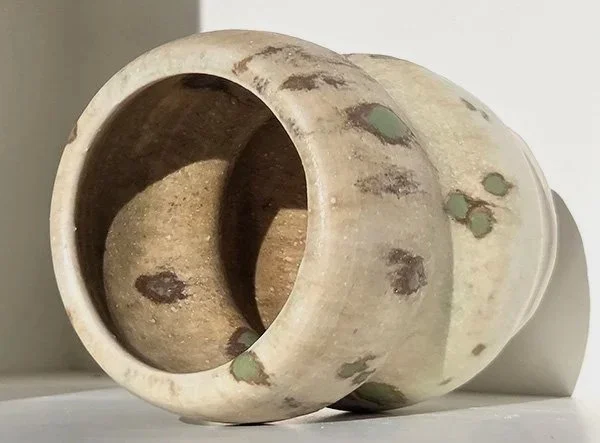
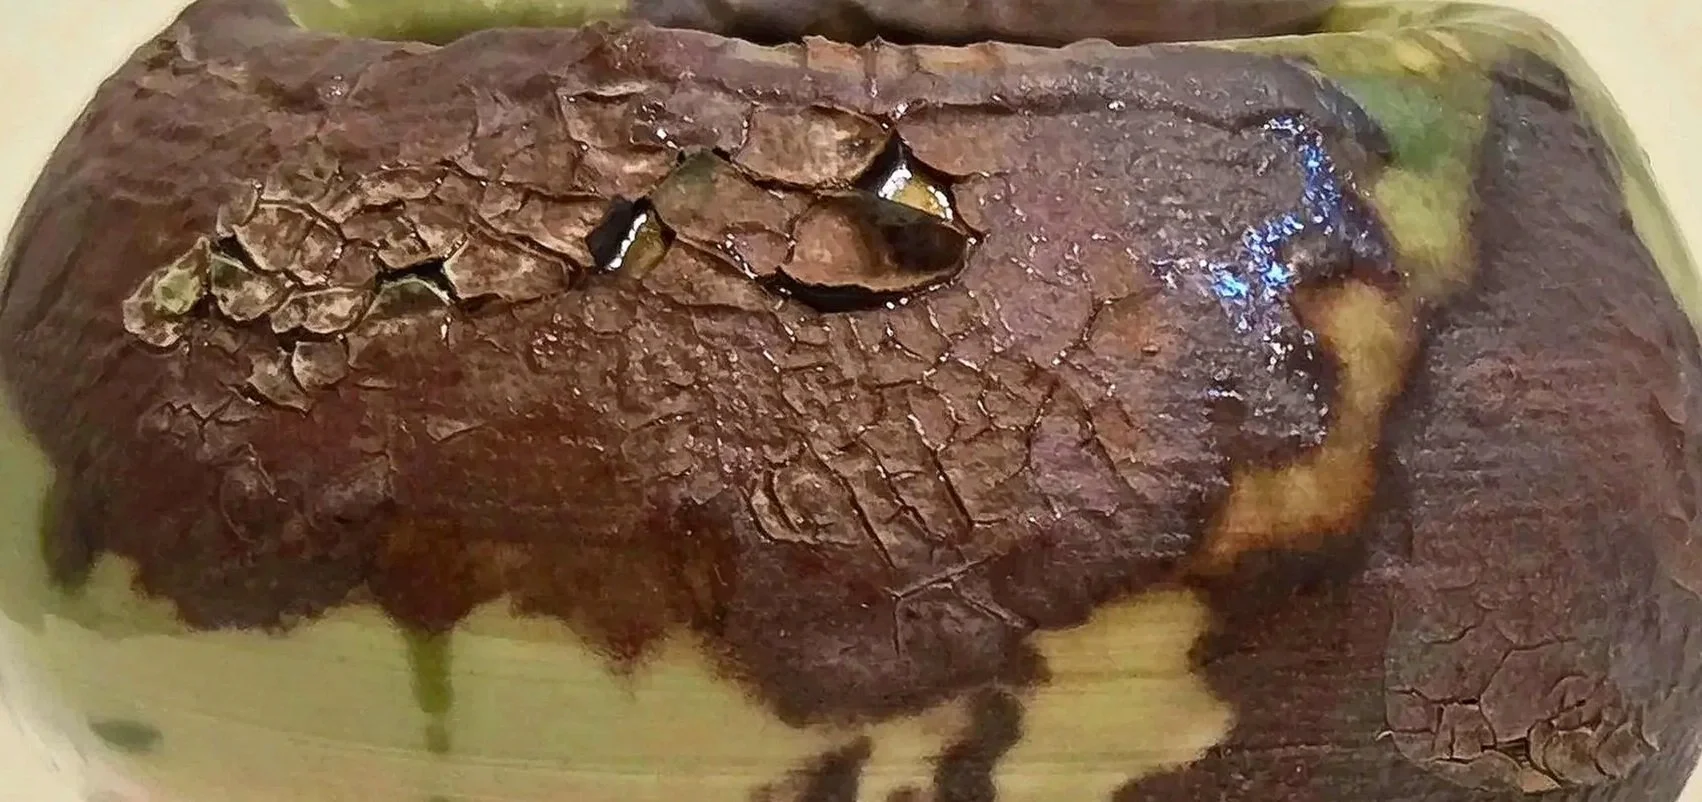
Praise The Gourd: Rot and Rebirth
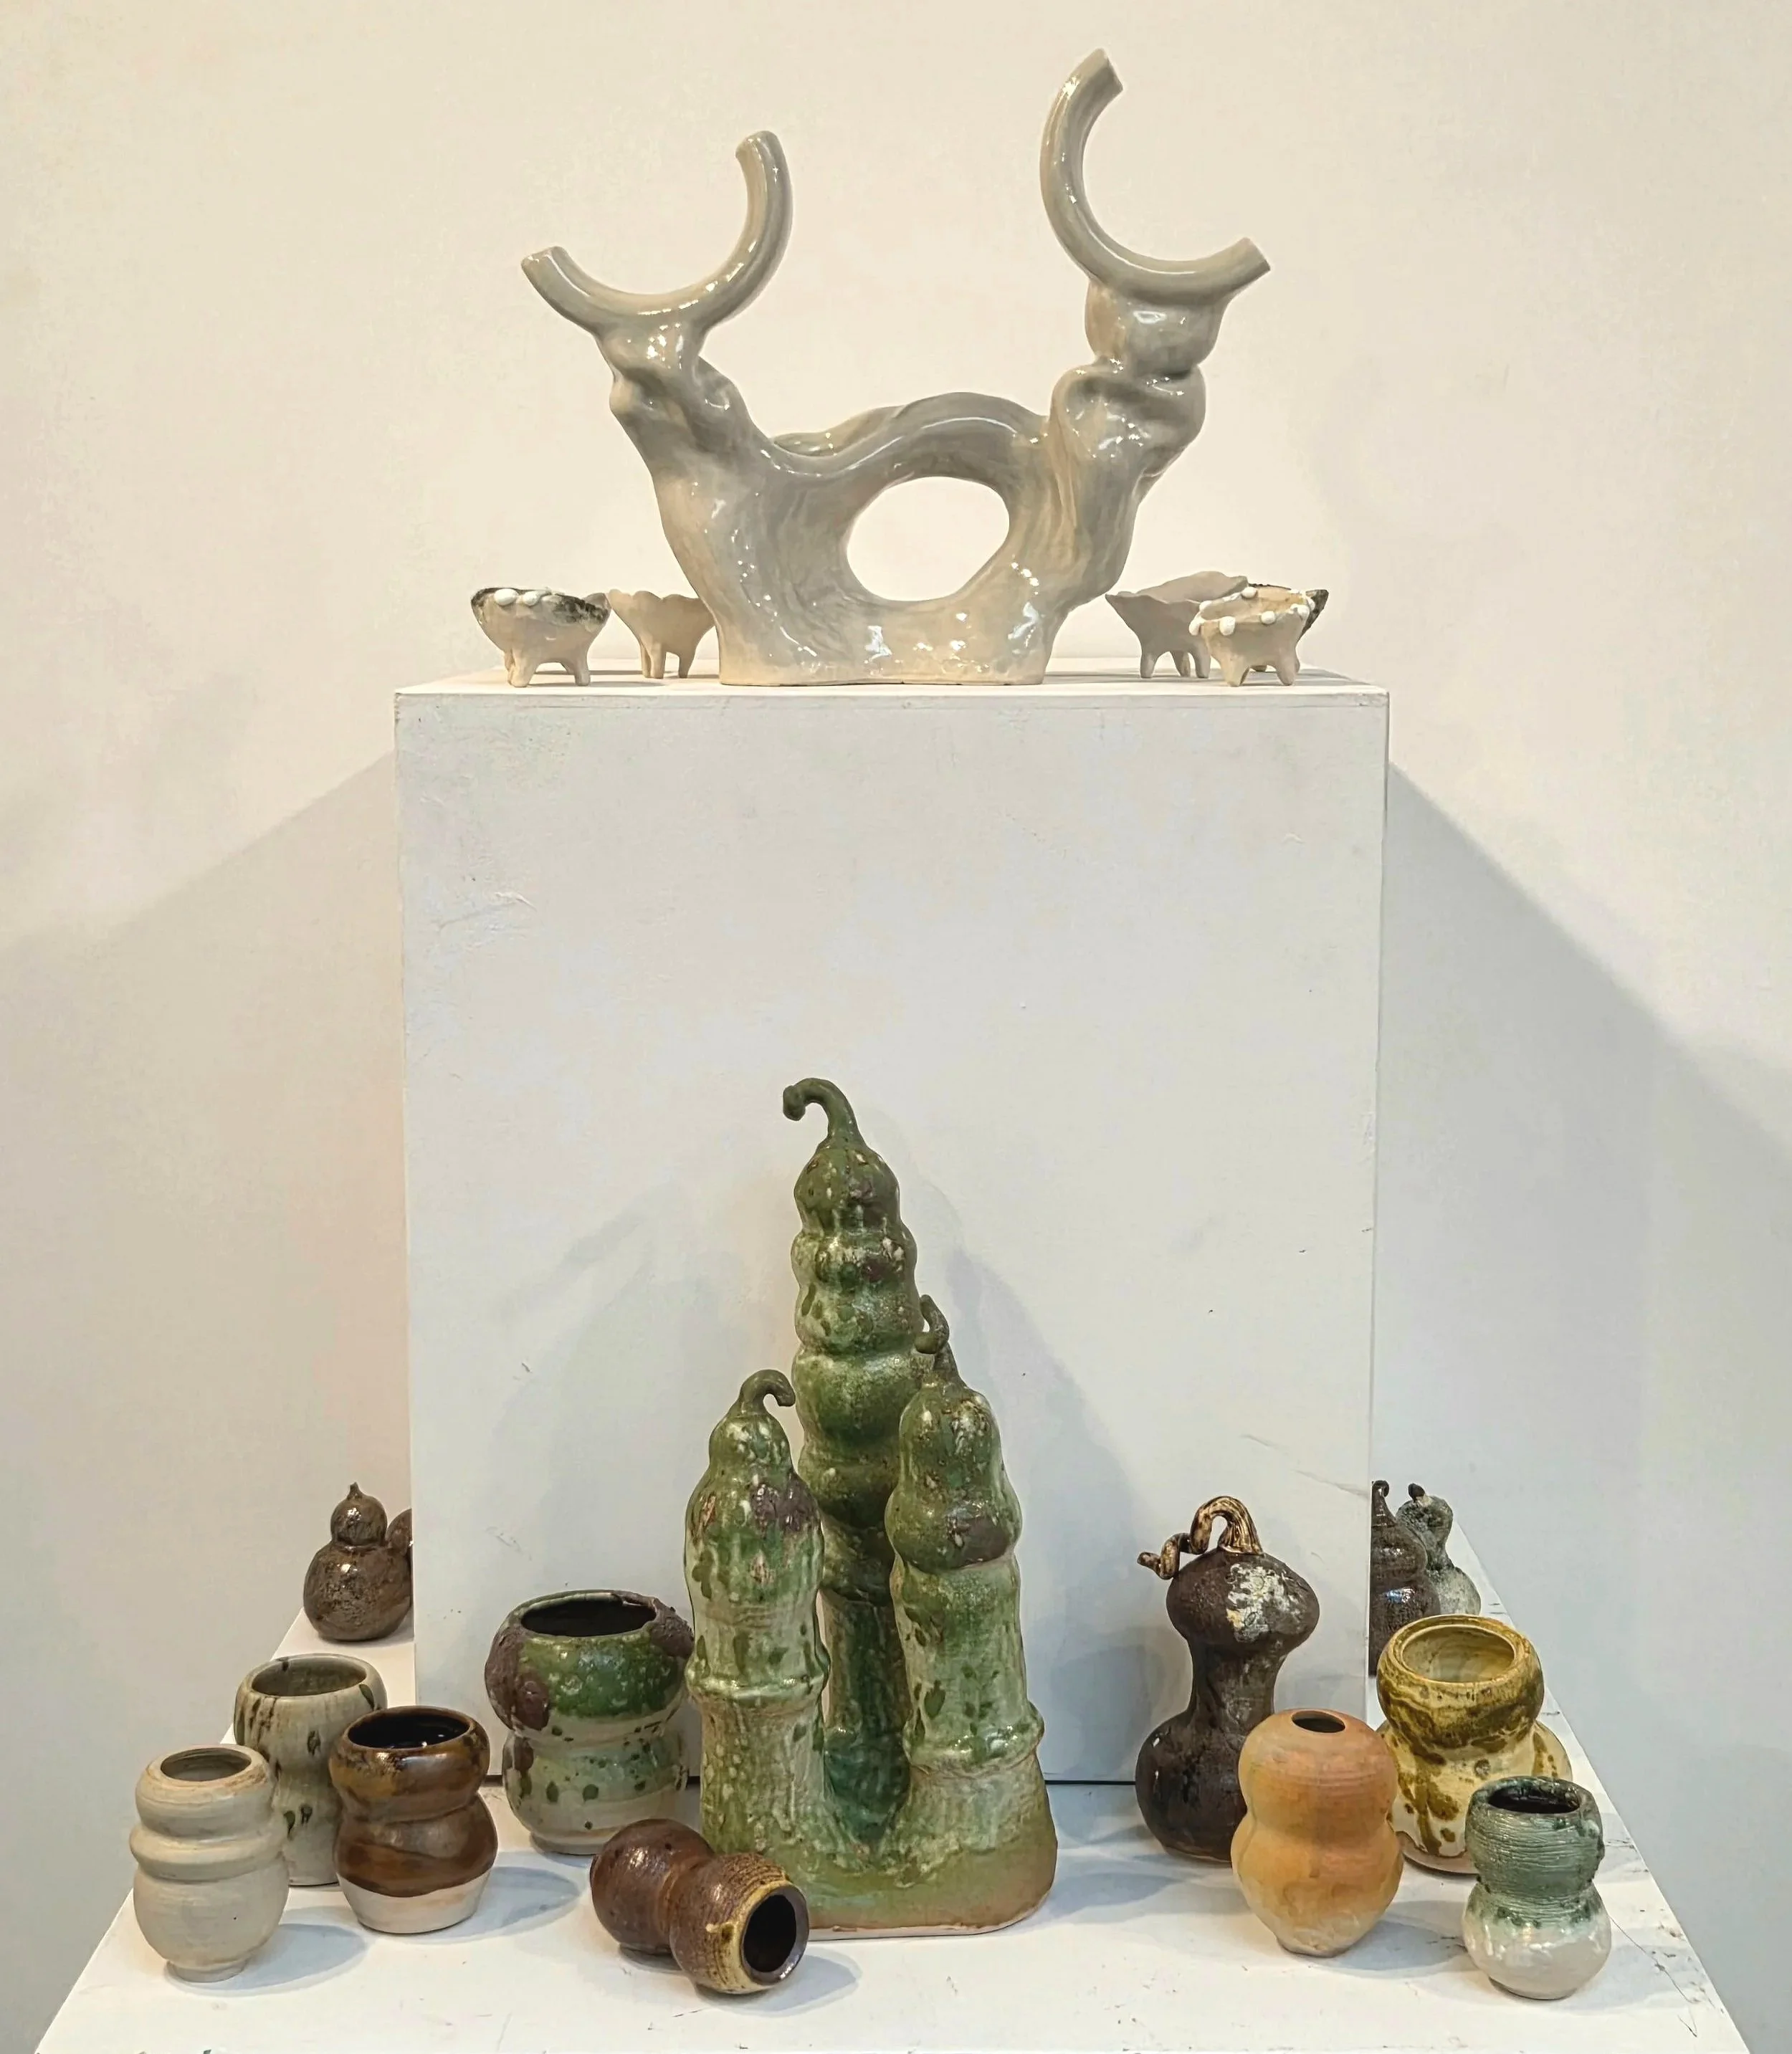
Various clay bodies, firing ranges, and atmospheres
The Gourd: On Form
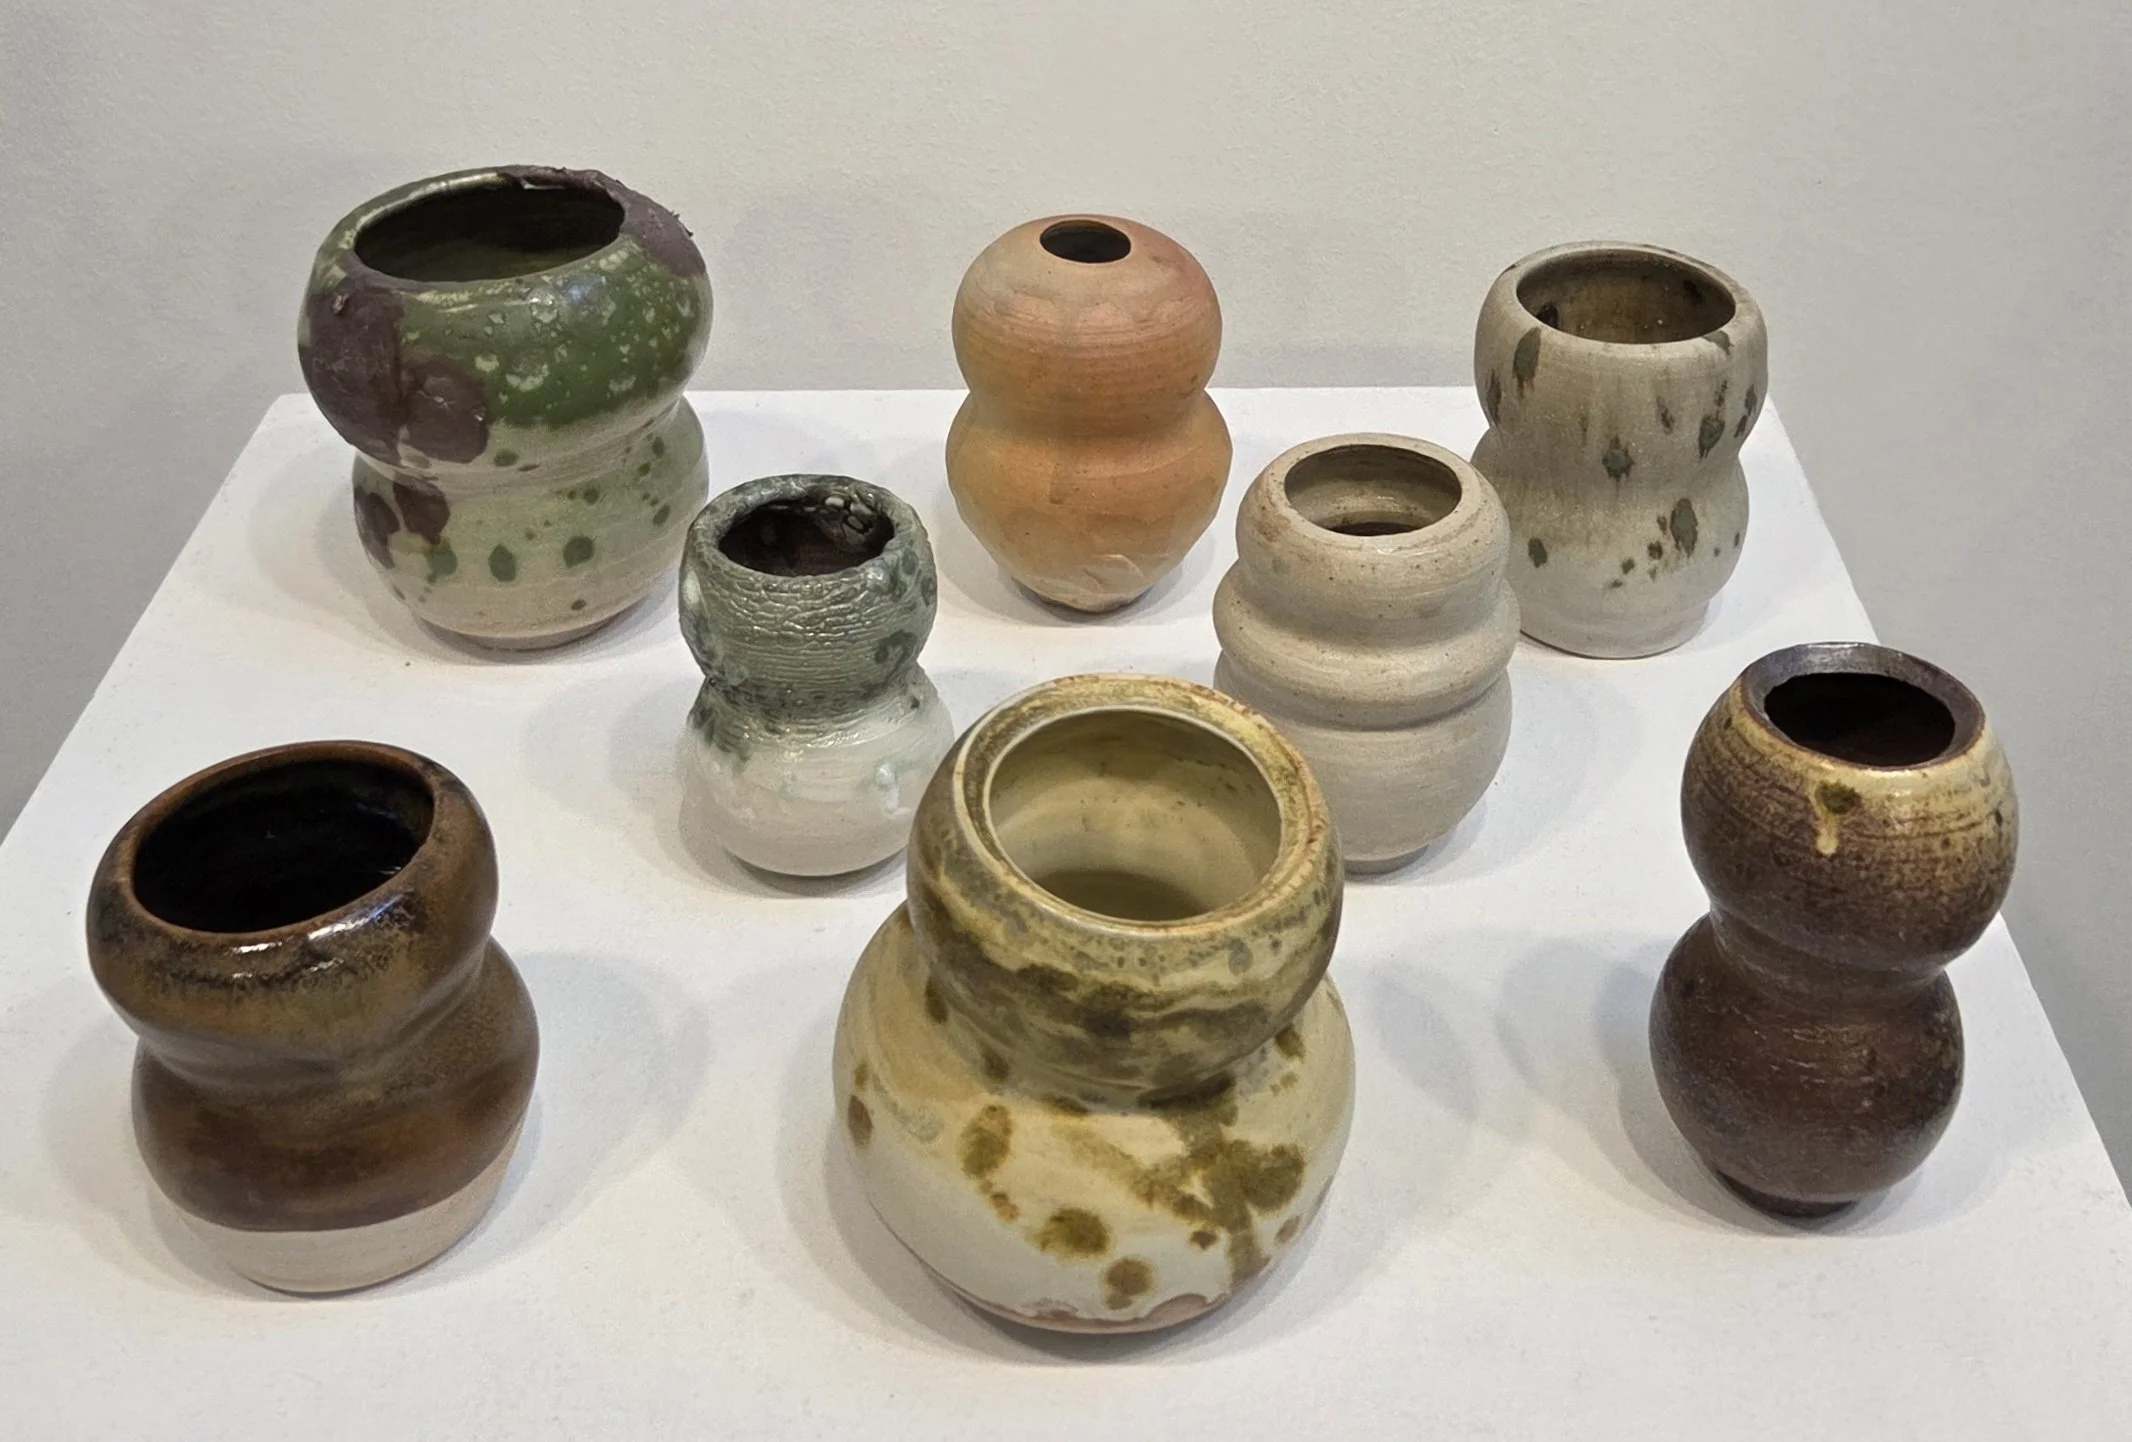
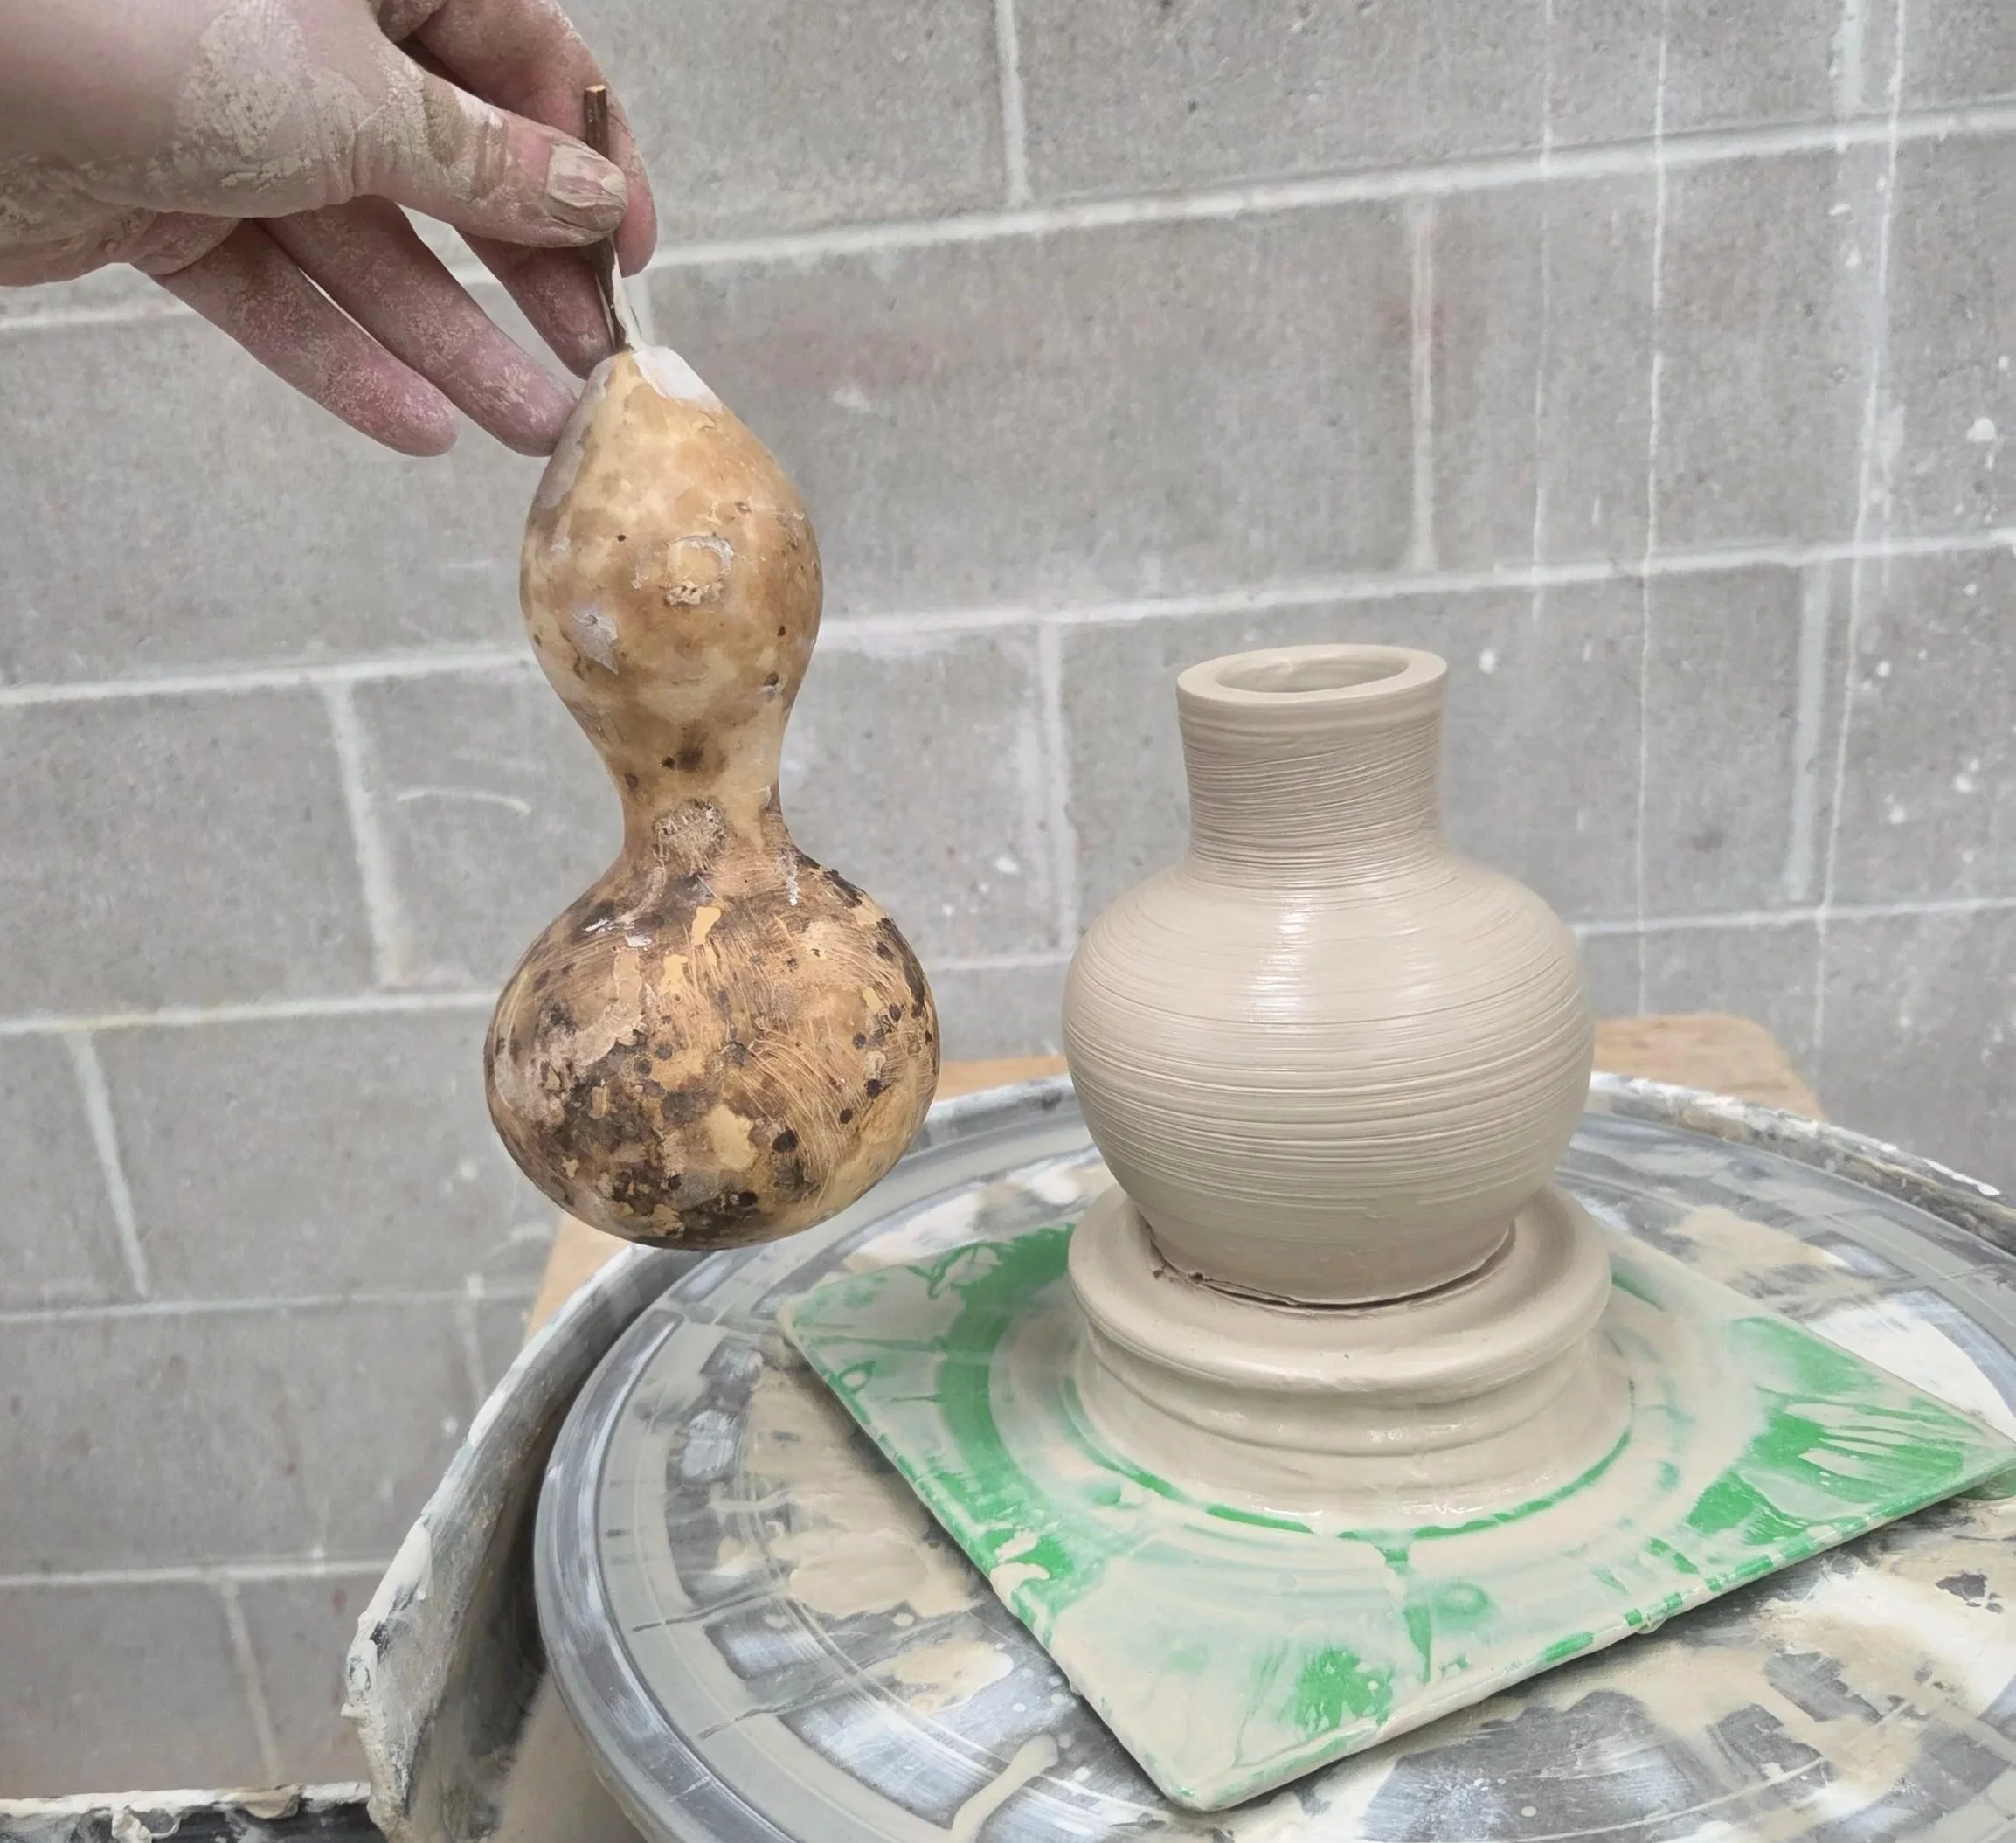
Before there were ceramic cups, bowls, jugs, and ewers, there were bottle gourds. Gourds are one of the very earliest domesticated plants and have been cultivated across the globe for thousands of years. My love of the form of the gourd extends to its utility as a vessel that carries nutrients, and as a holder of life, as the gourd is a fruiting body and thus a cured ovary that harbors seeds.
The curvature of the gourd is, to me, a reflection of the feminine body as well. The curve of the gourd reflects the dip of a waist and hips, or the length of the neck on a torso.
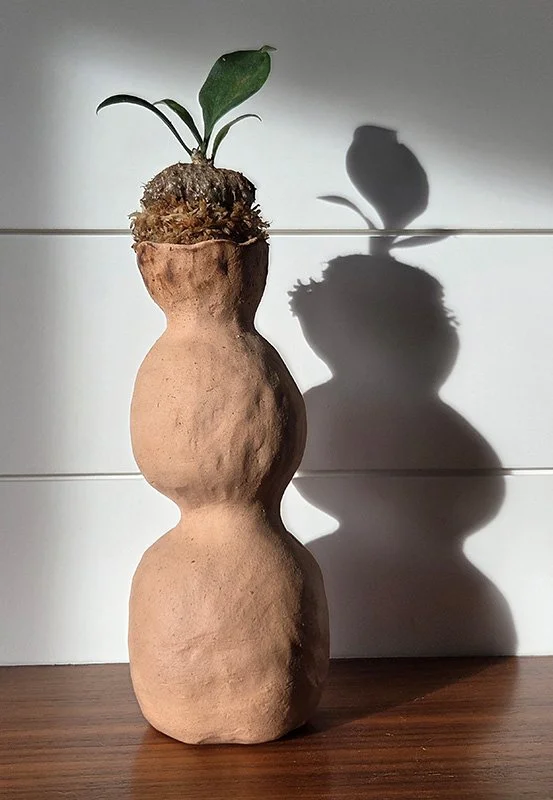
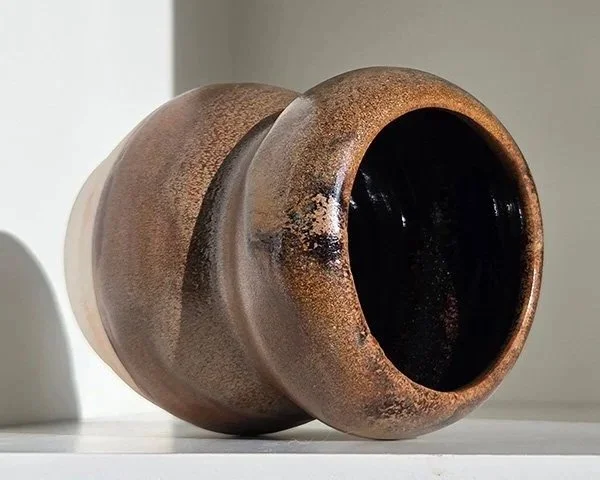
Drinking Gourd
Bisqued earthenware with an ant plant kokedama. The vessel has been filled with water, and the porous claybody seeps water for the moss of the kokedama to soak up.
The Gourd: On Decay and Purification
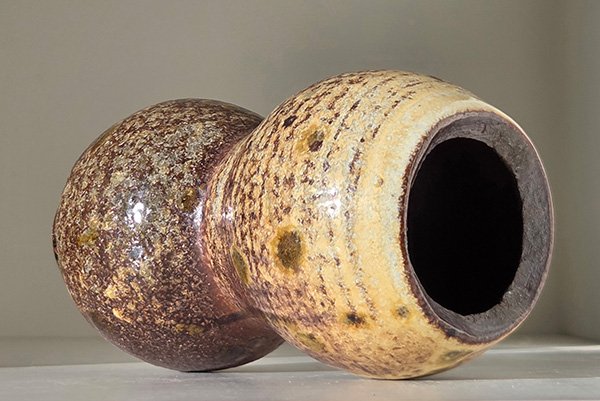
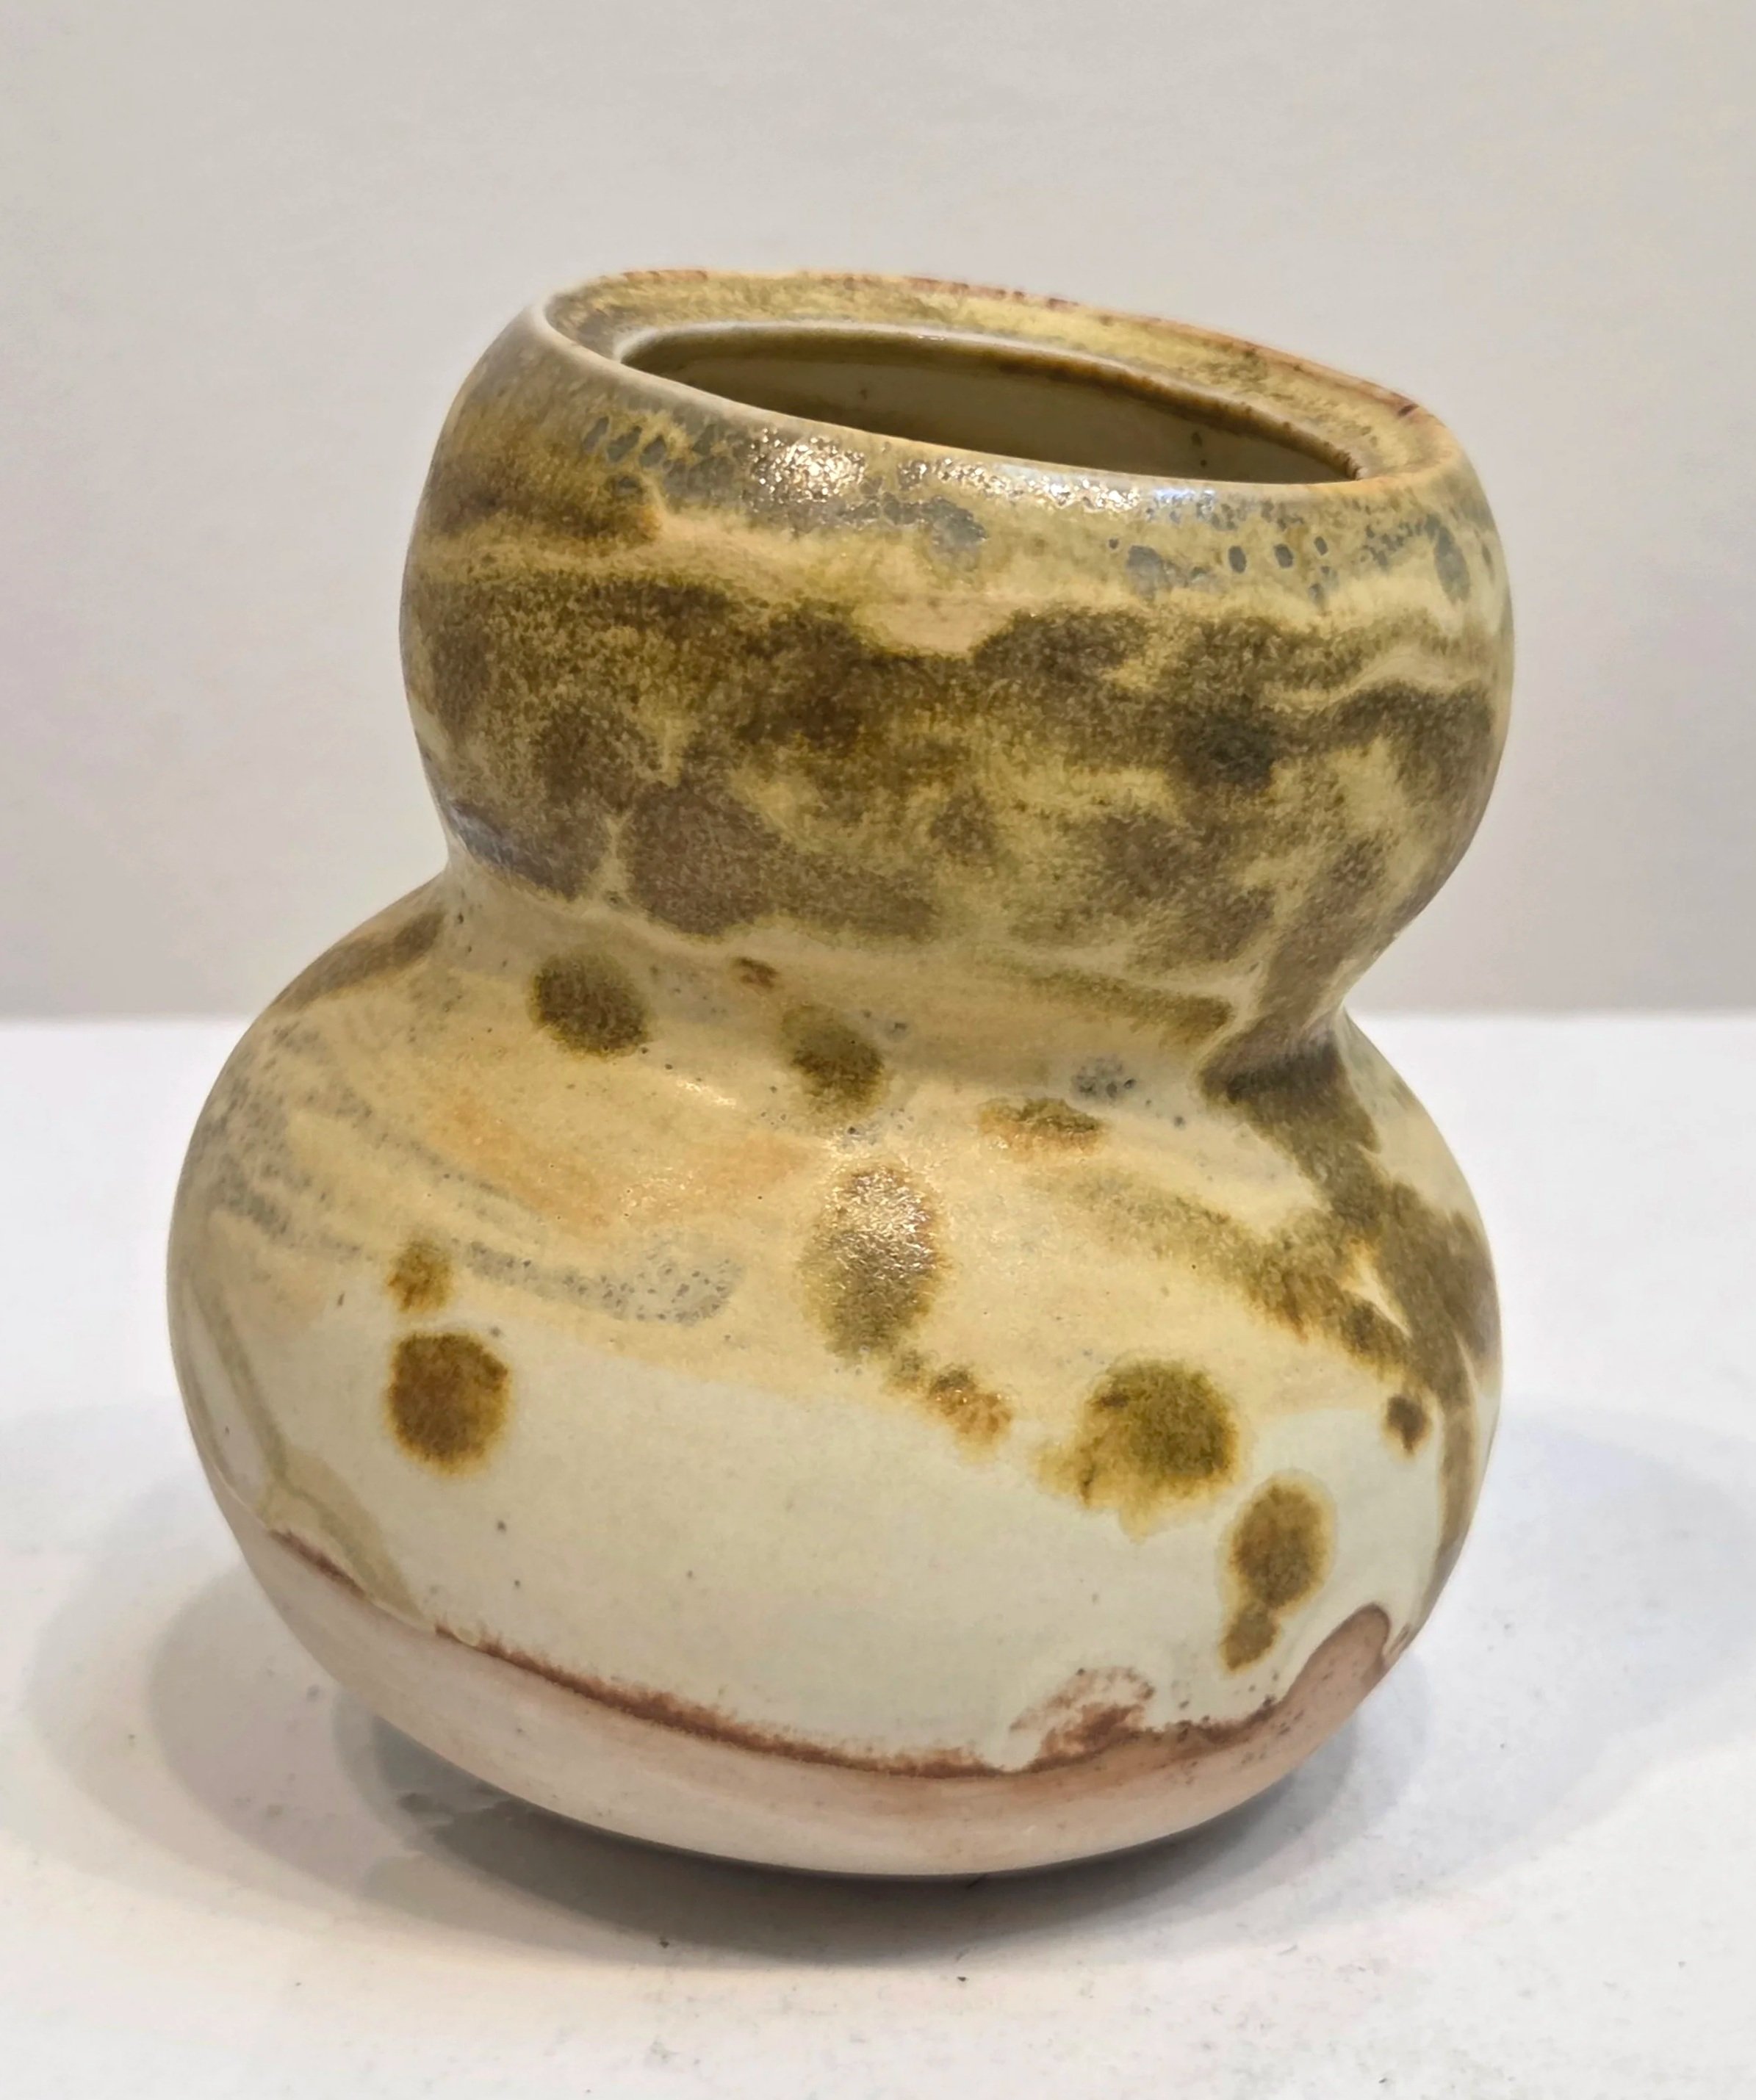
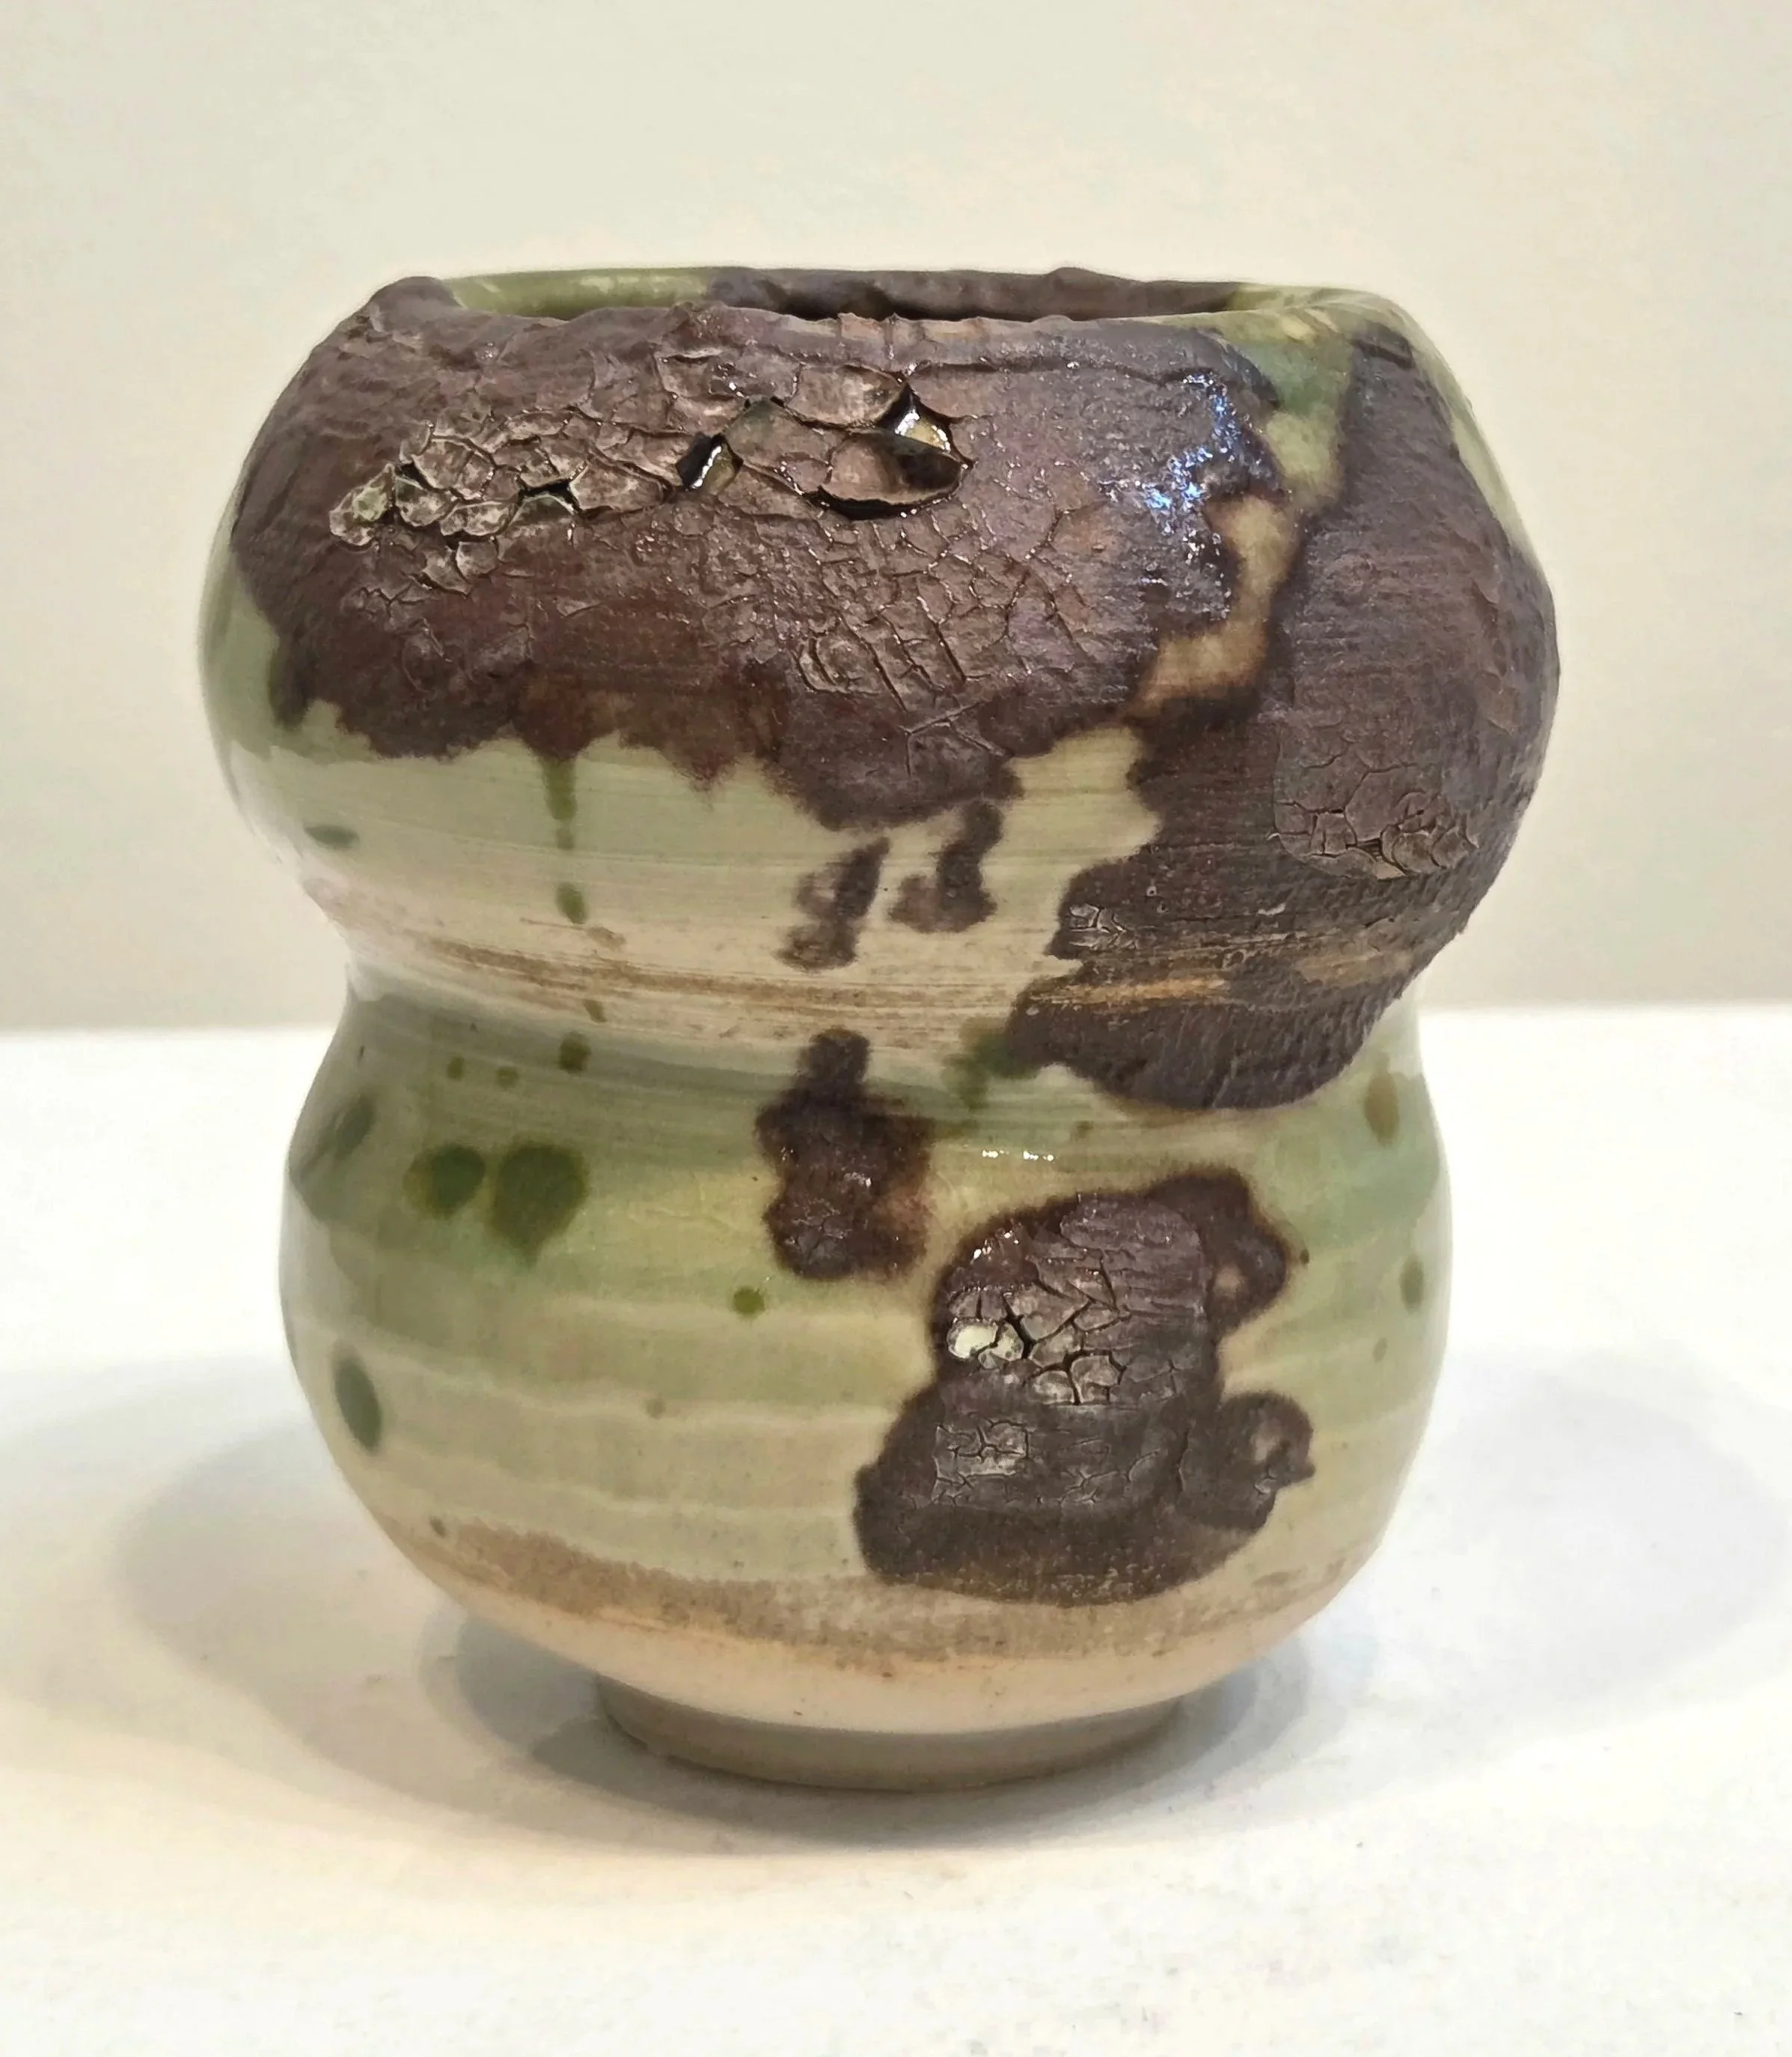
For a gourd to cure and harden, the ripe fruit must dry out over a long period of time. During this second experience of maturation, the outer layer of the gourd falls prey to fungus, mold, and decay. The surface of the gourd takes on the decay while protecting and maturing the seed’s within. After the mold and fungus have taken what they can from the outer skin, it flakes off, revealing the hardened shell that was protected by the skin barrier. Thus, in decay, the gourd reaches its final stage and purifies.
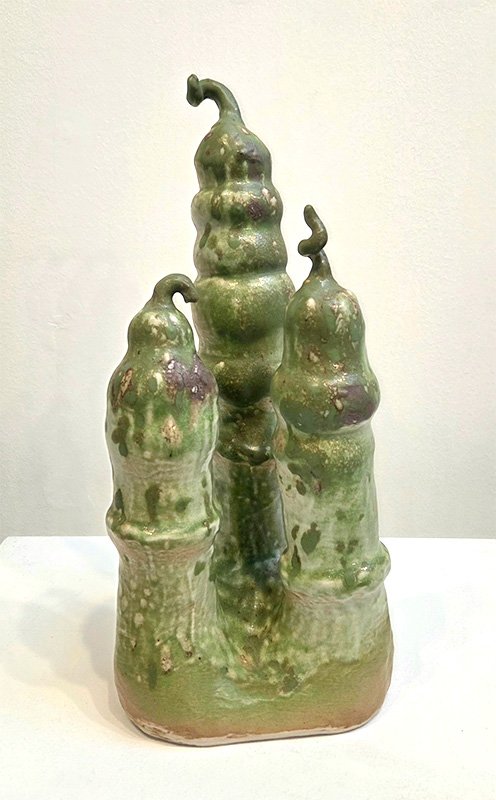
Tower of Molded Gourds
Porcelain, C/10 Reduction
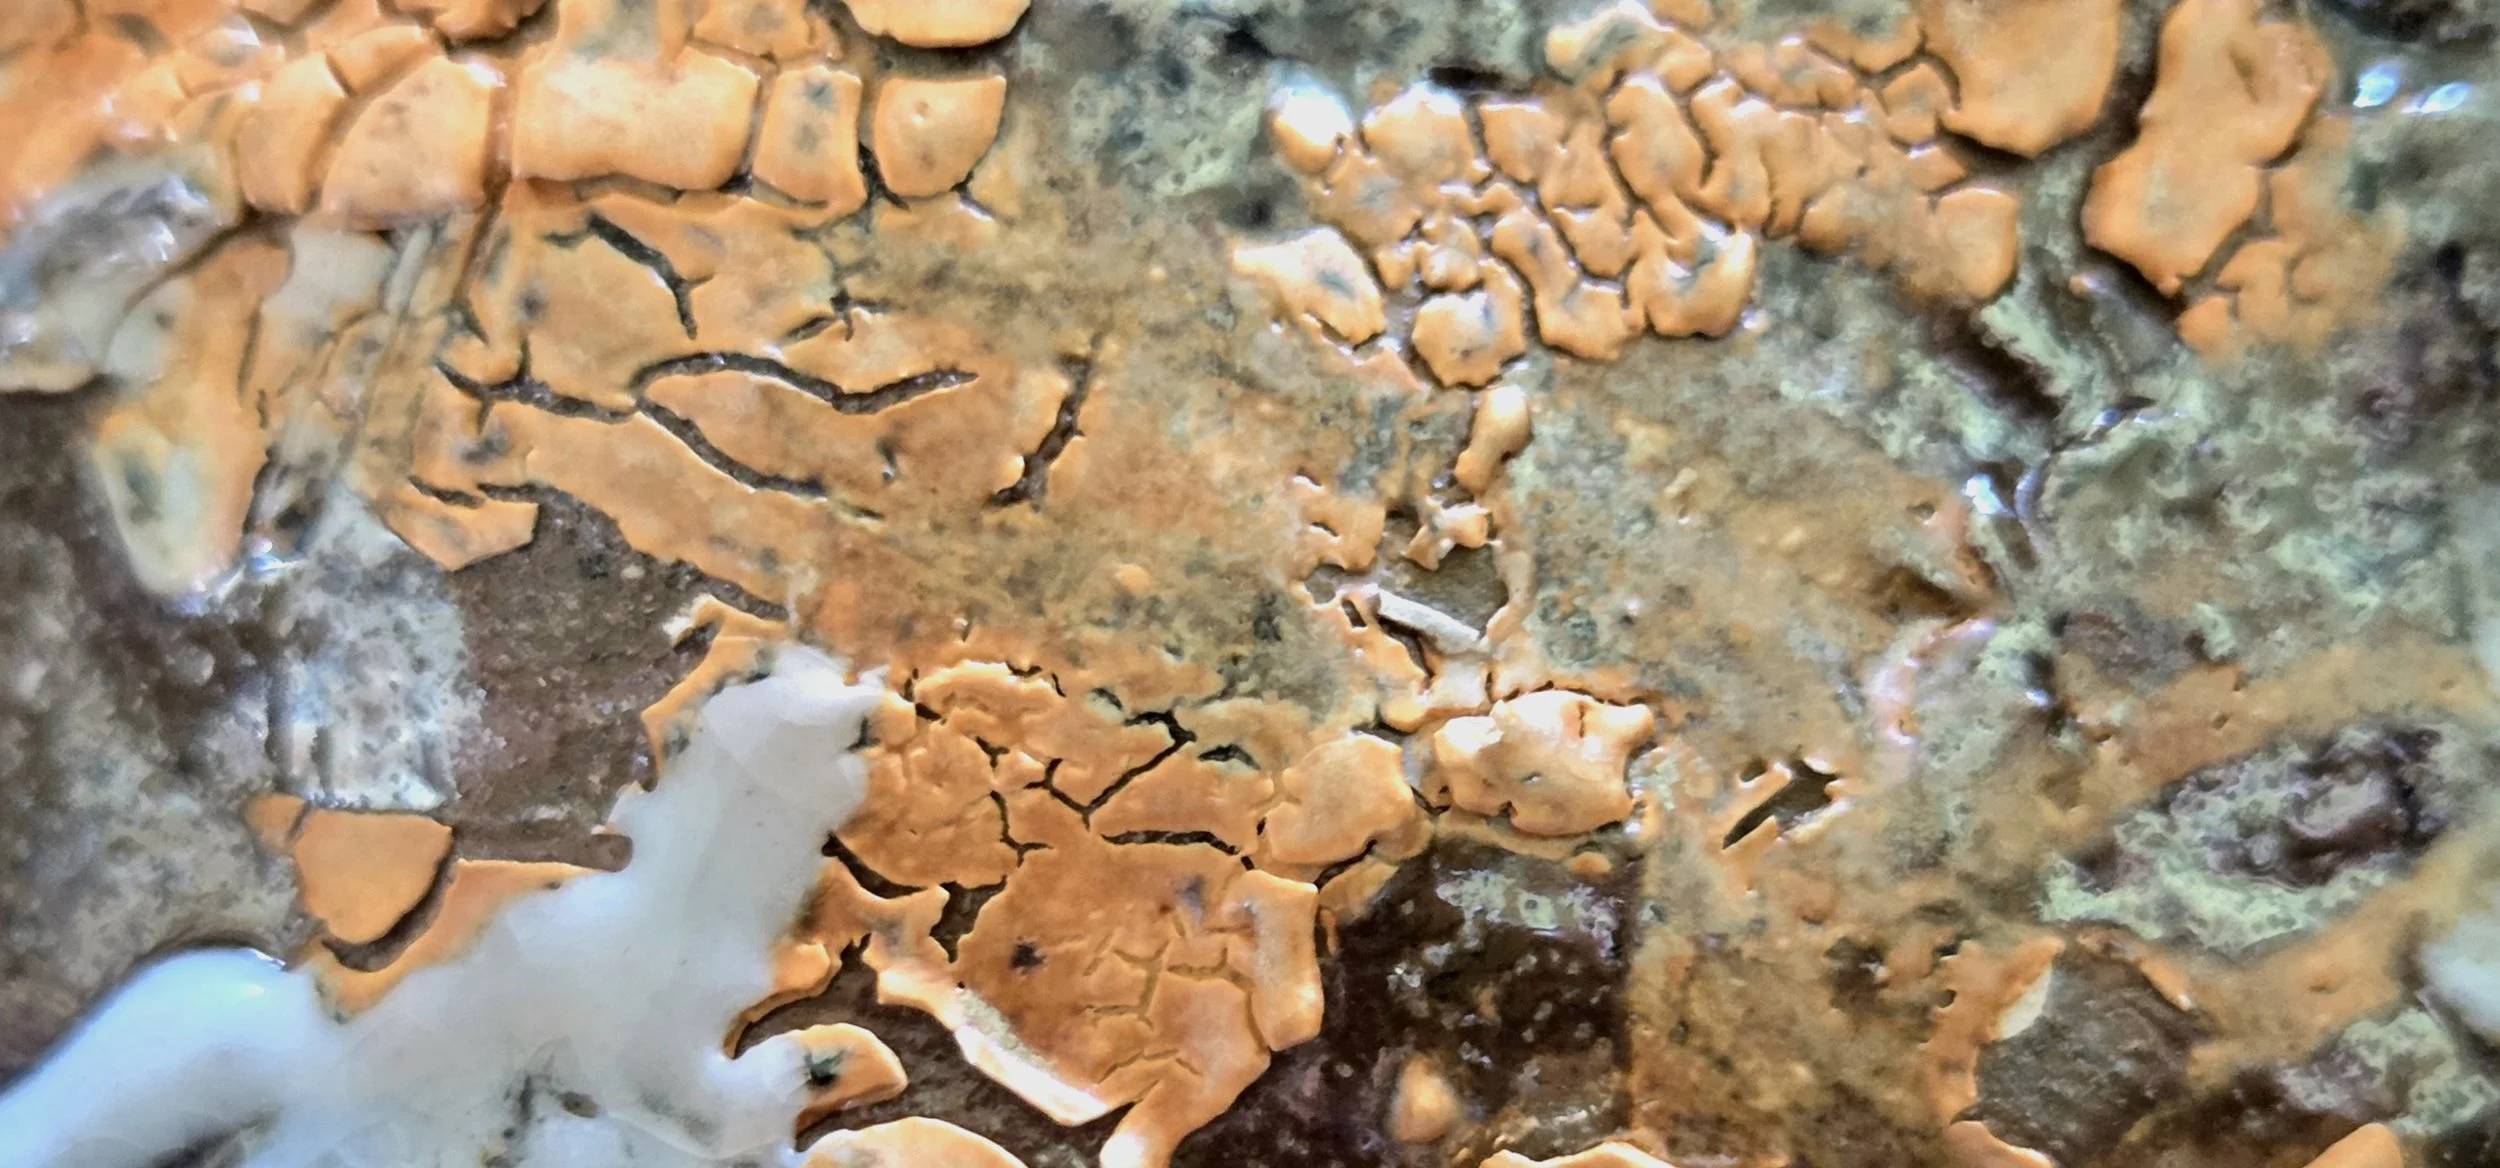
Earthly Endeavors
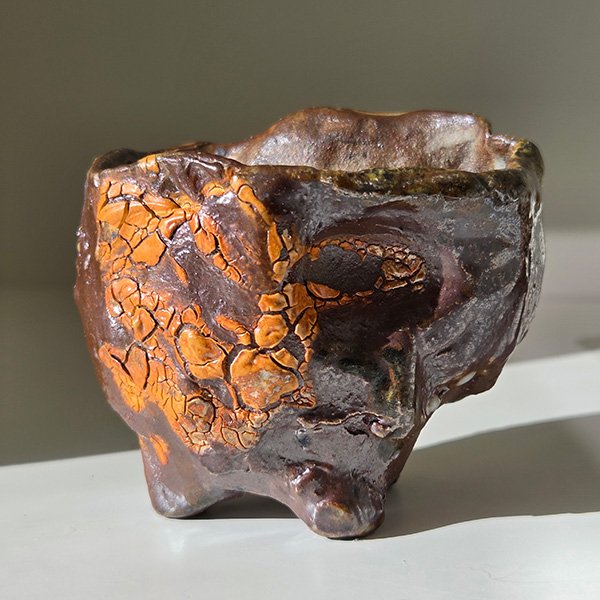
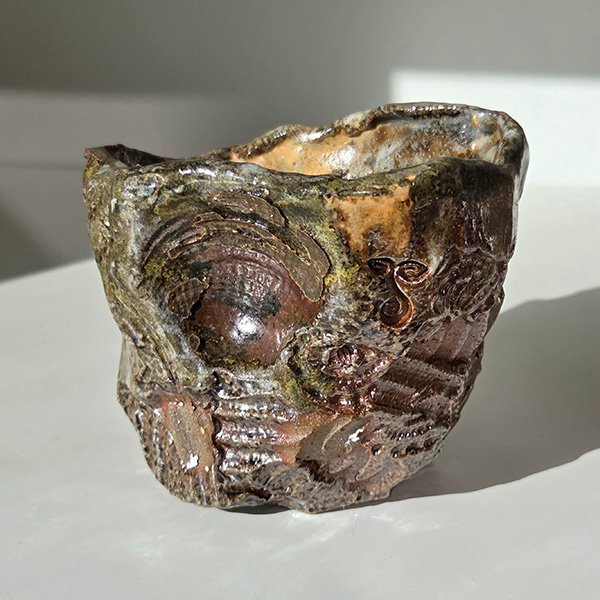
Exploration of earth, mold, and shells
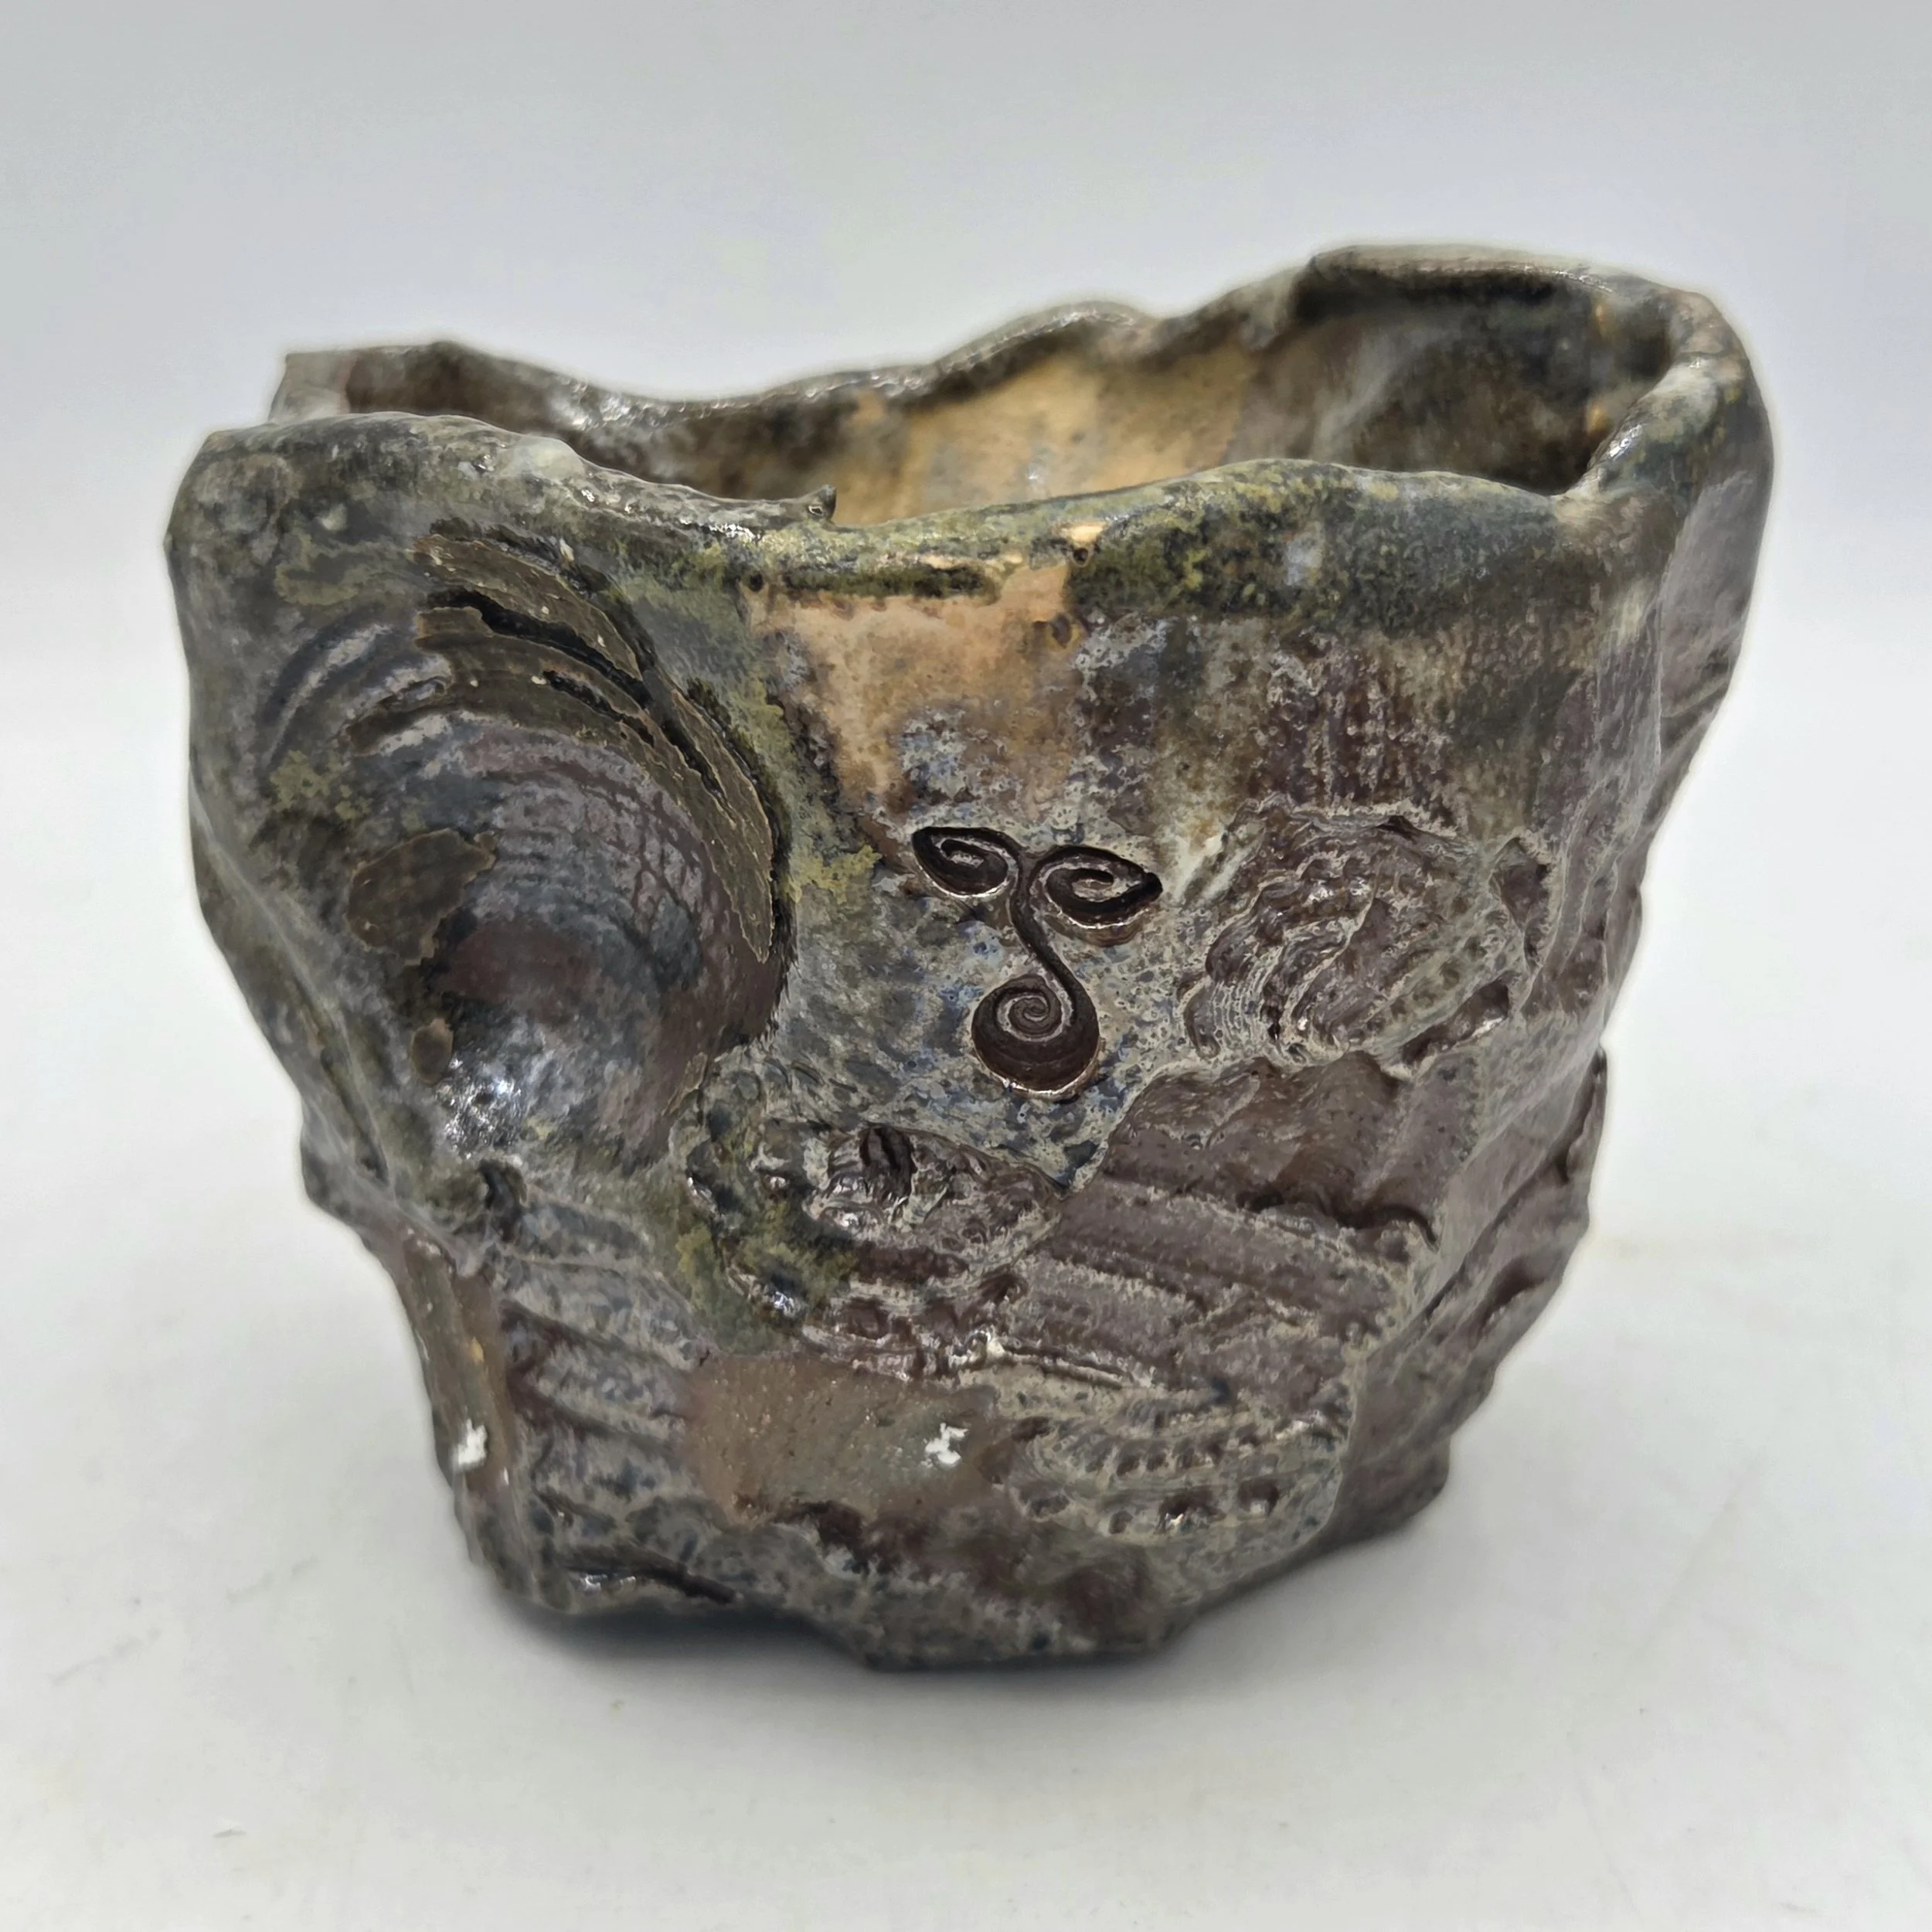
Soda-fired stoneware with Grolleg Slip, Local Clay slips, and seashells
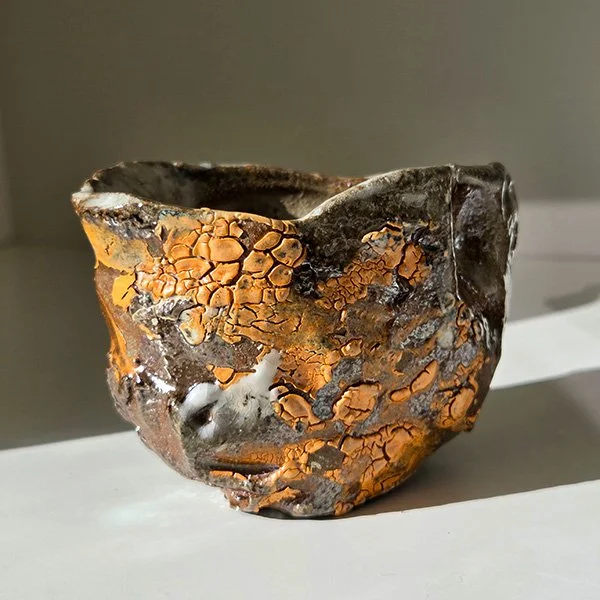
“Earthly Endeavors” accounts for my experimentation with Kurinuki (“to hollow”) forms. This is a ceramic technique and style originating from Japan that begins with a solid block of clay or a simple form with excess clay. Kurinuki is most associated with drinking wares such as sake cups and tea bowls.
I was drawn to the subtractive techniques of carving, ripping, tearing, and cracking clay. This style of surface activation demonstrates the physical qualities and characteristics of clay as a solid material (How does clay break, tear, crack, and compress?)
Throughout this semester, I have found it freeing to step back from what I am working on and shift focus to a smaller project, but still keep it within clay. These mental rests from my contract work allowed me to maintain focus within my ceramic practice while exploring other techniques without [self-imposed] expectations.
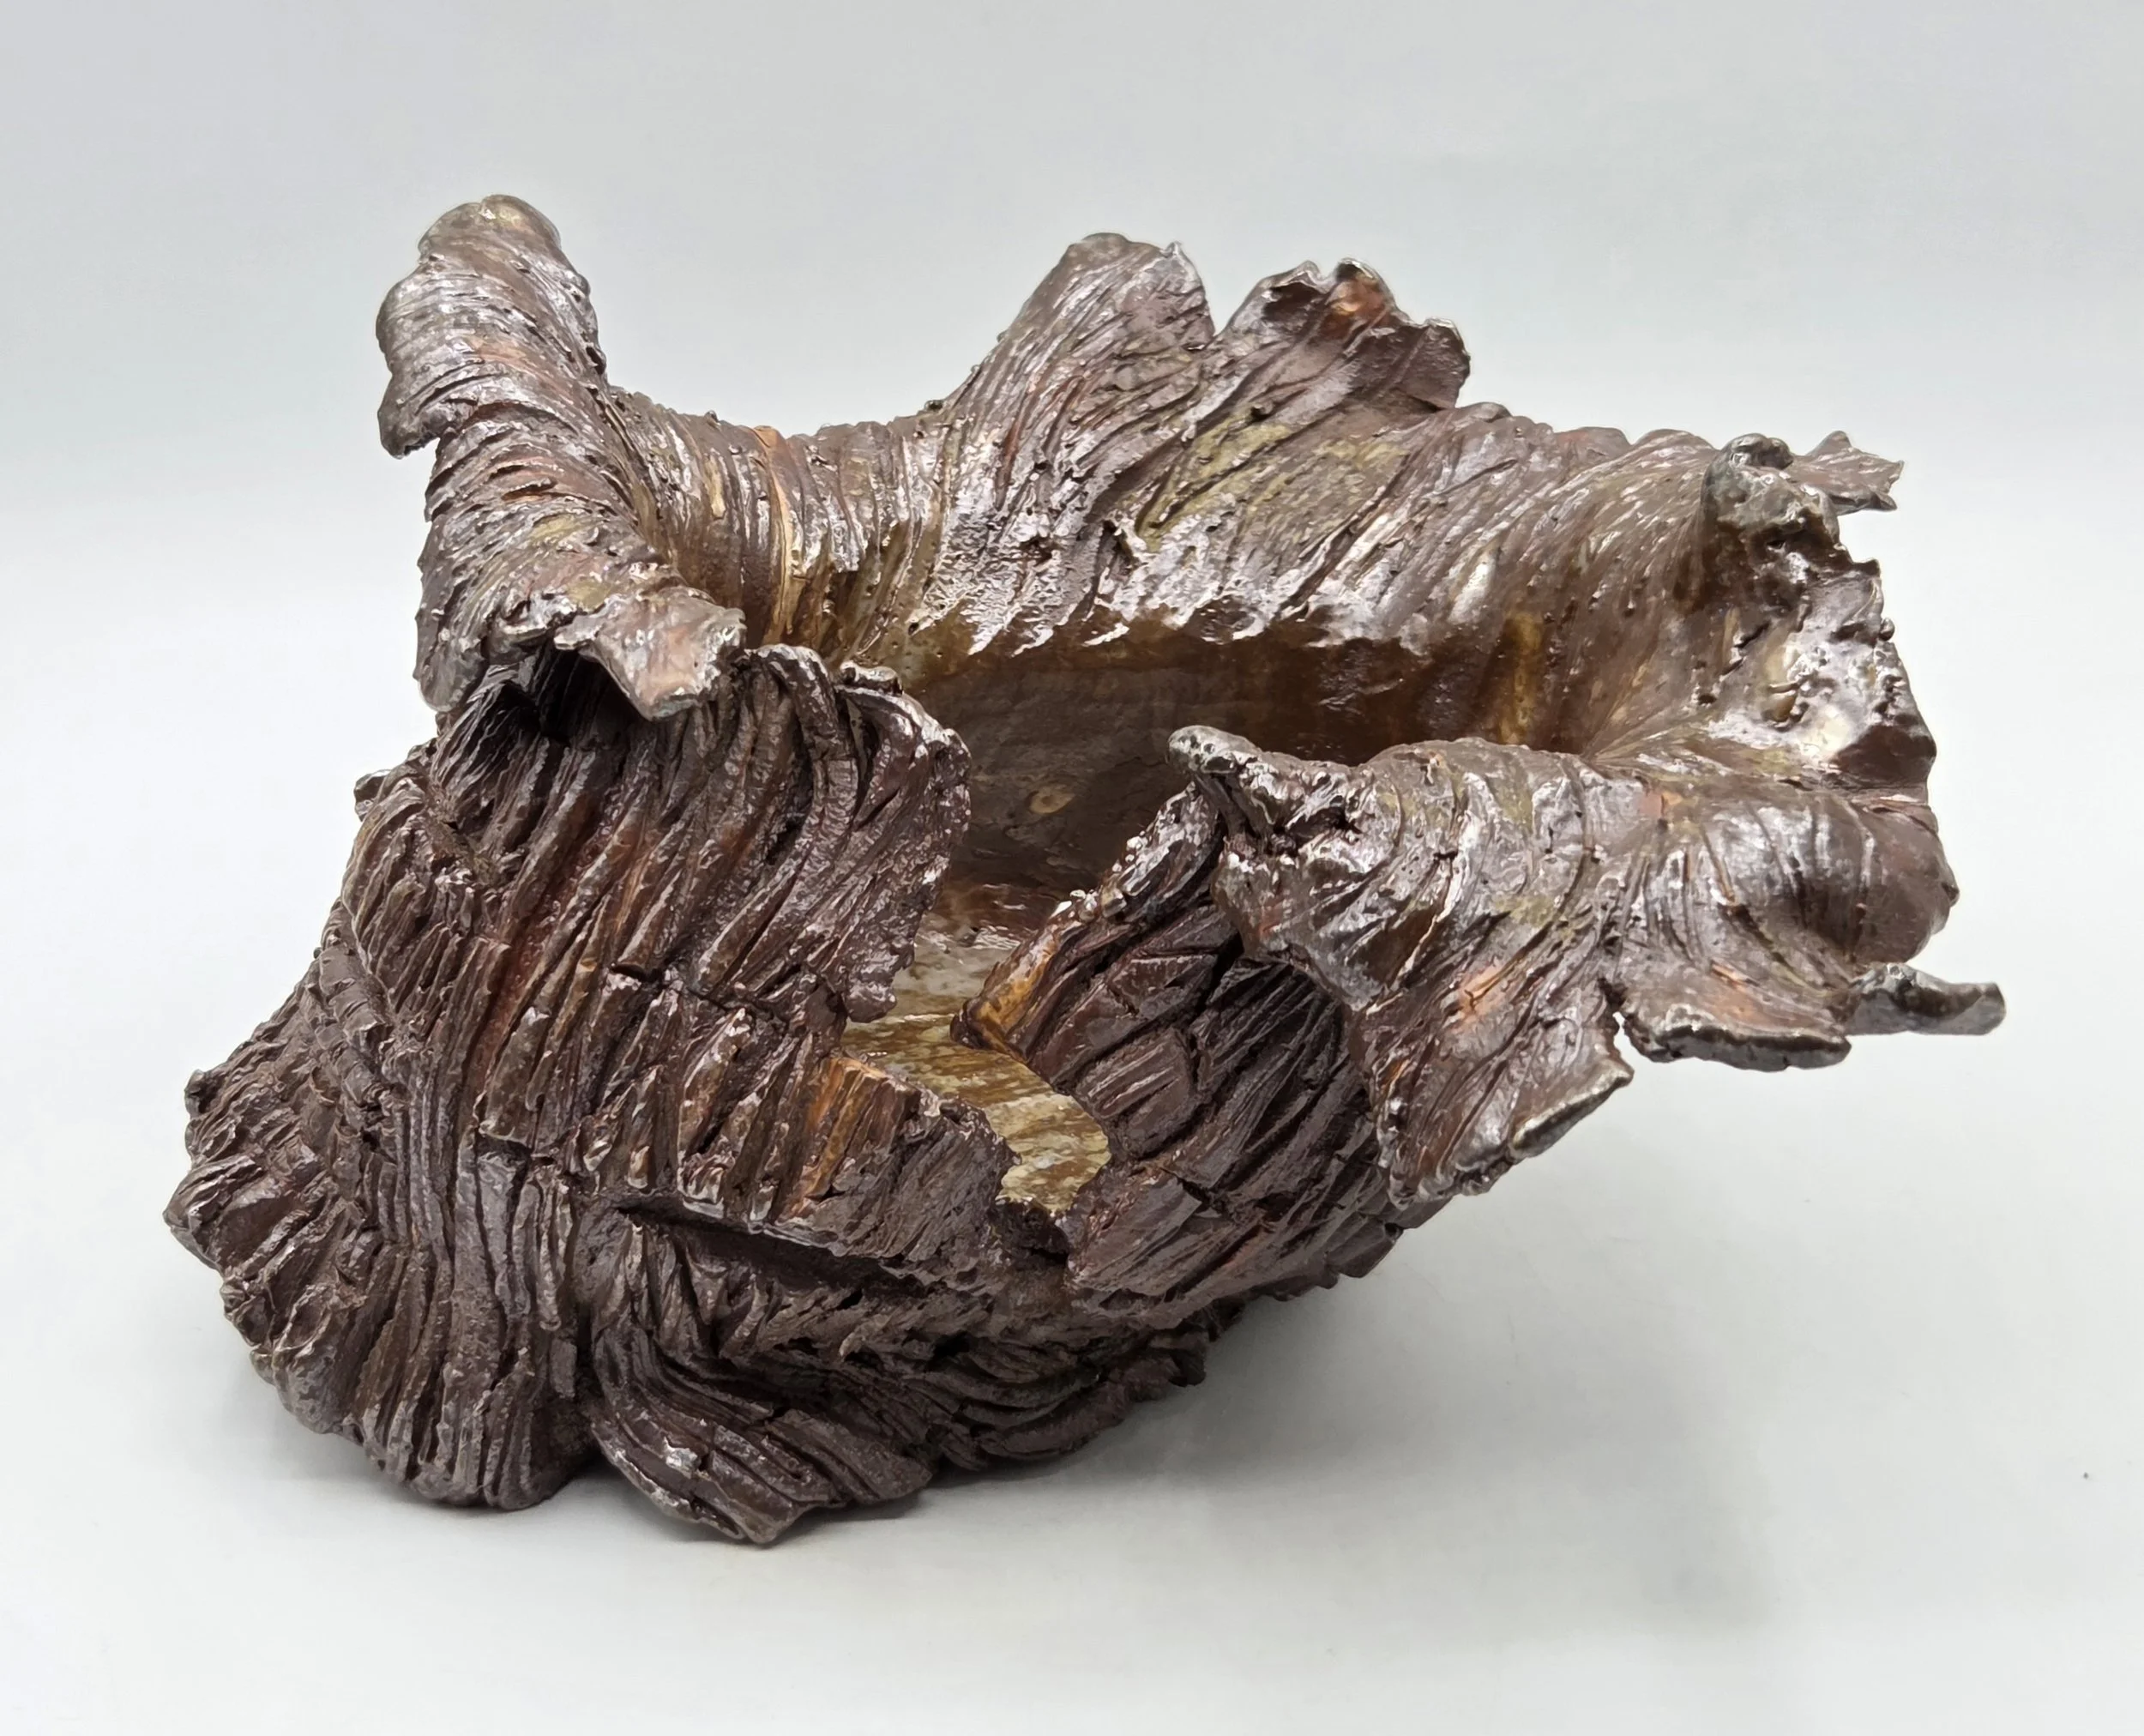
Earth Moves: One, soda fired, 2026
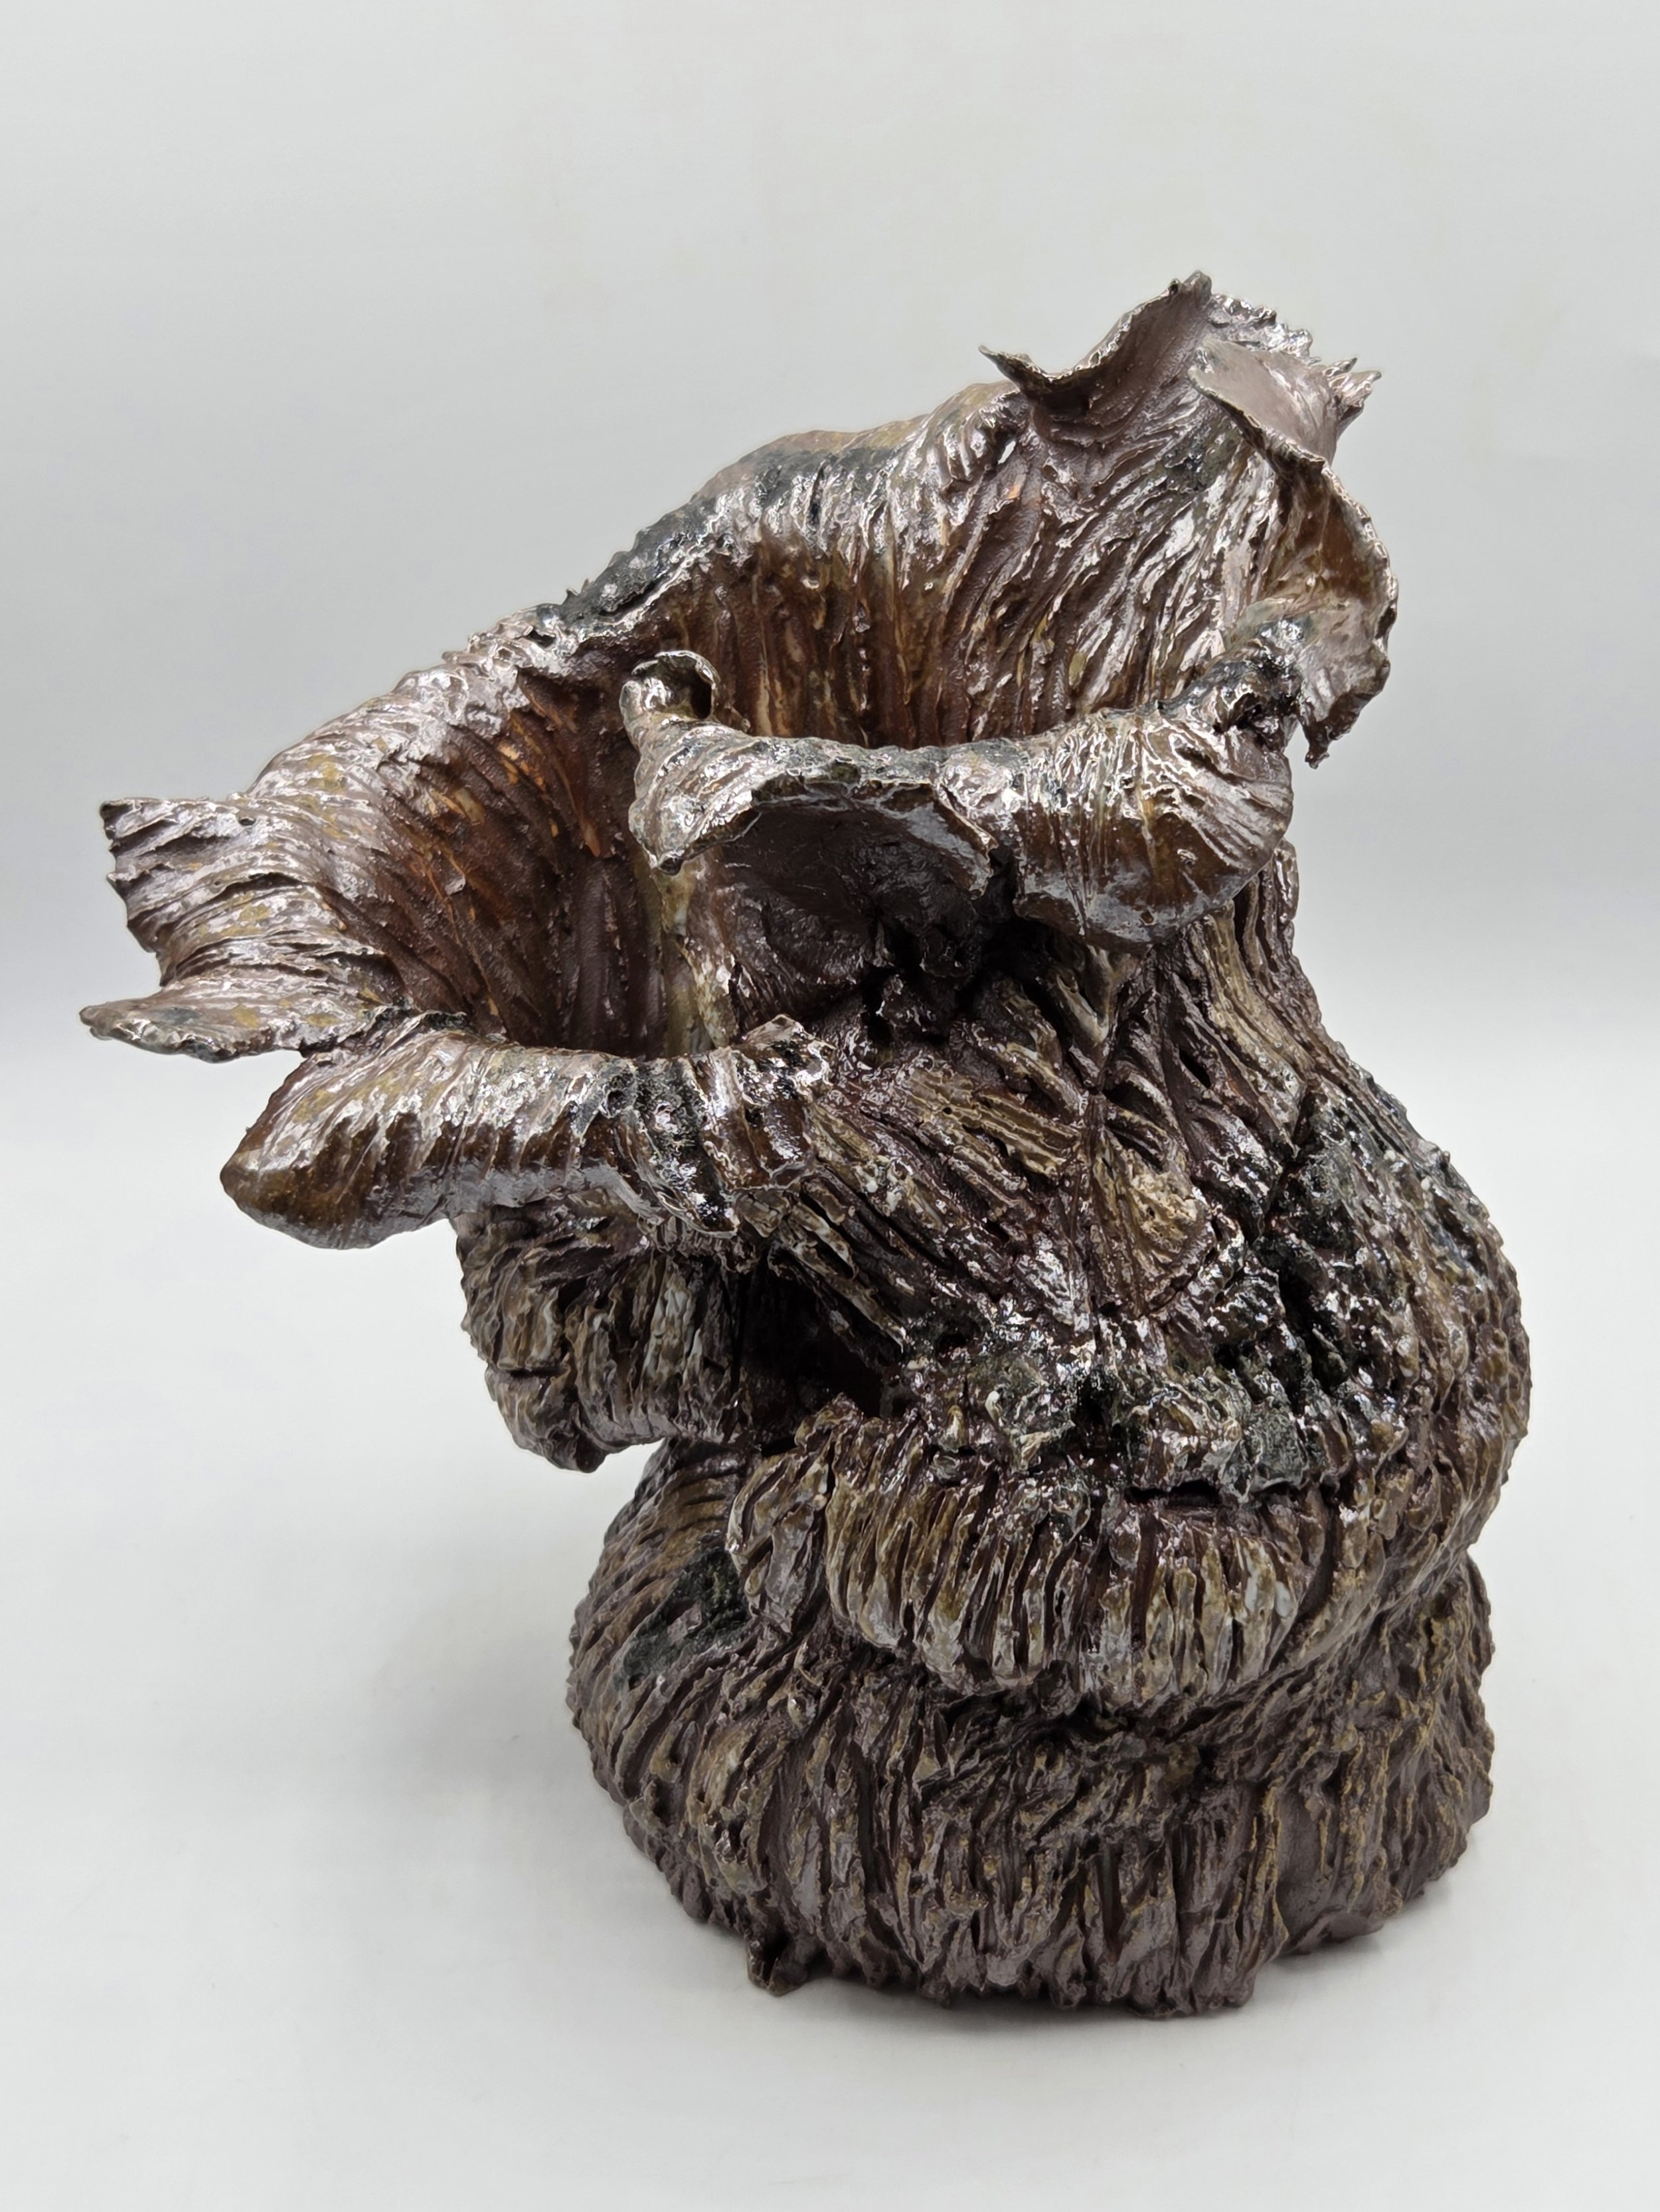
Earth Moves: Two, soda fired, 2026
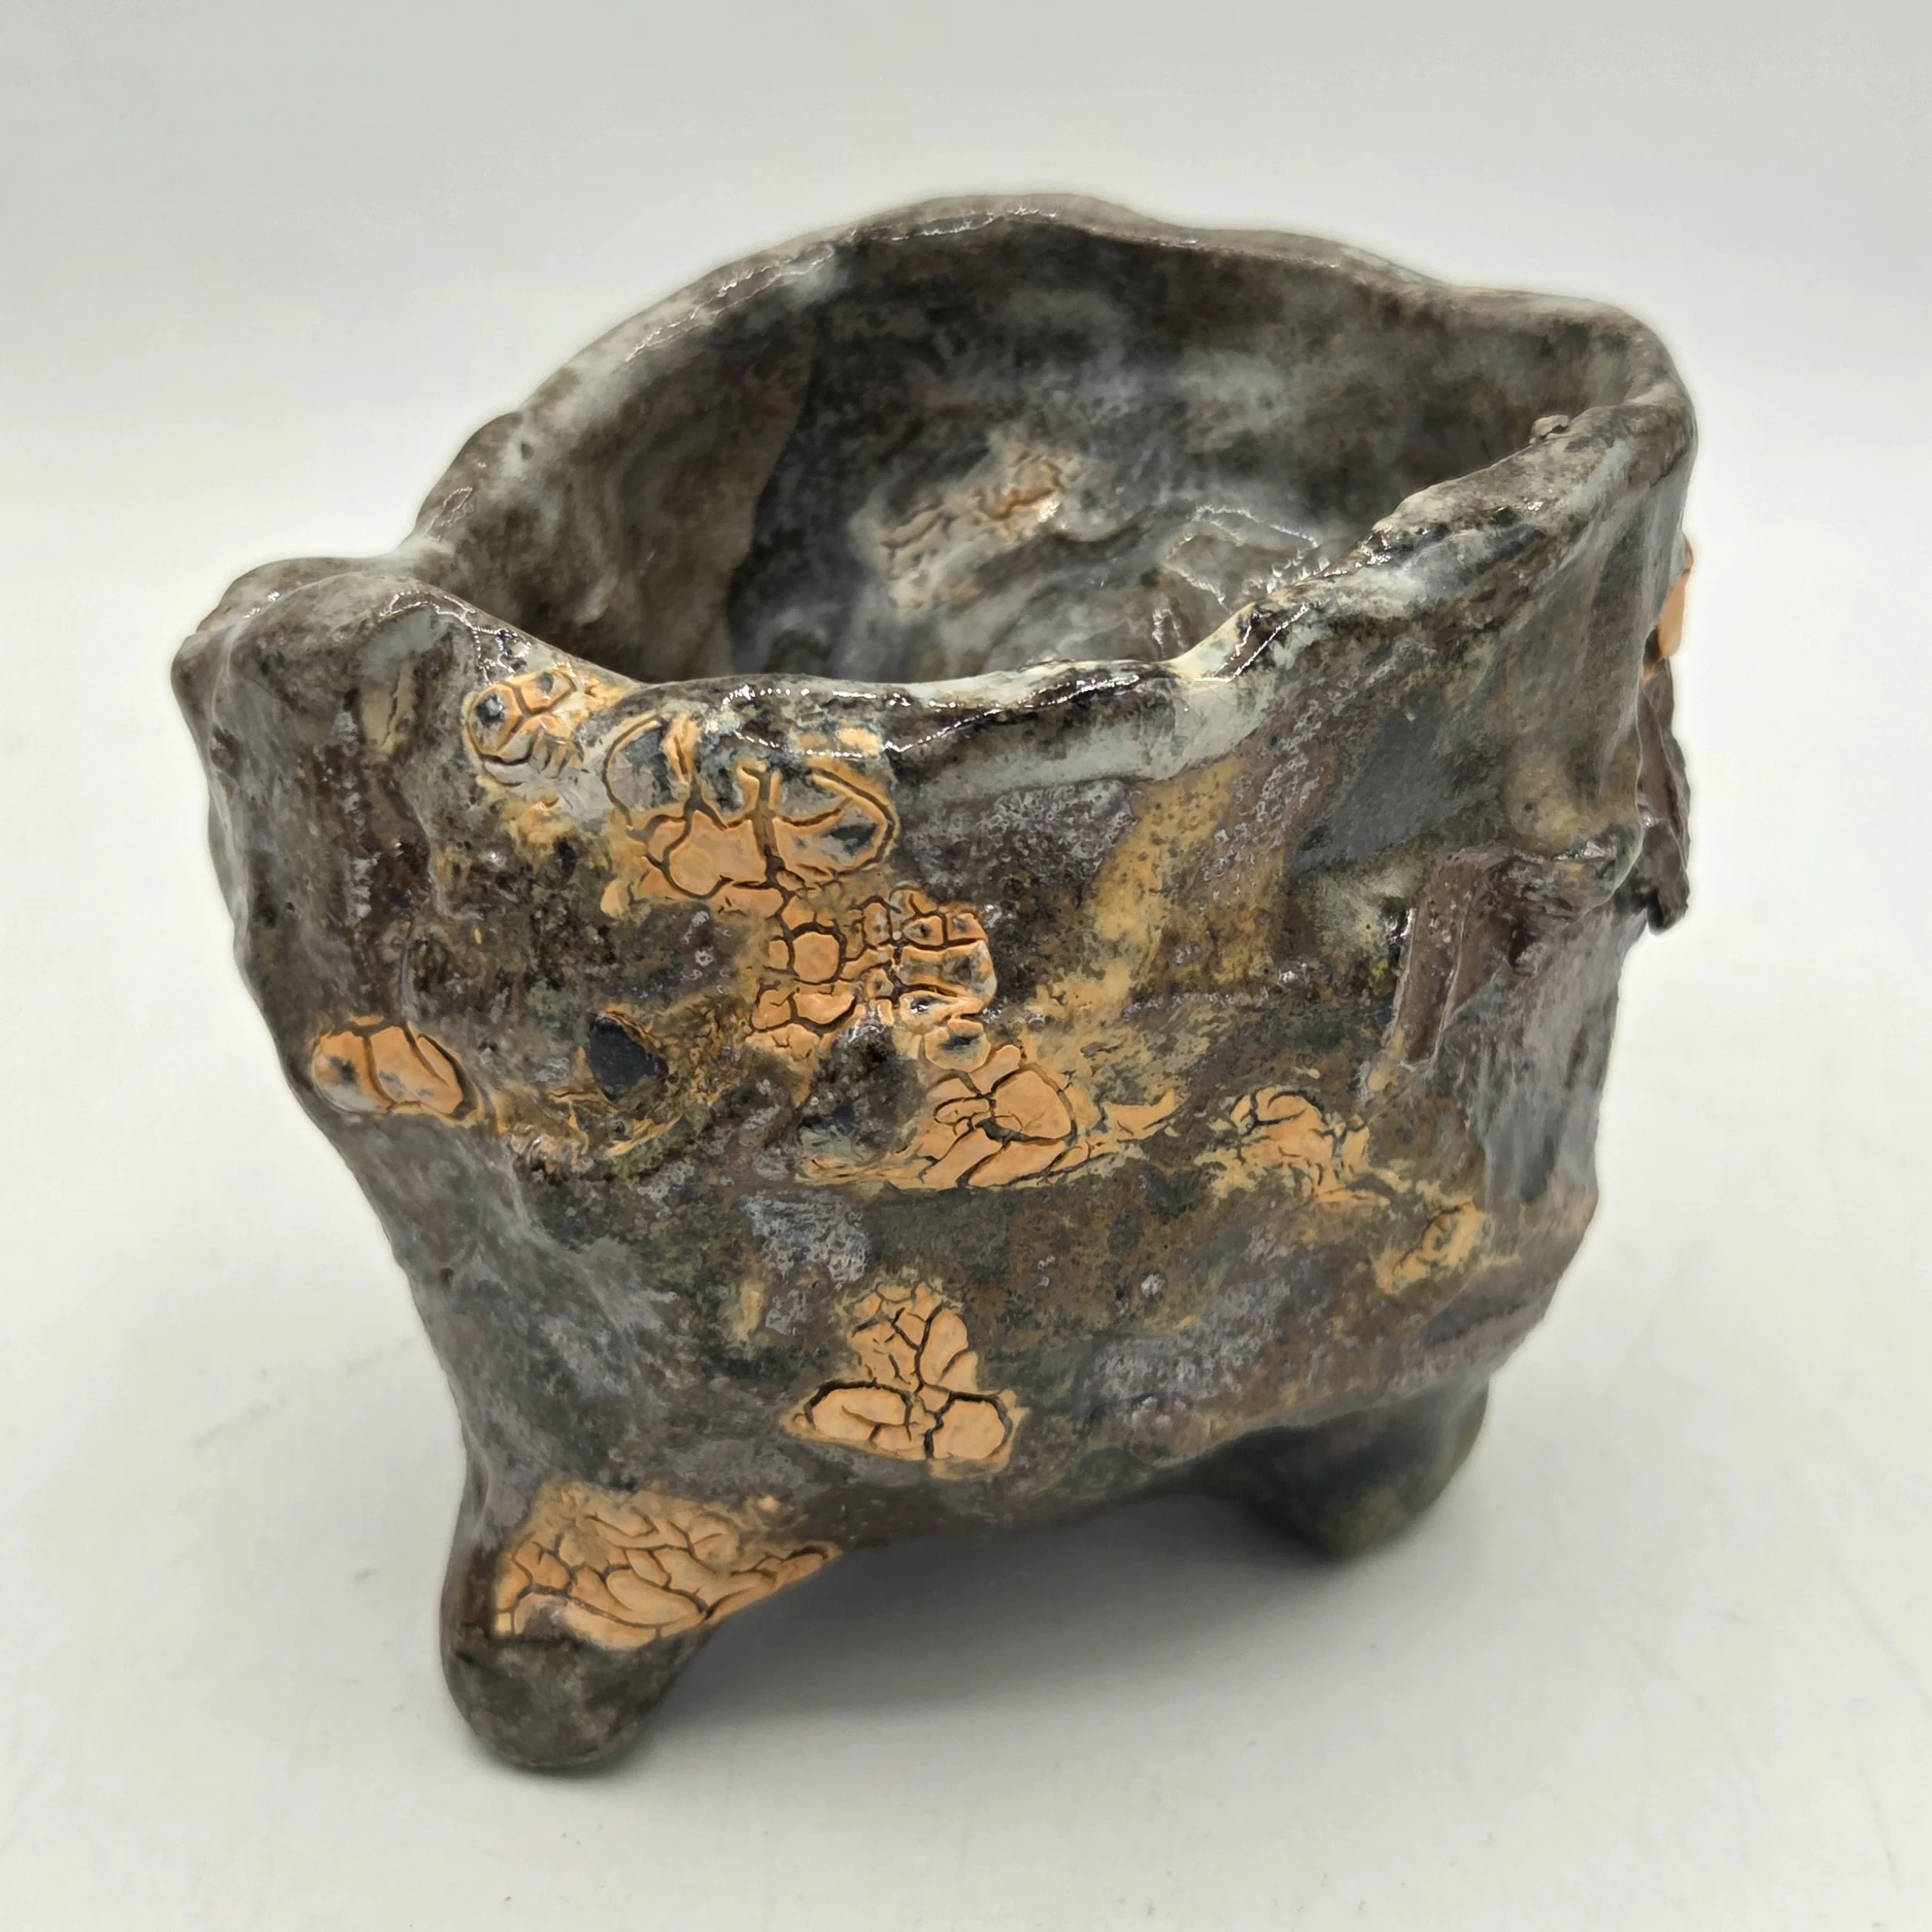
My First Kurinuki Form: The Process
Step 1: Texturing the Solid Block of Clay
The form has been hollowed out and a rim has been established
Adding texture and compressing a solid block of clay
Step 2: Hallowing & Refining Form
Step 3: Soda Firing
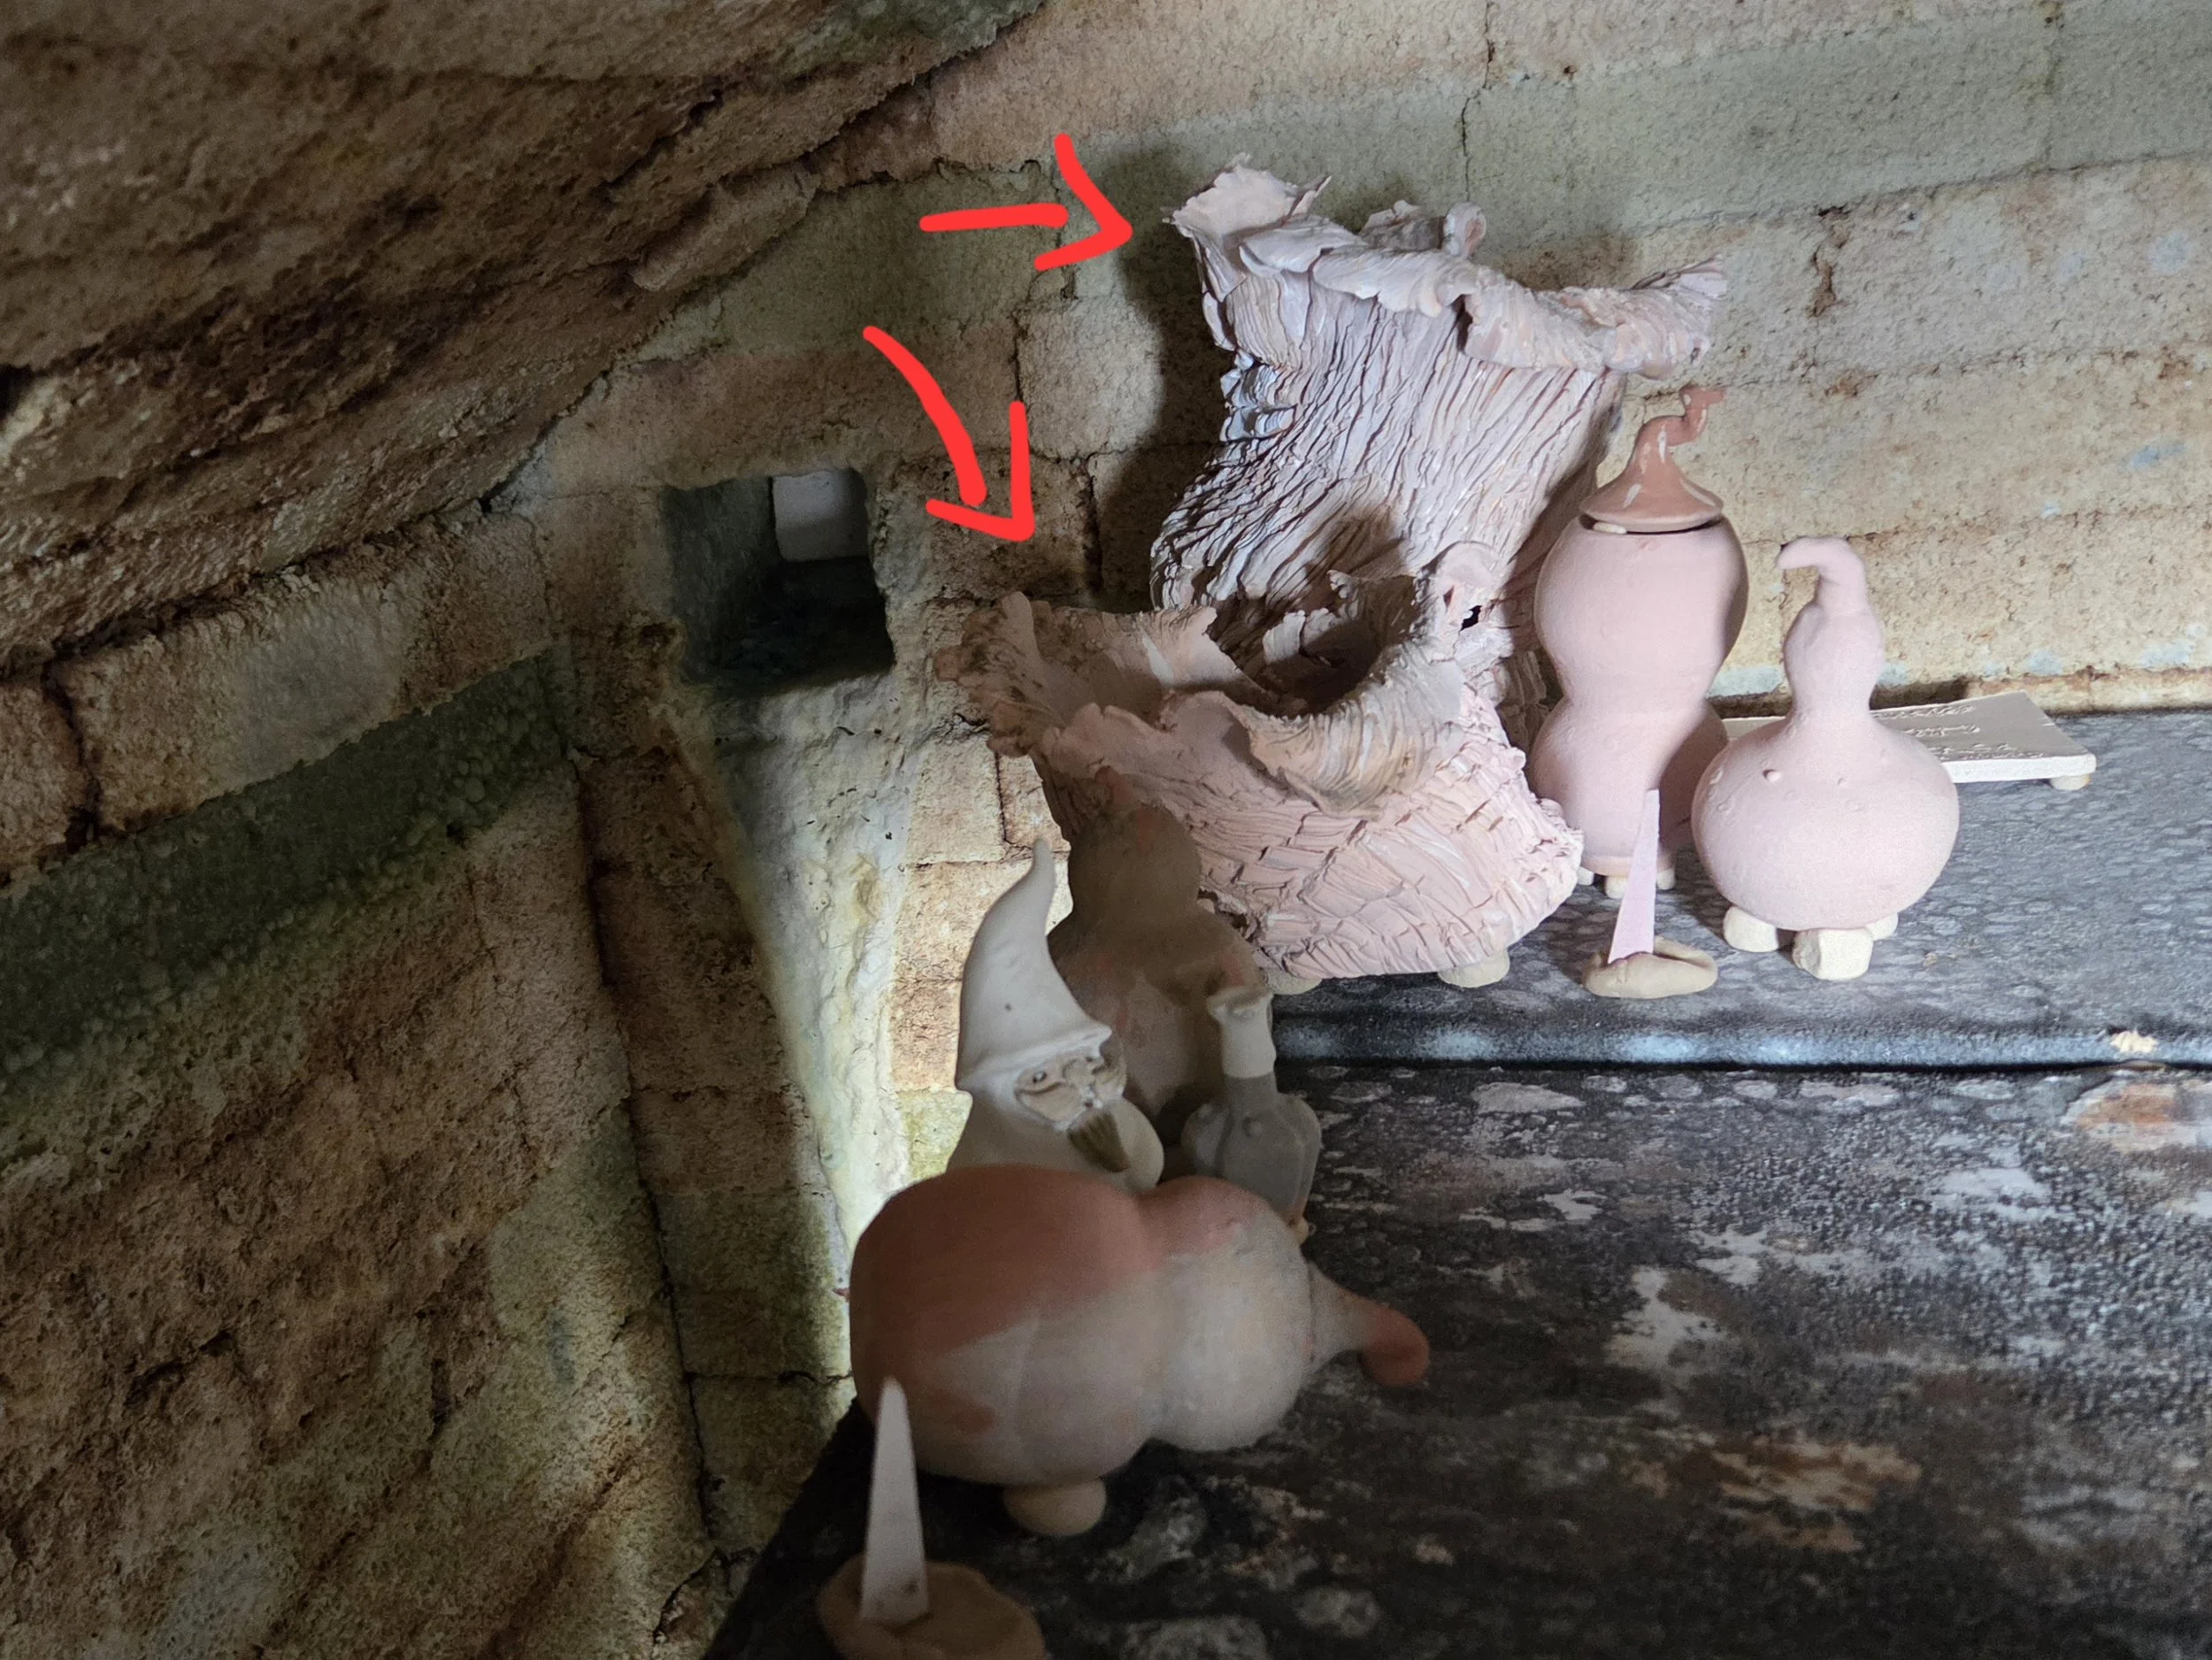
I placed two kurinuki sculptures on the top shelf closest to one of the soda ash sprayer ports. This C/10 Soda firing was the first soda firing for advanced ceramics as a collective.
Utilizing Seashells in a Soda Firing
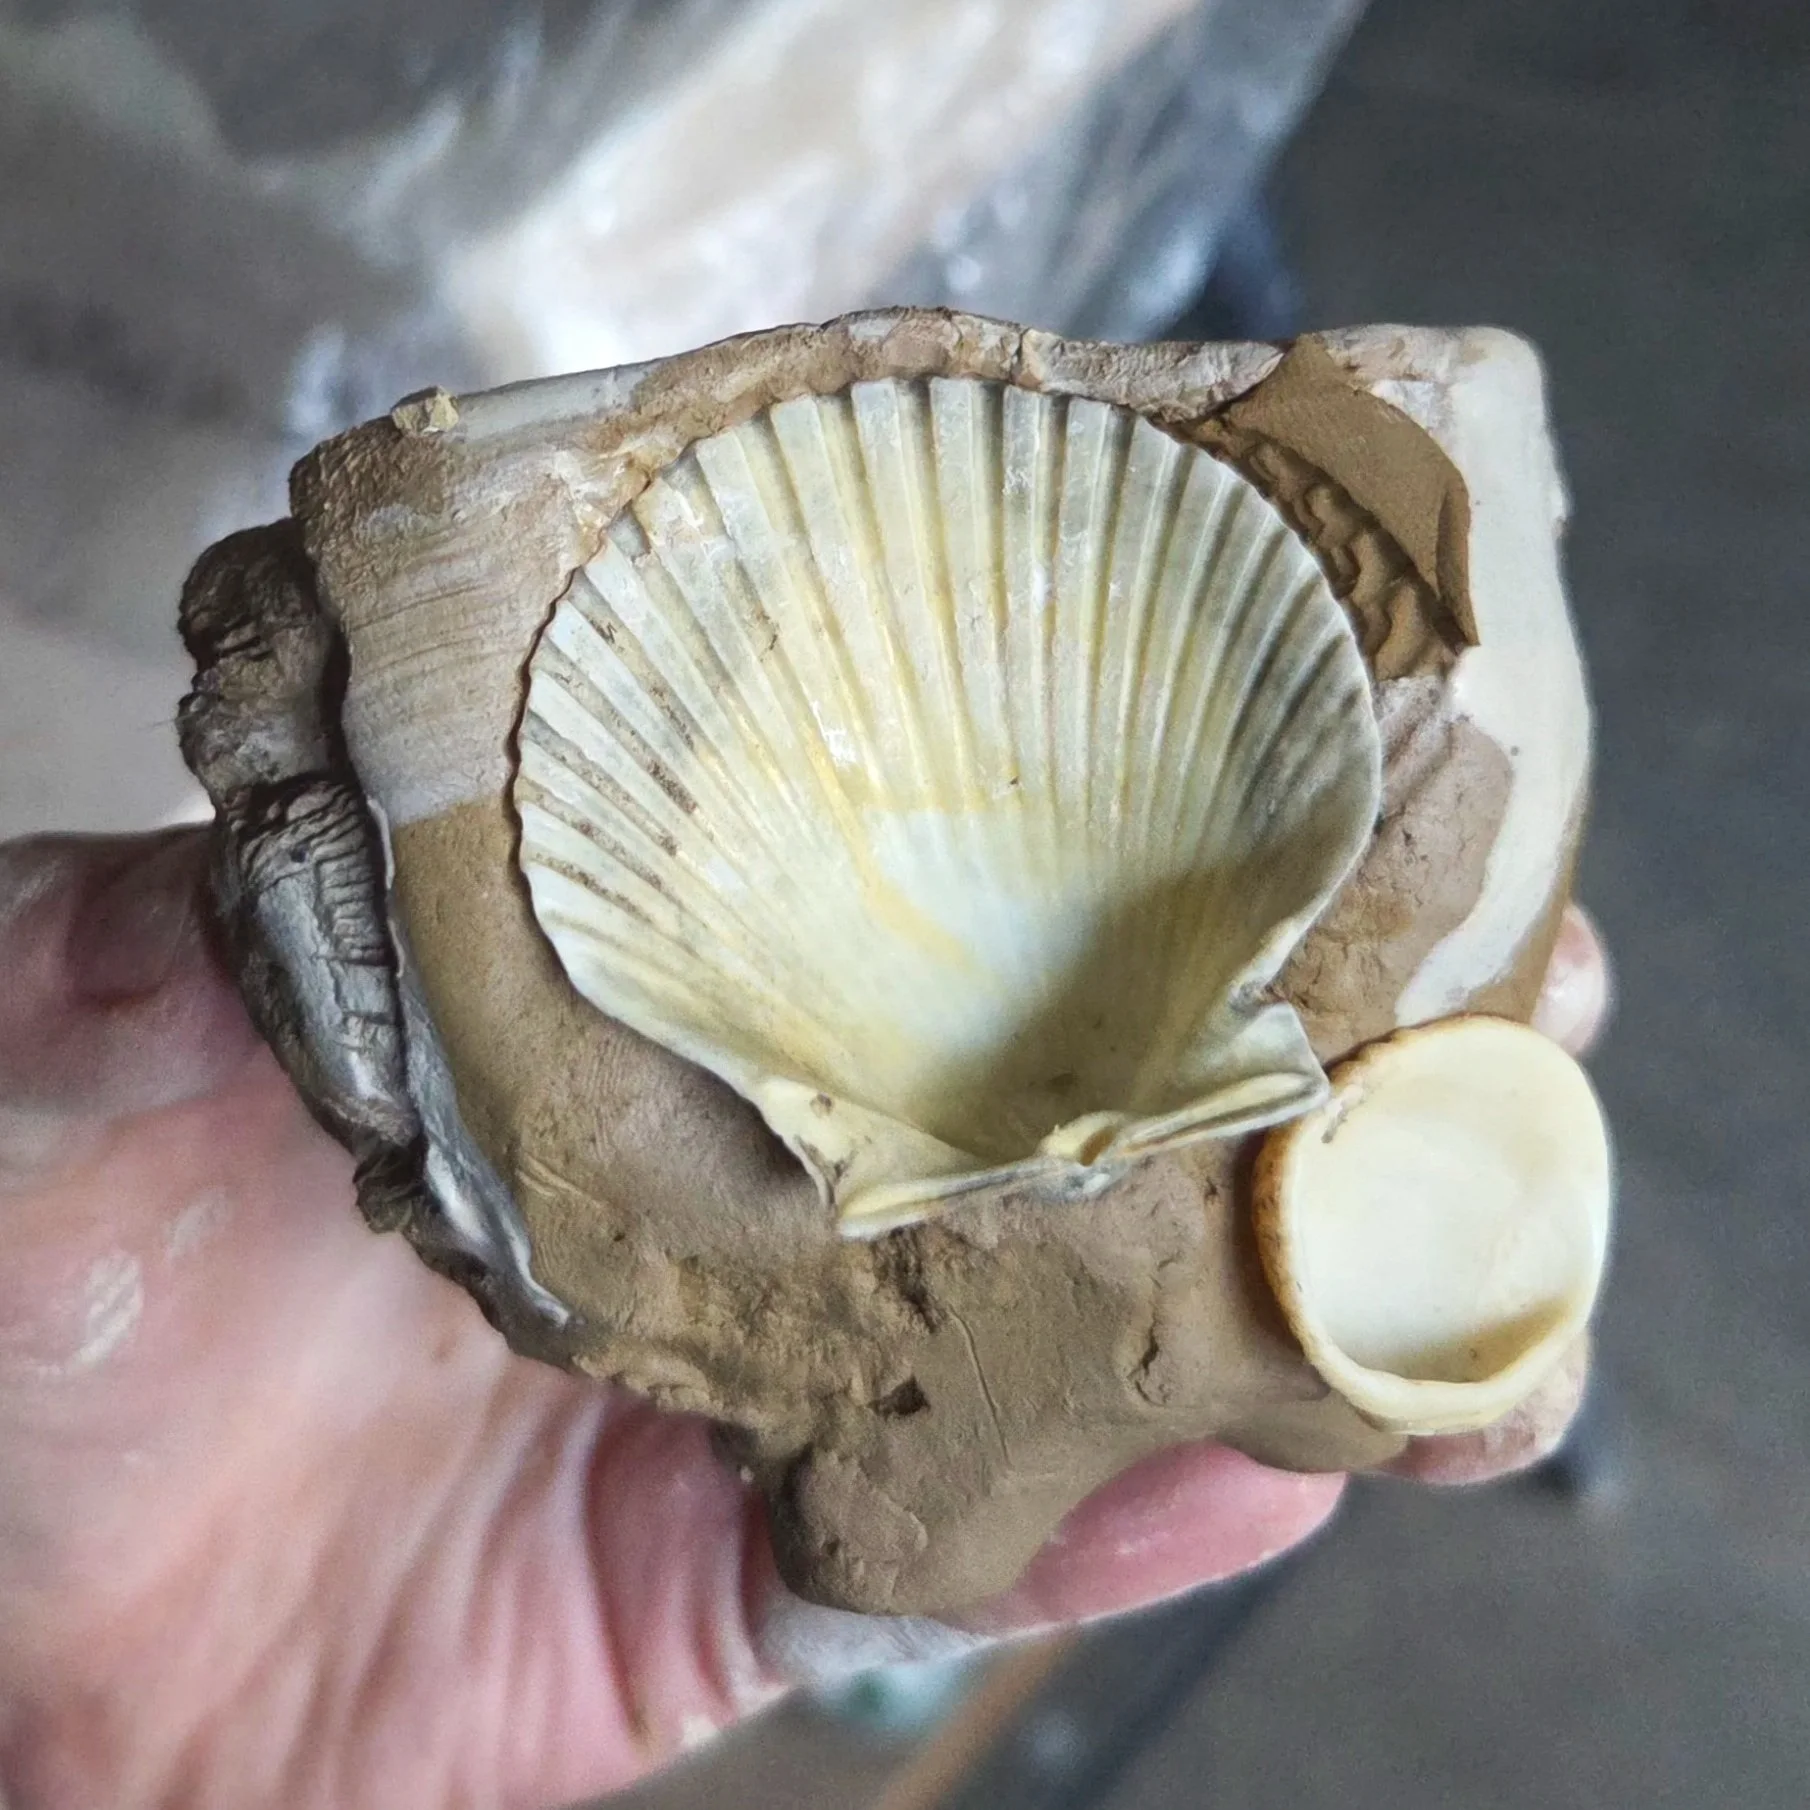
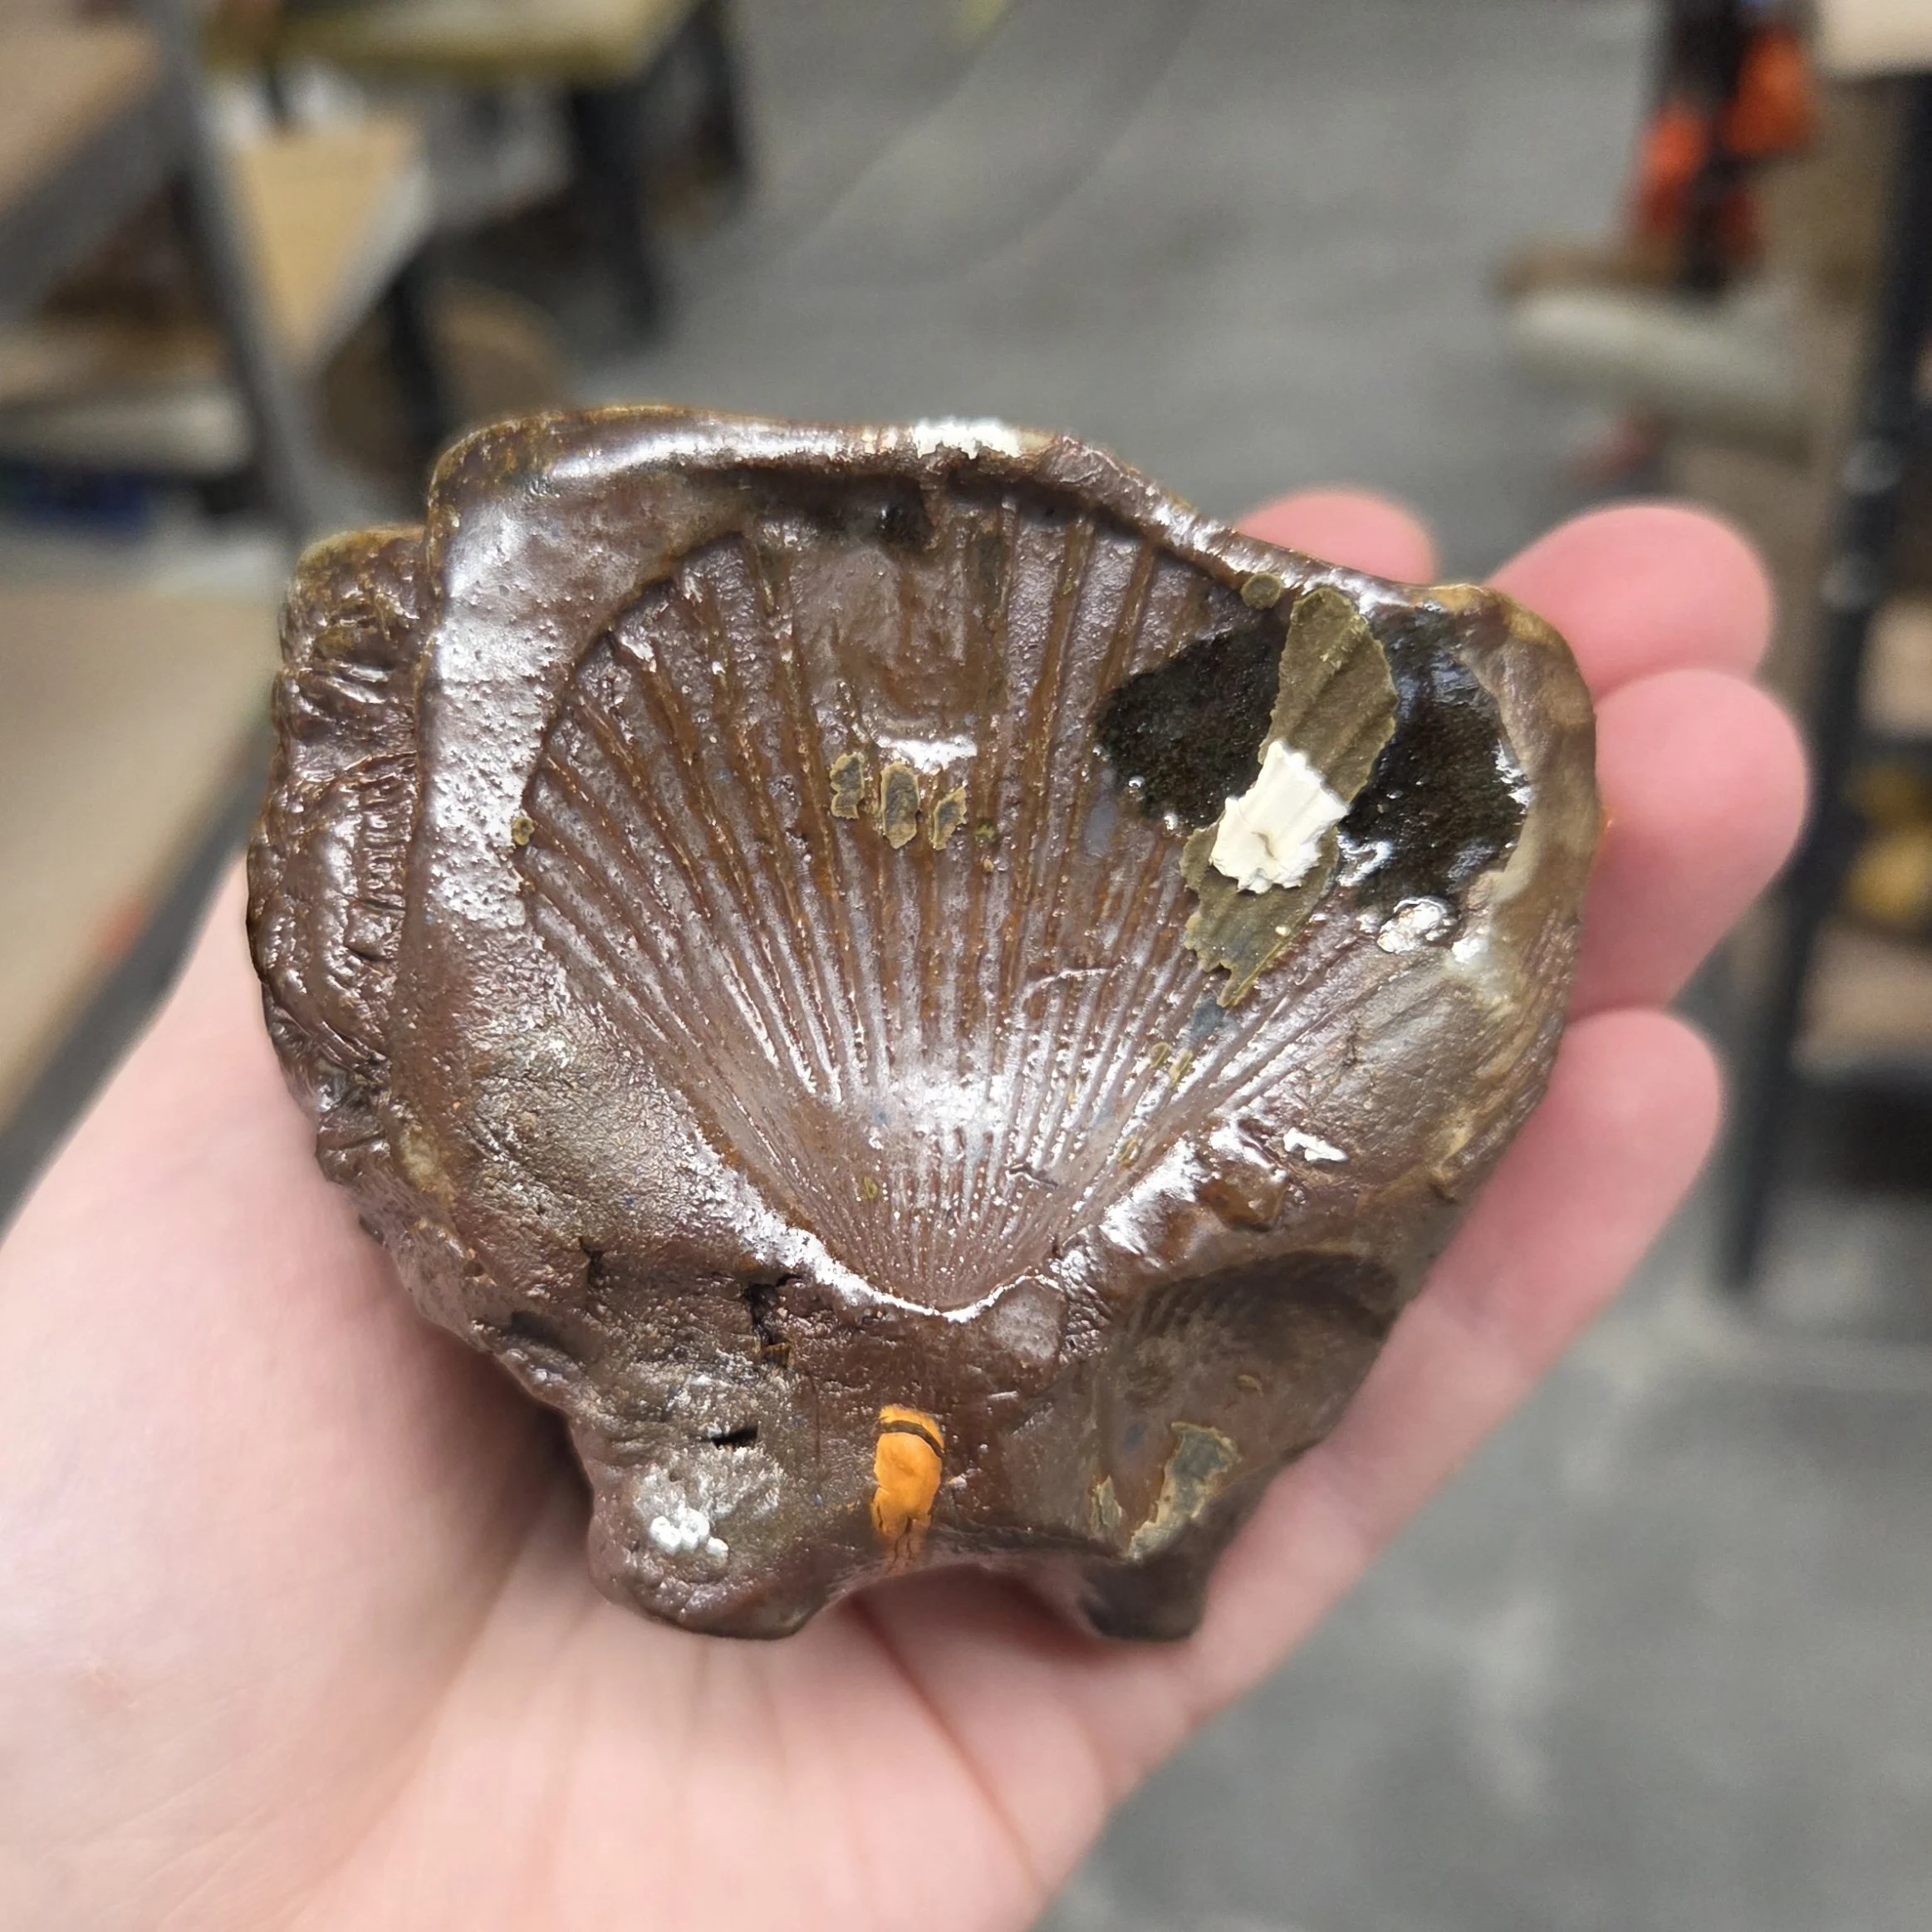
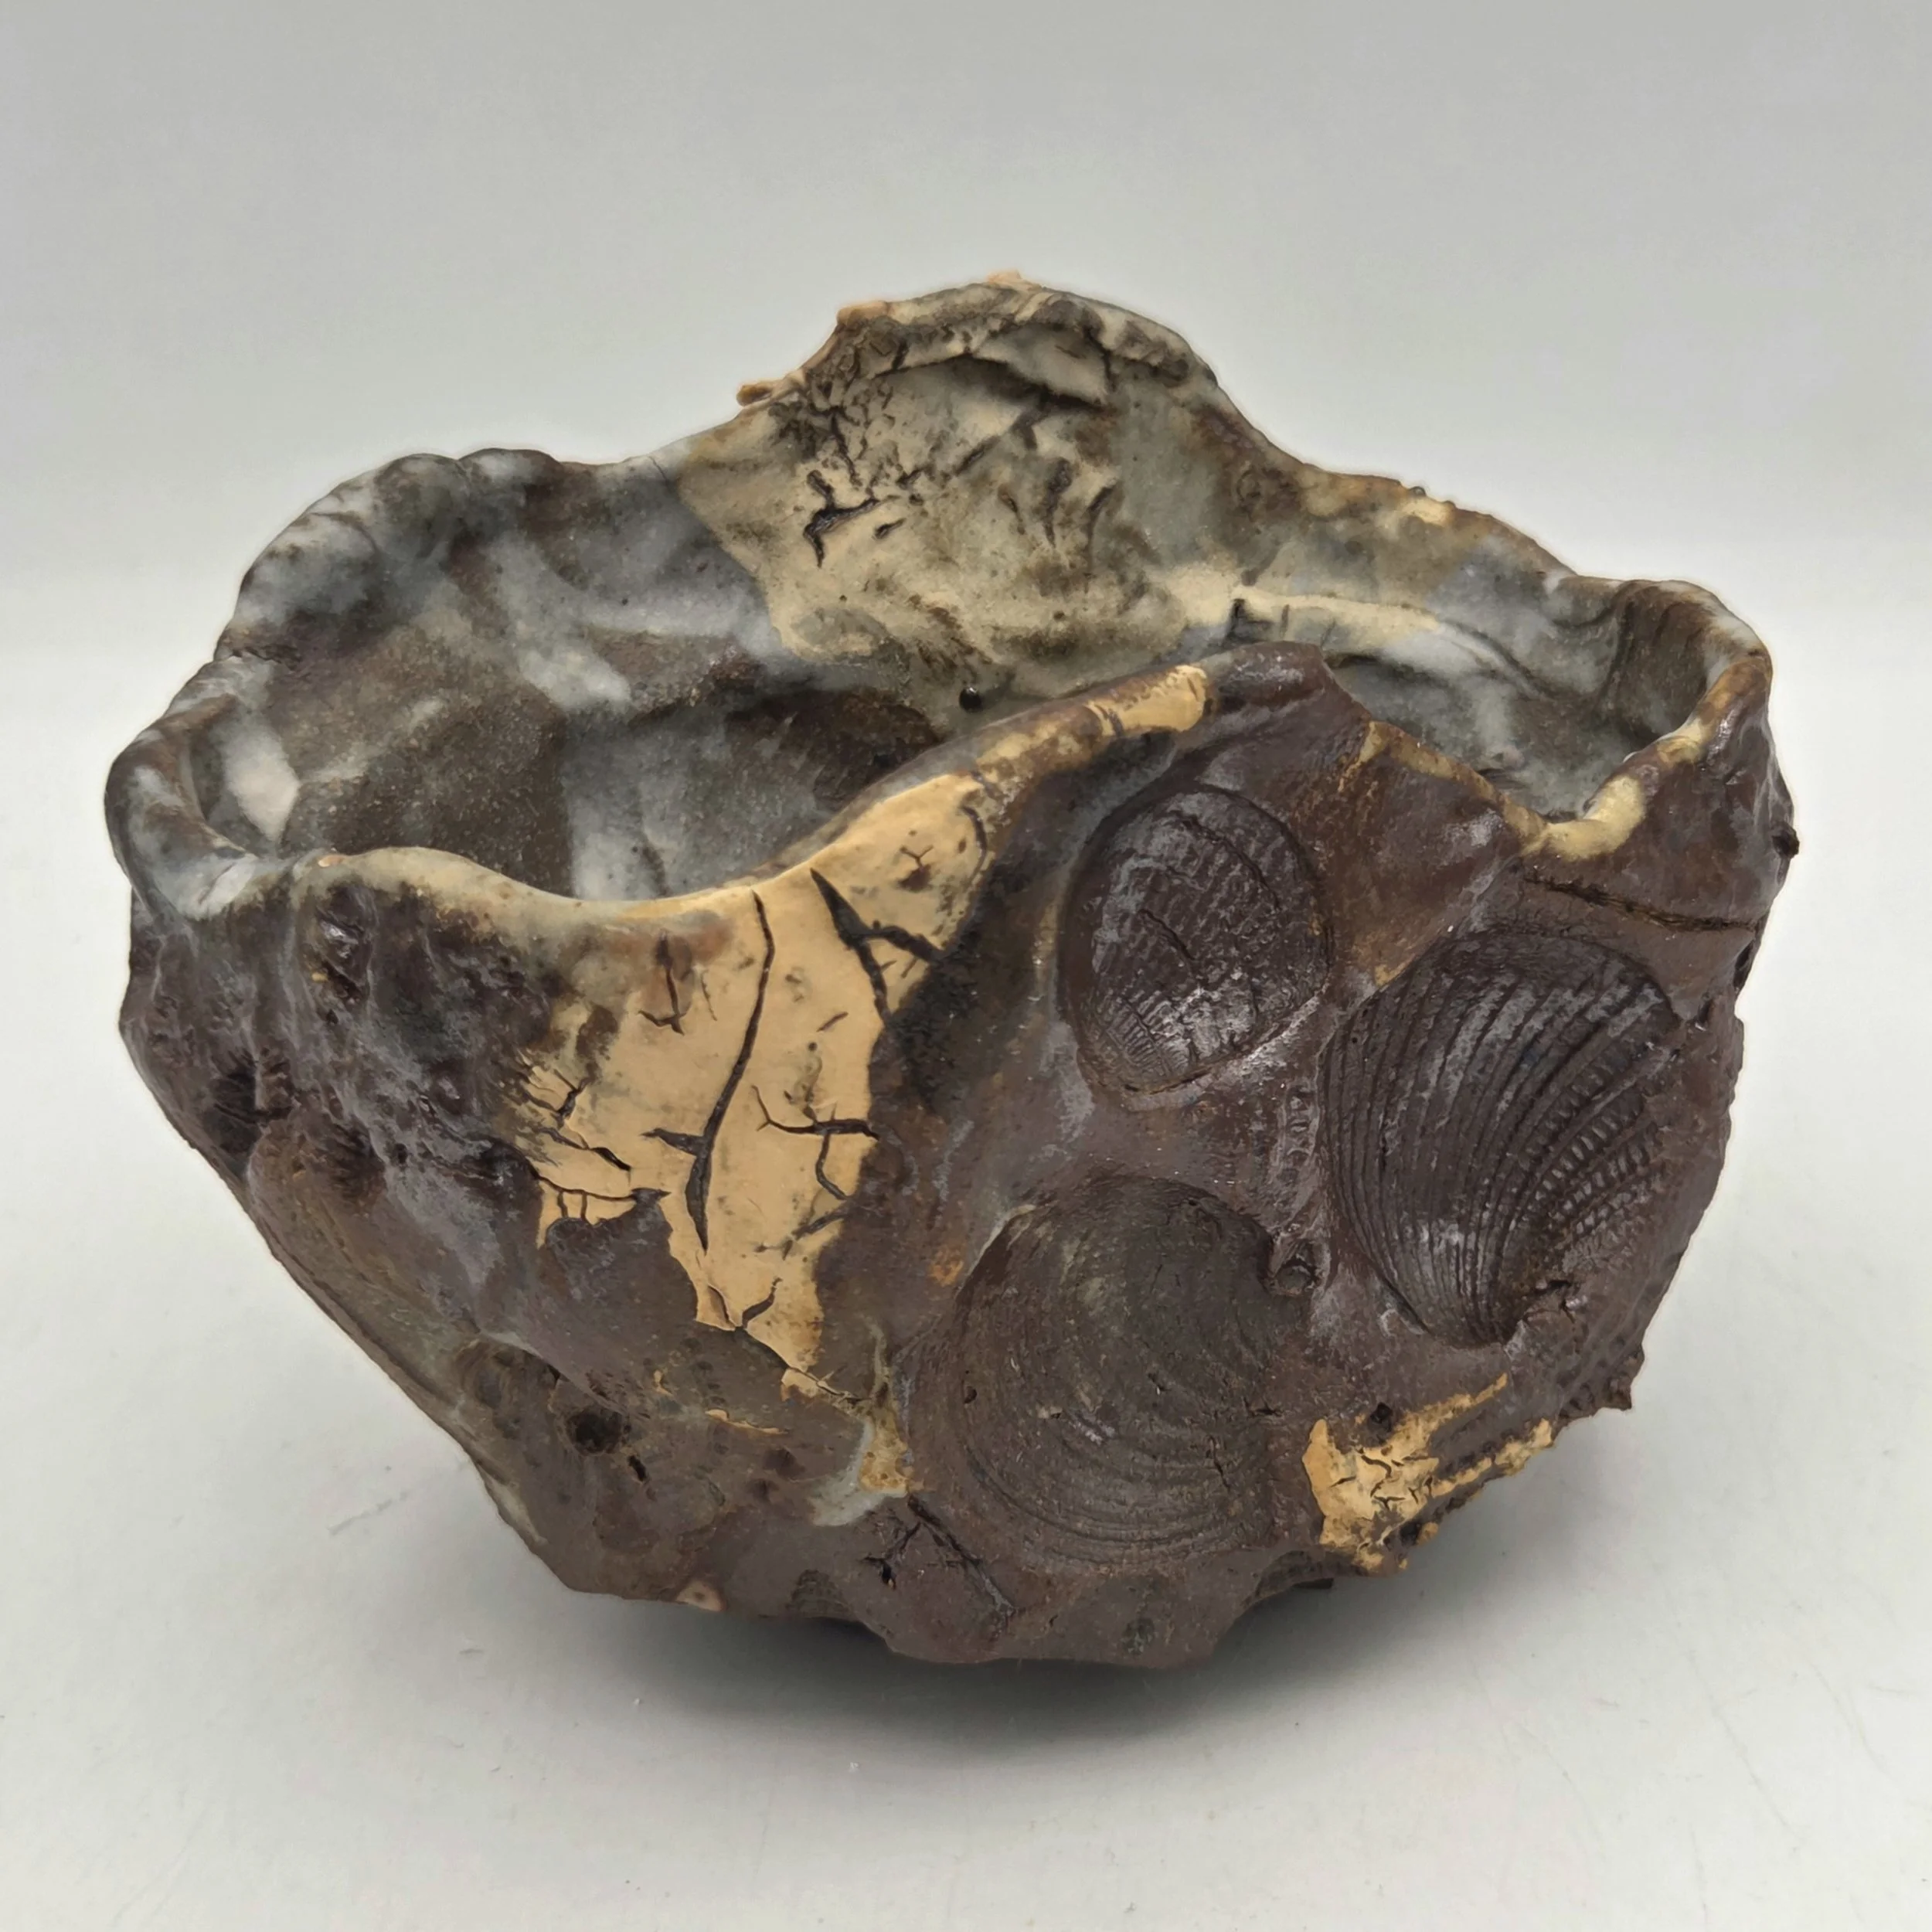
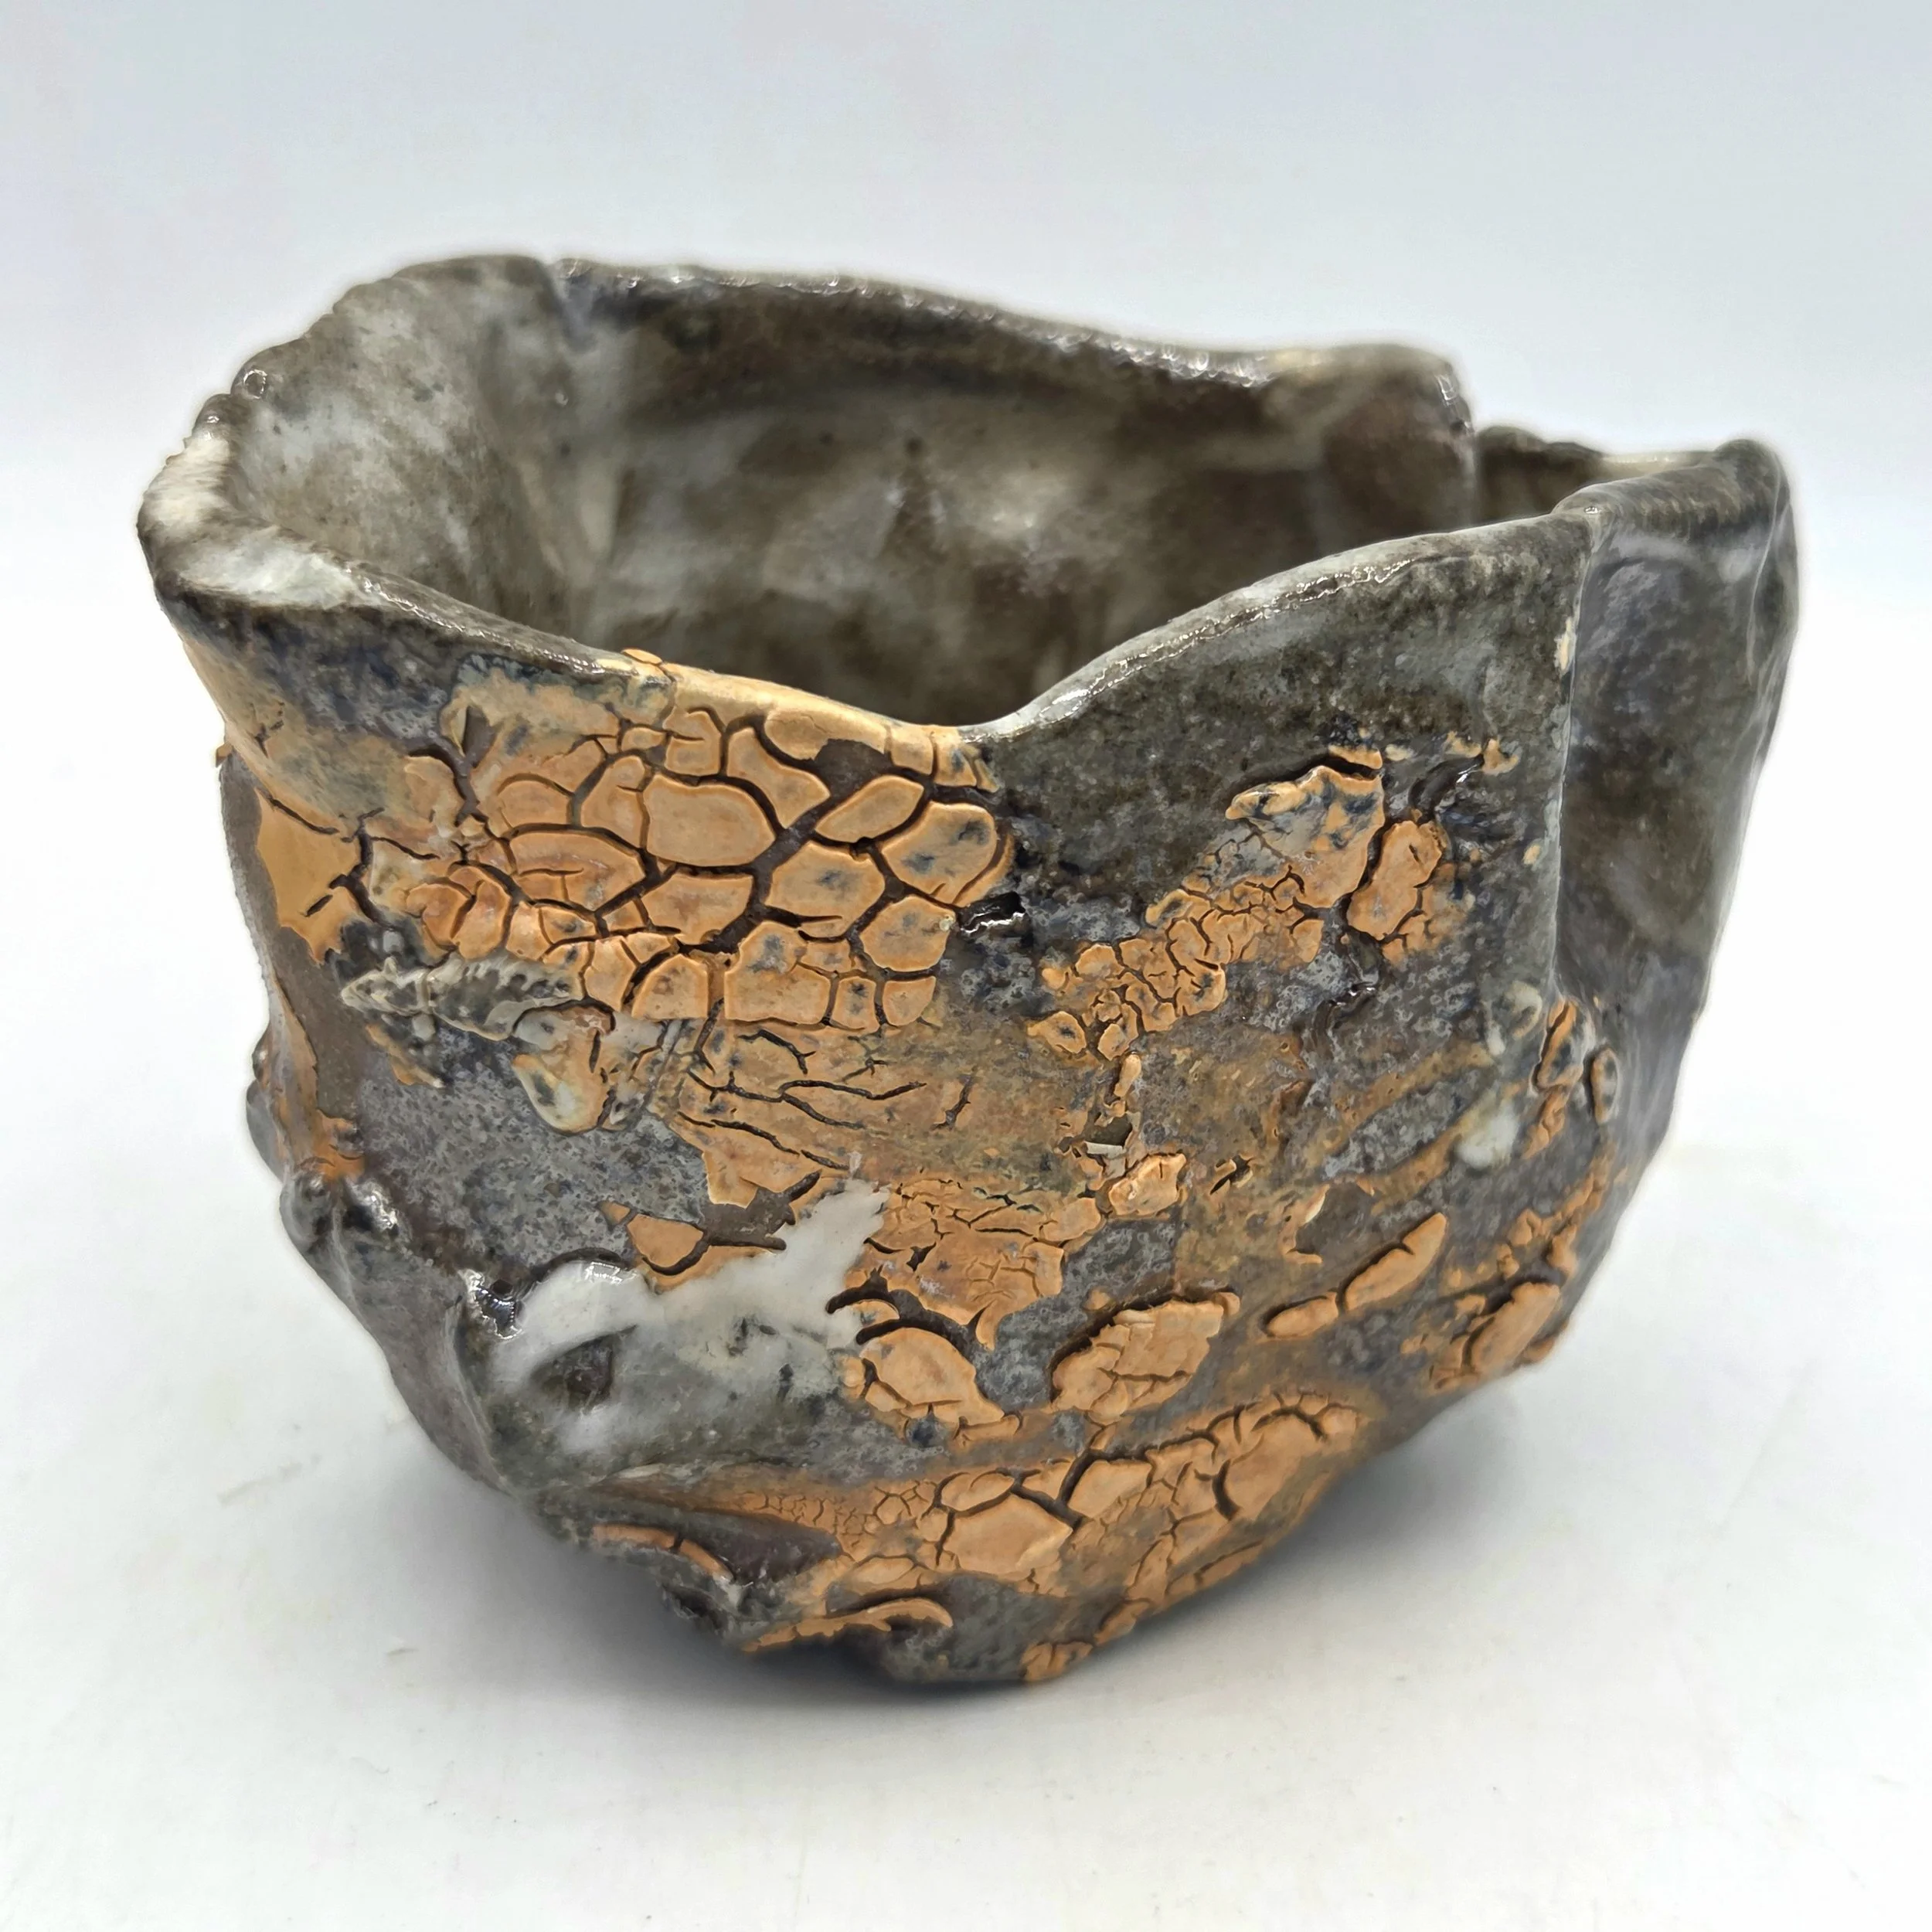
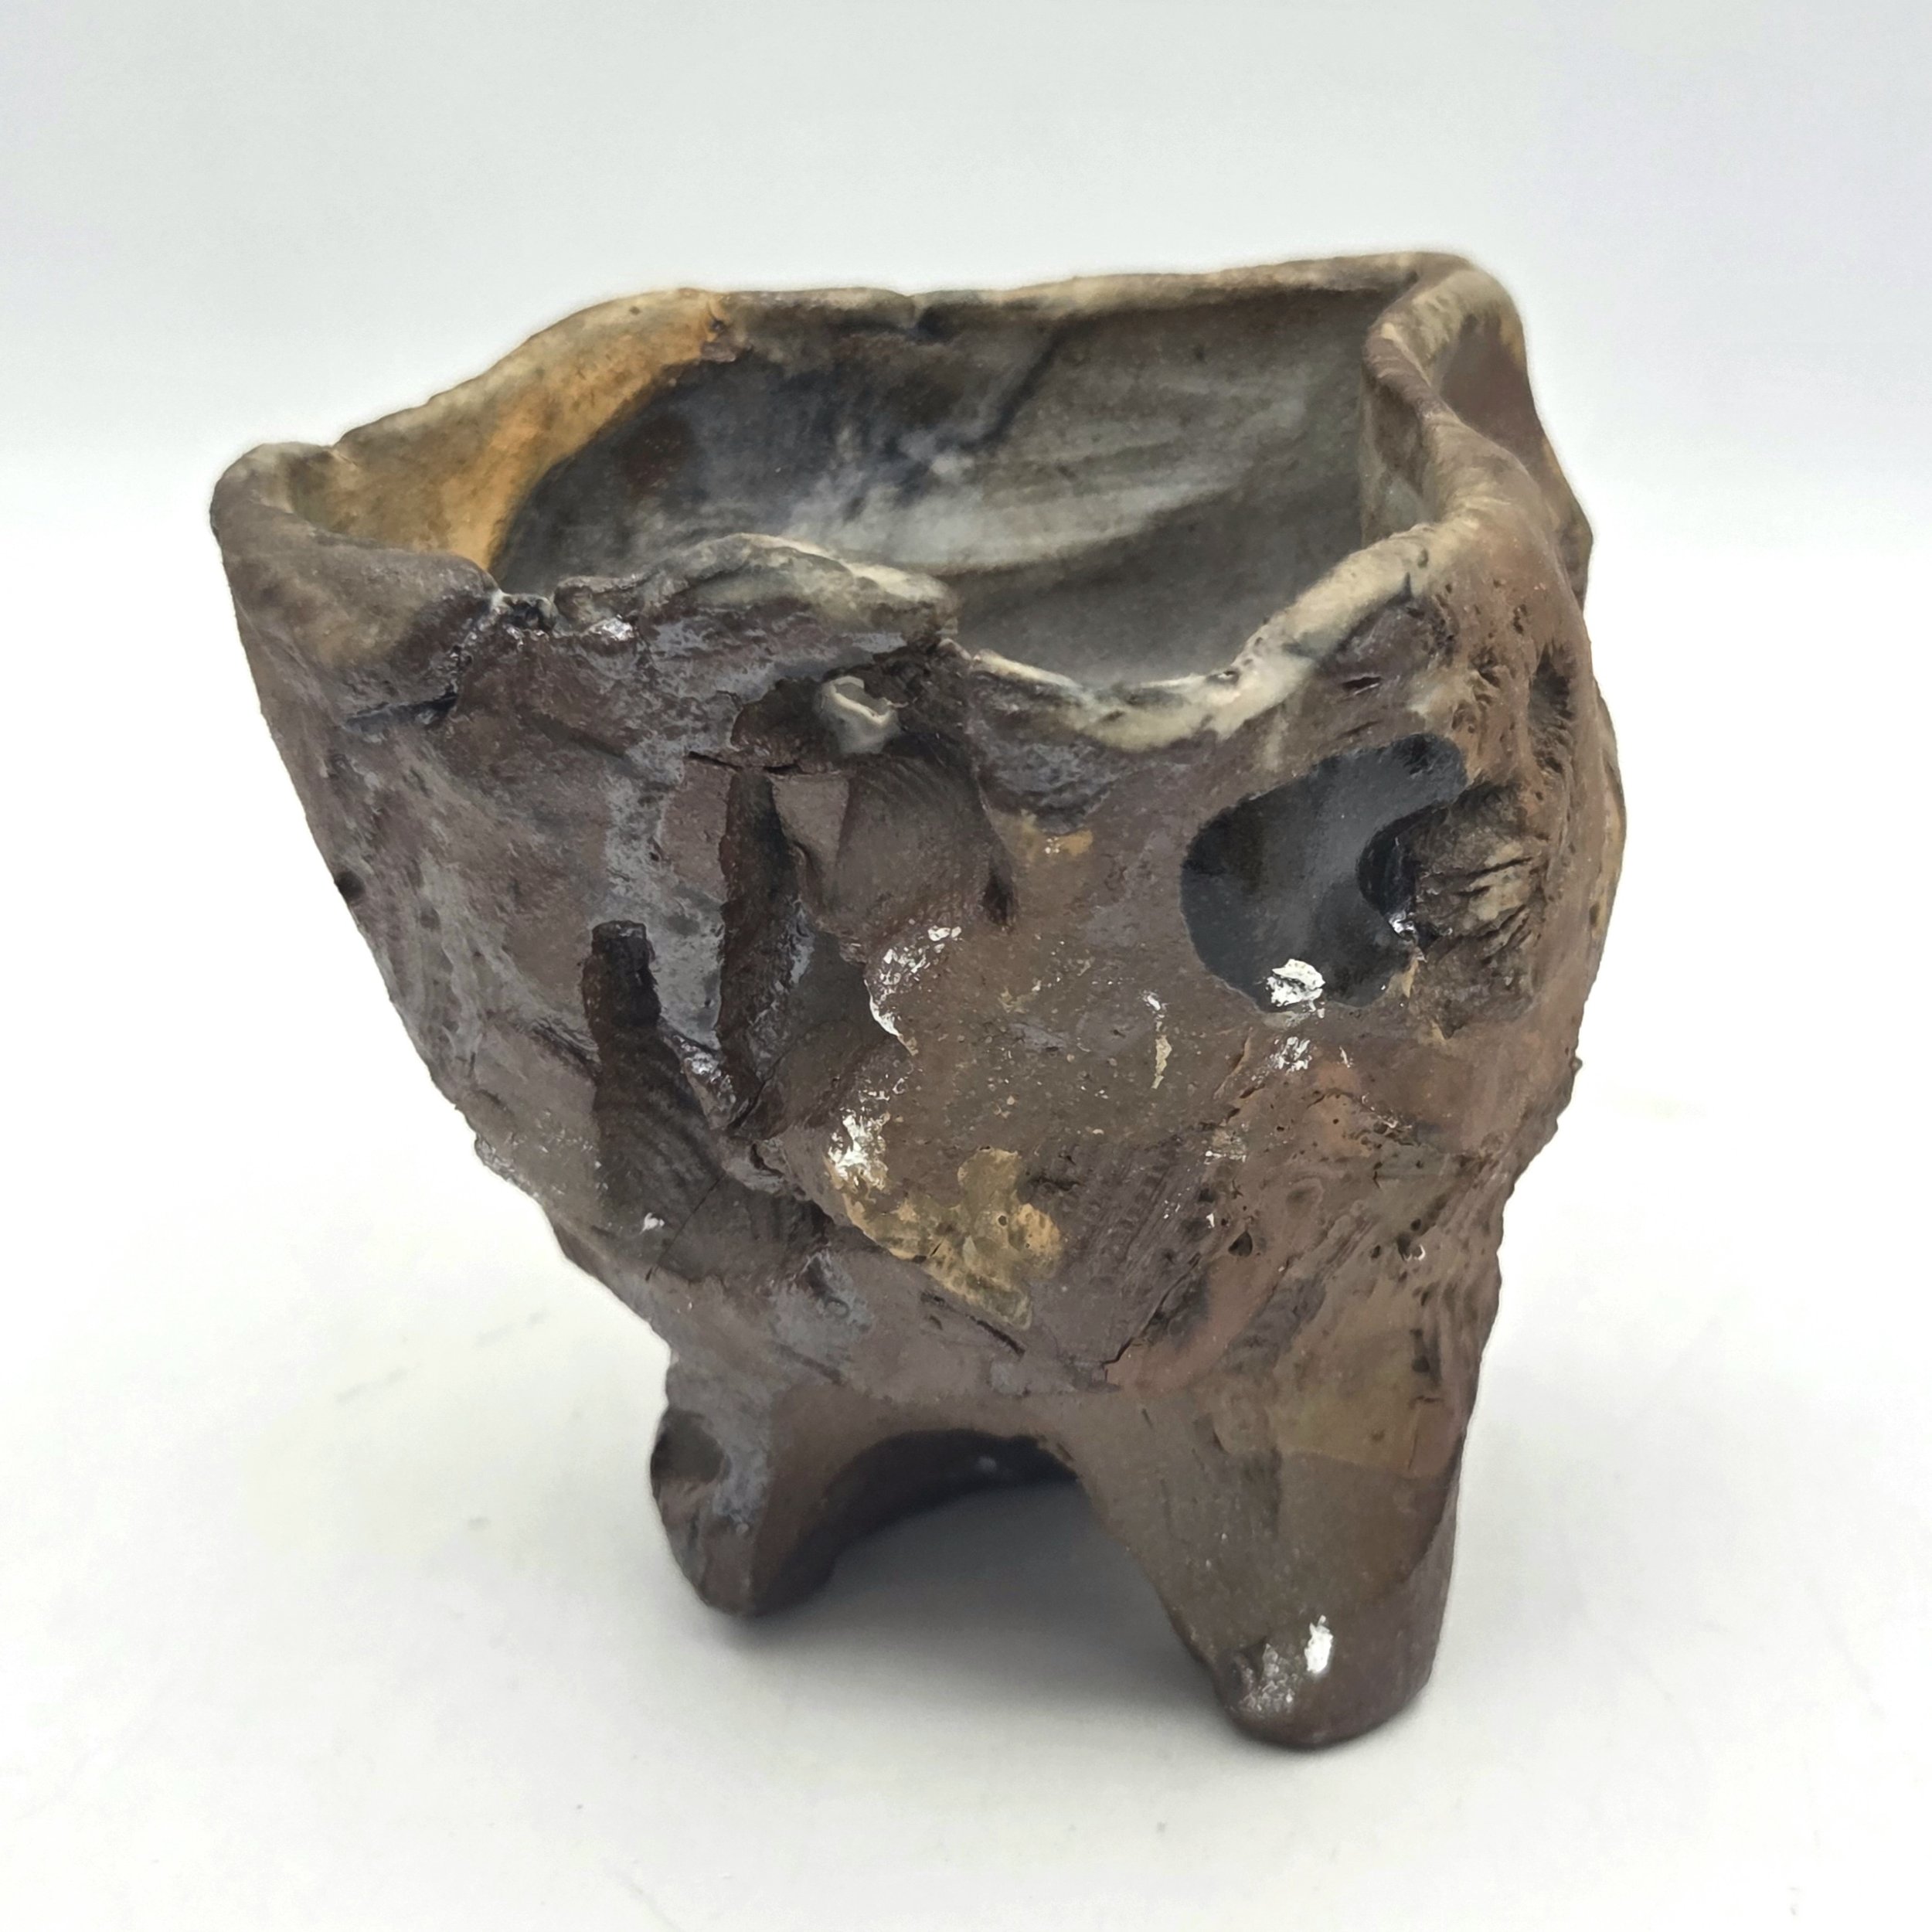
For my second run at kurinuki techniques, I focused on smaller drinking vessels (a more traditional use of kurinuki). For each vessel, I pressed seashells into each trimmed vessel just before the leatherhard stage. I then removed the seashells and bisque-fired each piece (with various slips as well).
Post-bisque, I rematched the seashells to each vessel and glued them back on. Though there was shrinkage, the fit was still rather close. I then glued wadding directly to the seashells and soda-fired them.
After firing to C/10 in Soda, the seashells crumbled away but stuck to the vessel from the soda ash. (Pictured on the right) My goal was for the shape of the seashell to fuse with the atmospheric glaze and further become part of each piece.
Porcelain & Woodash Celadon
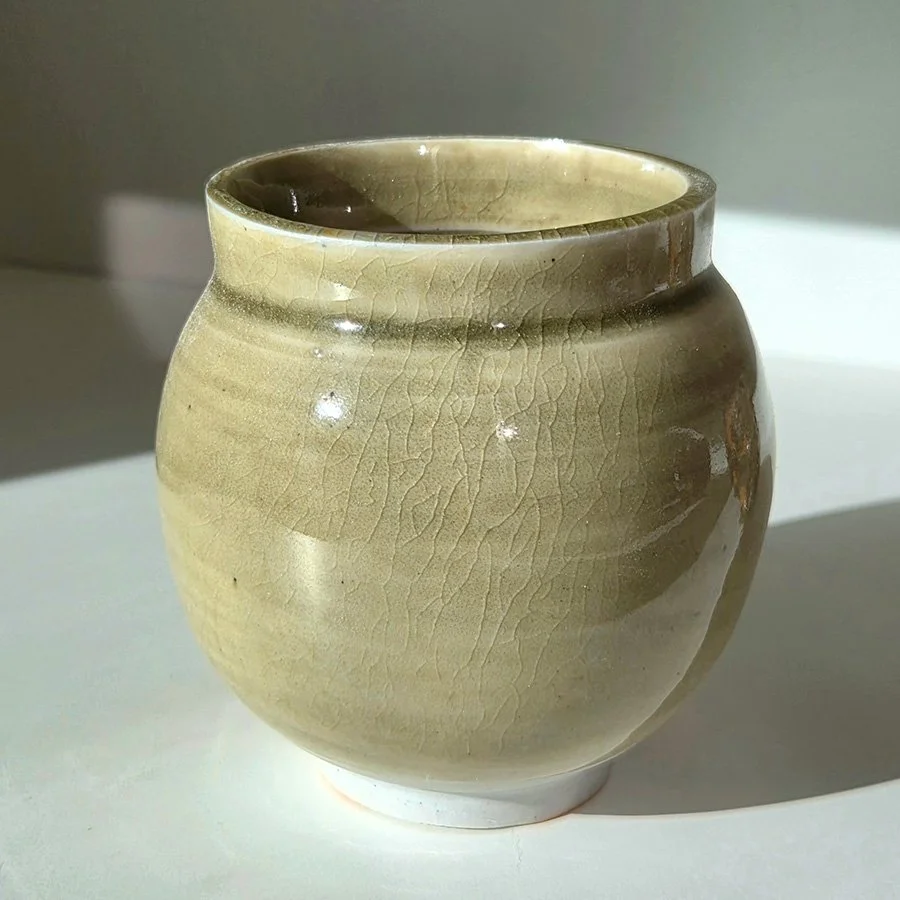
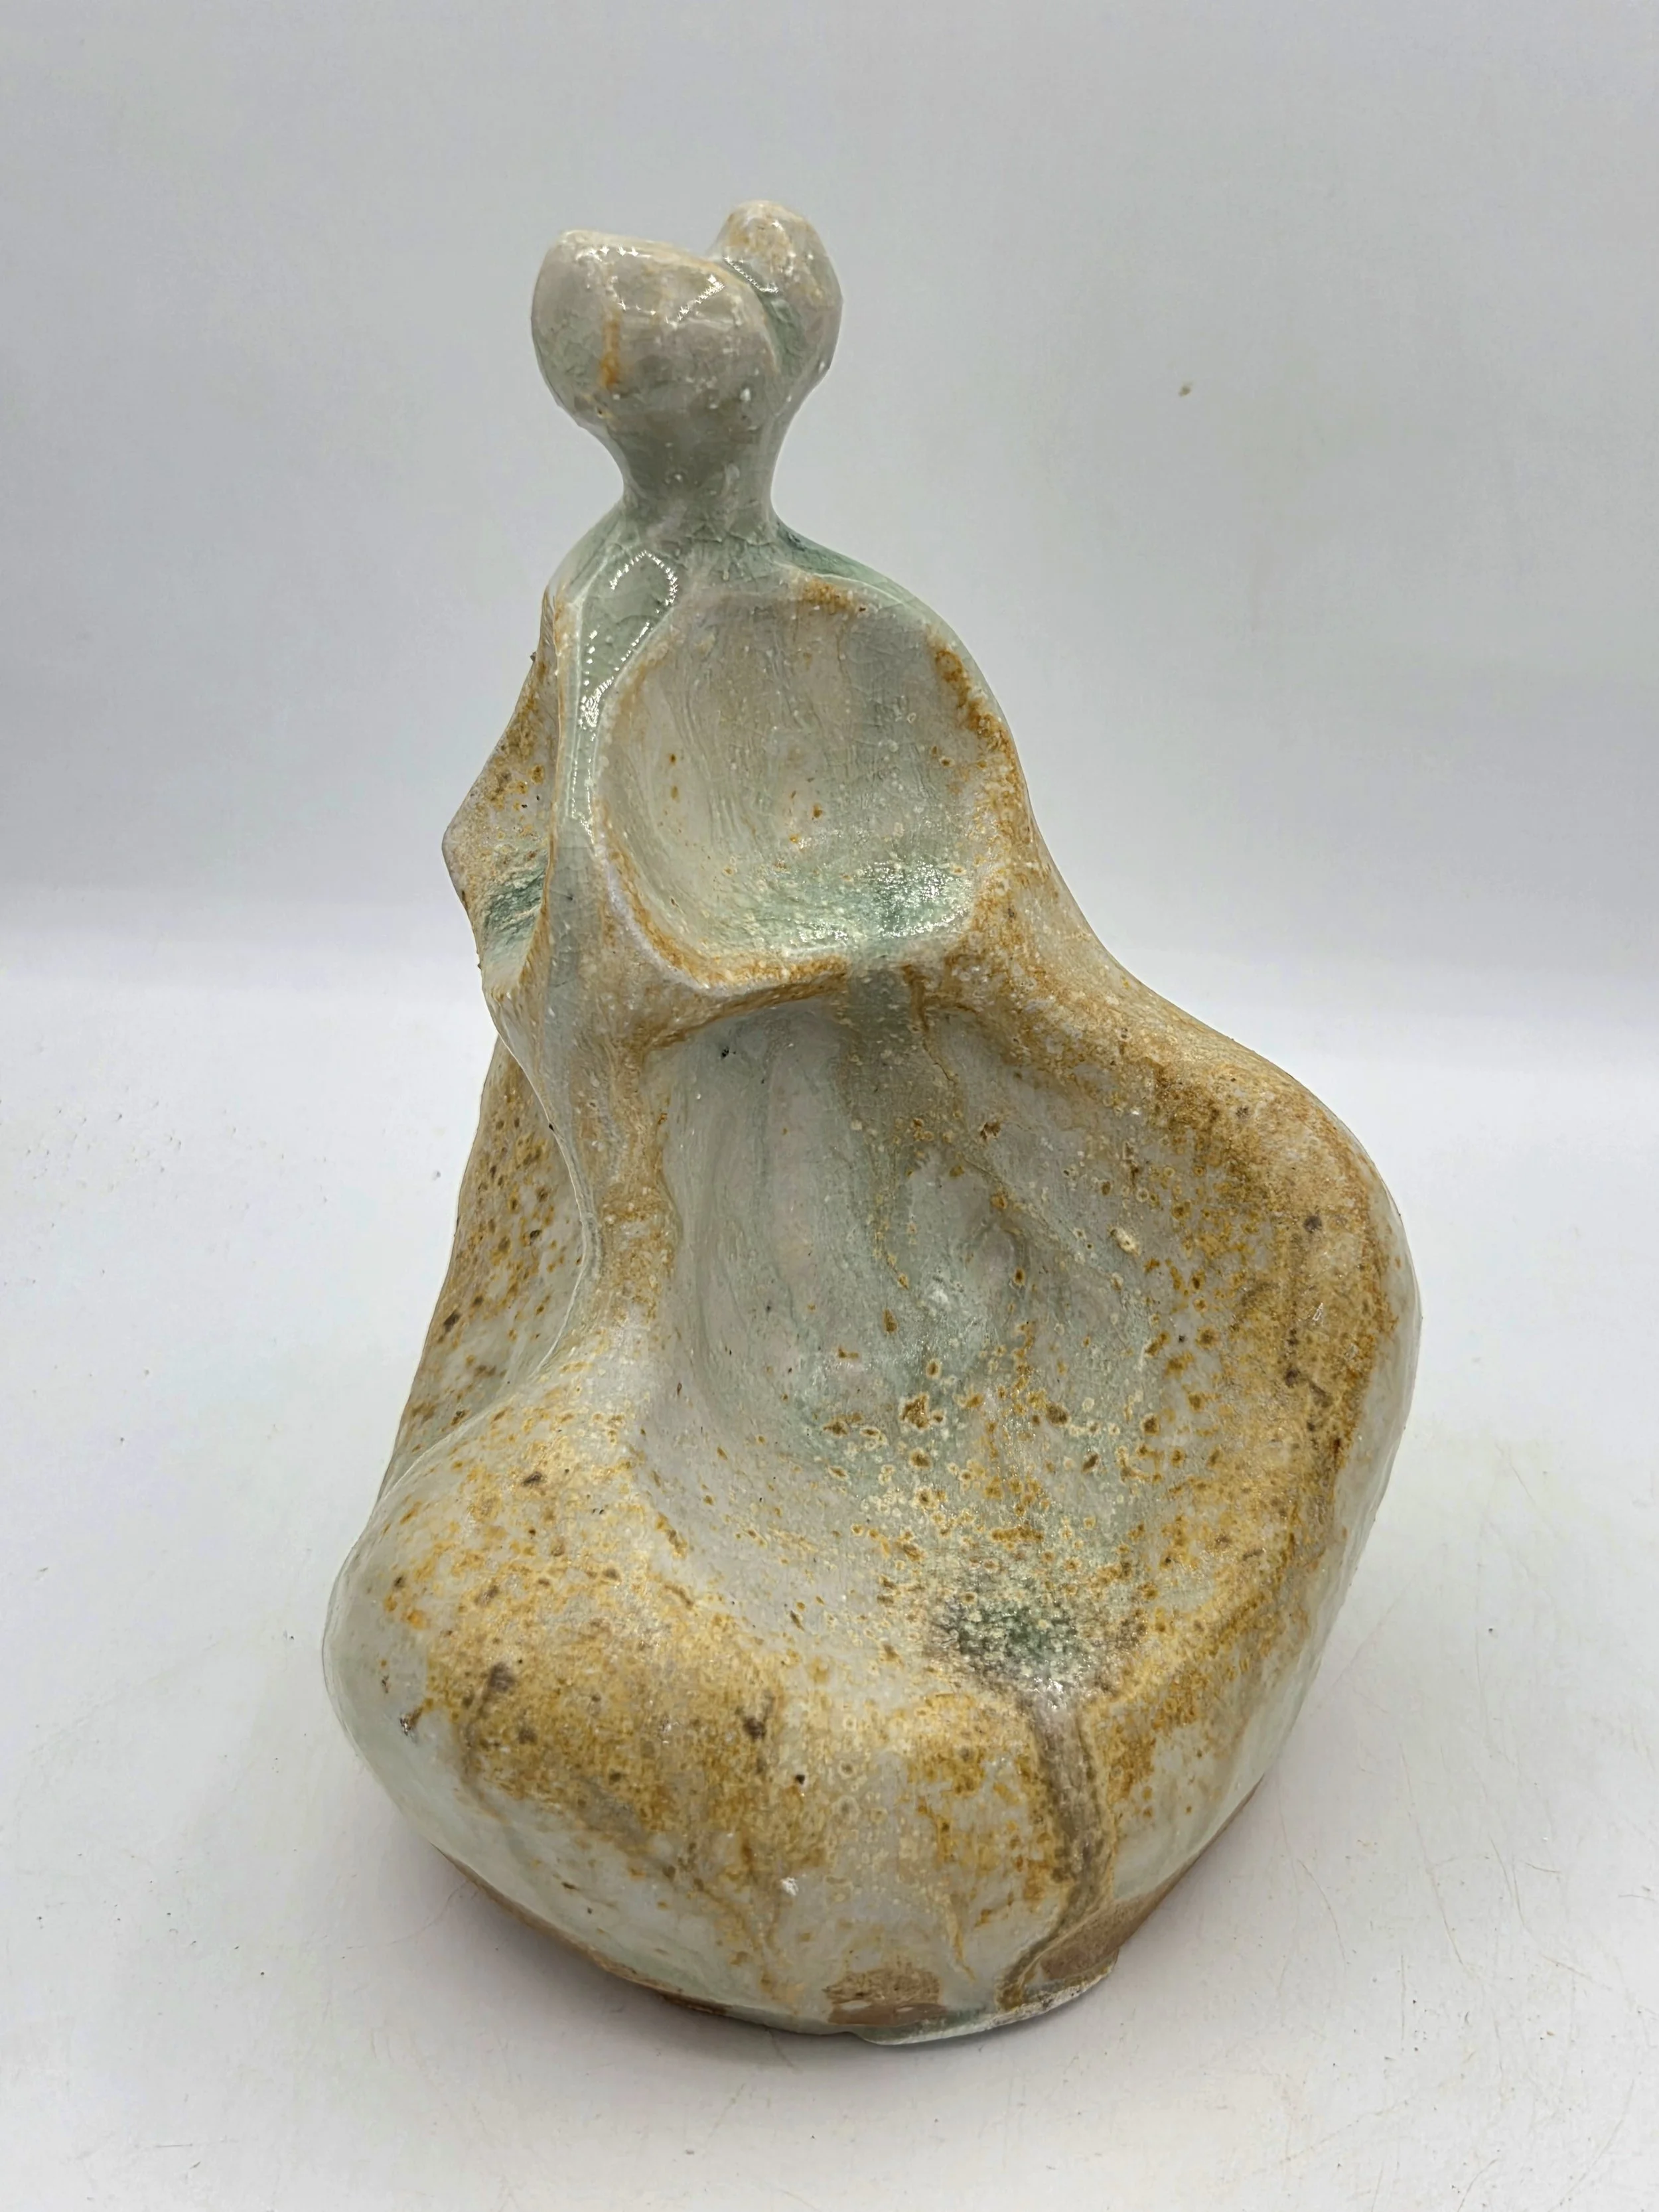
Resting Woman
Wood-fired porcelain and ash glaze
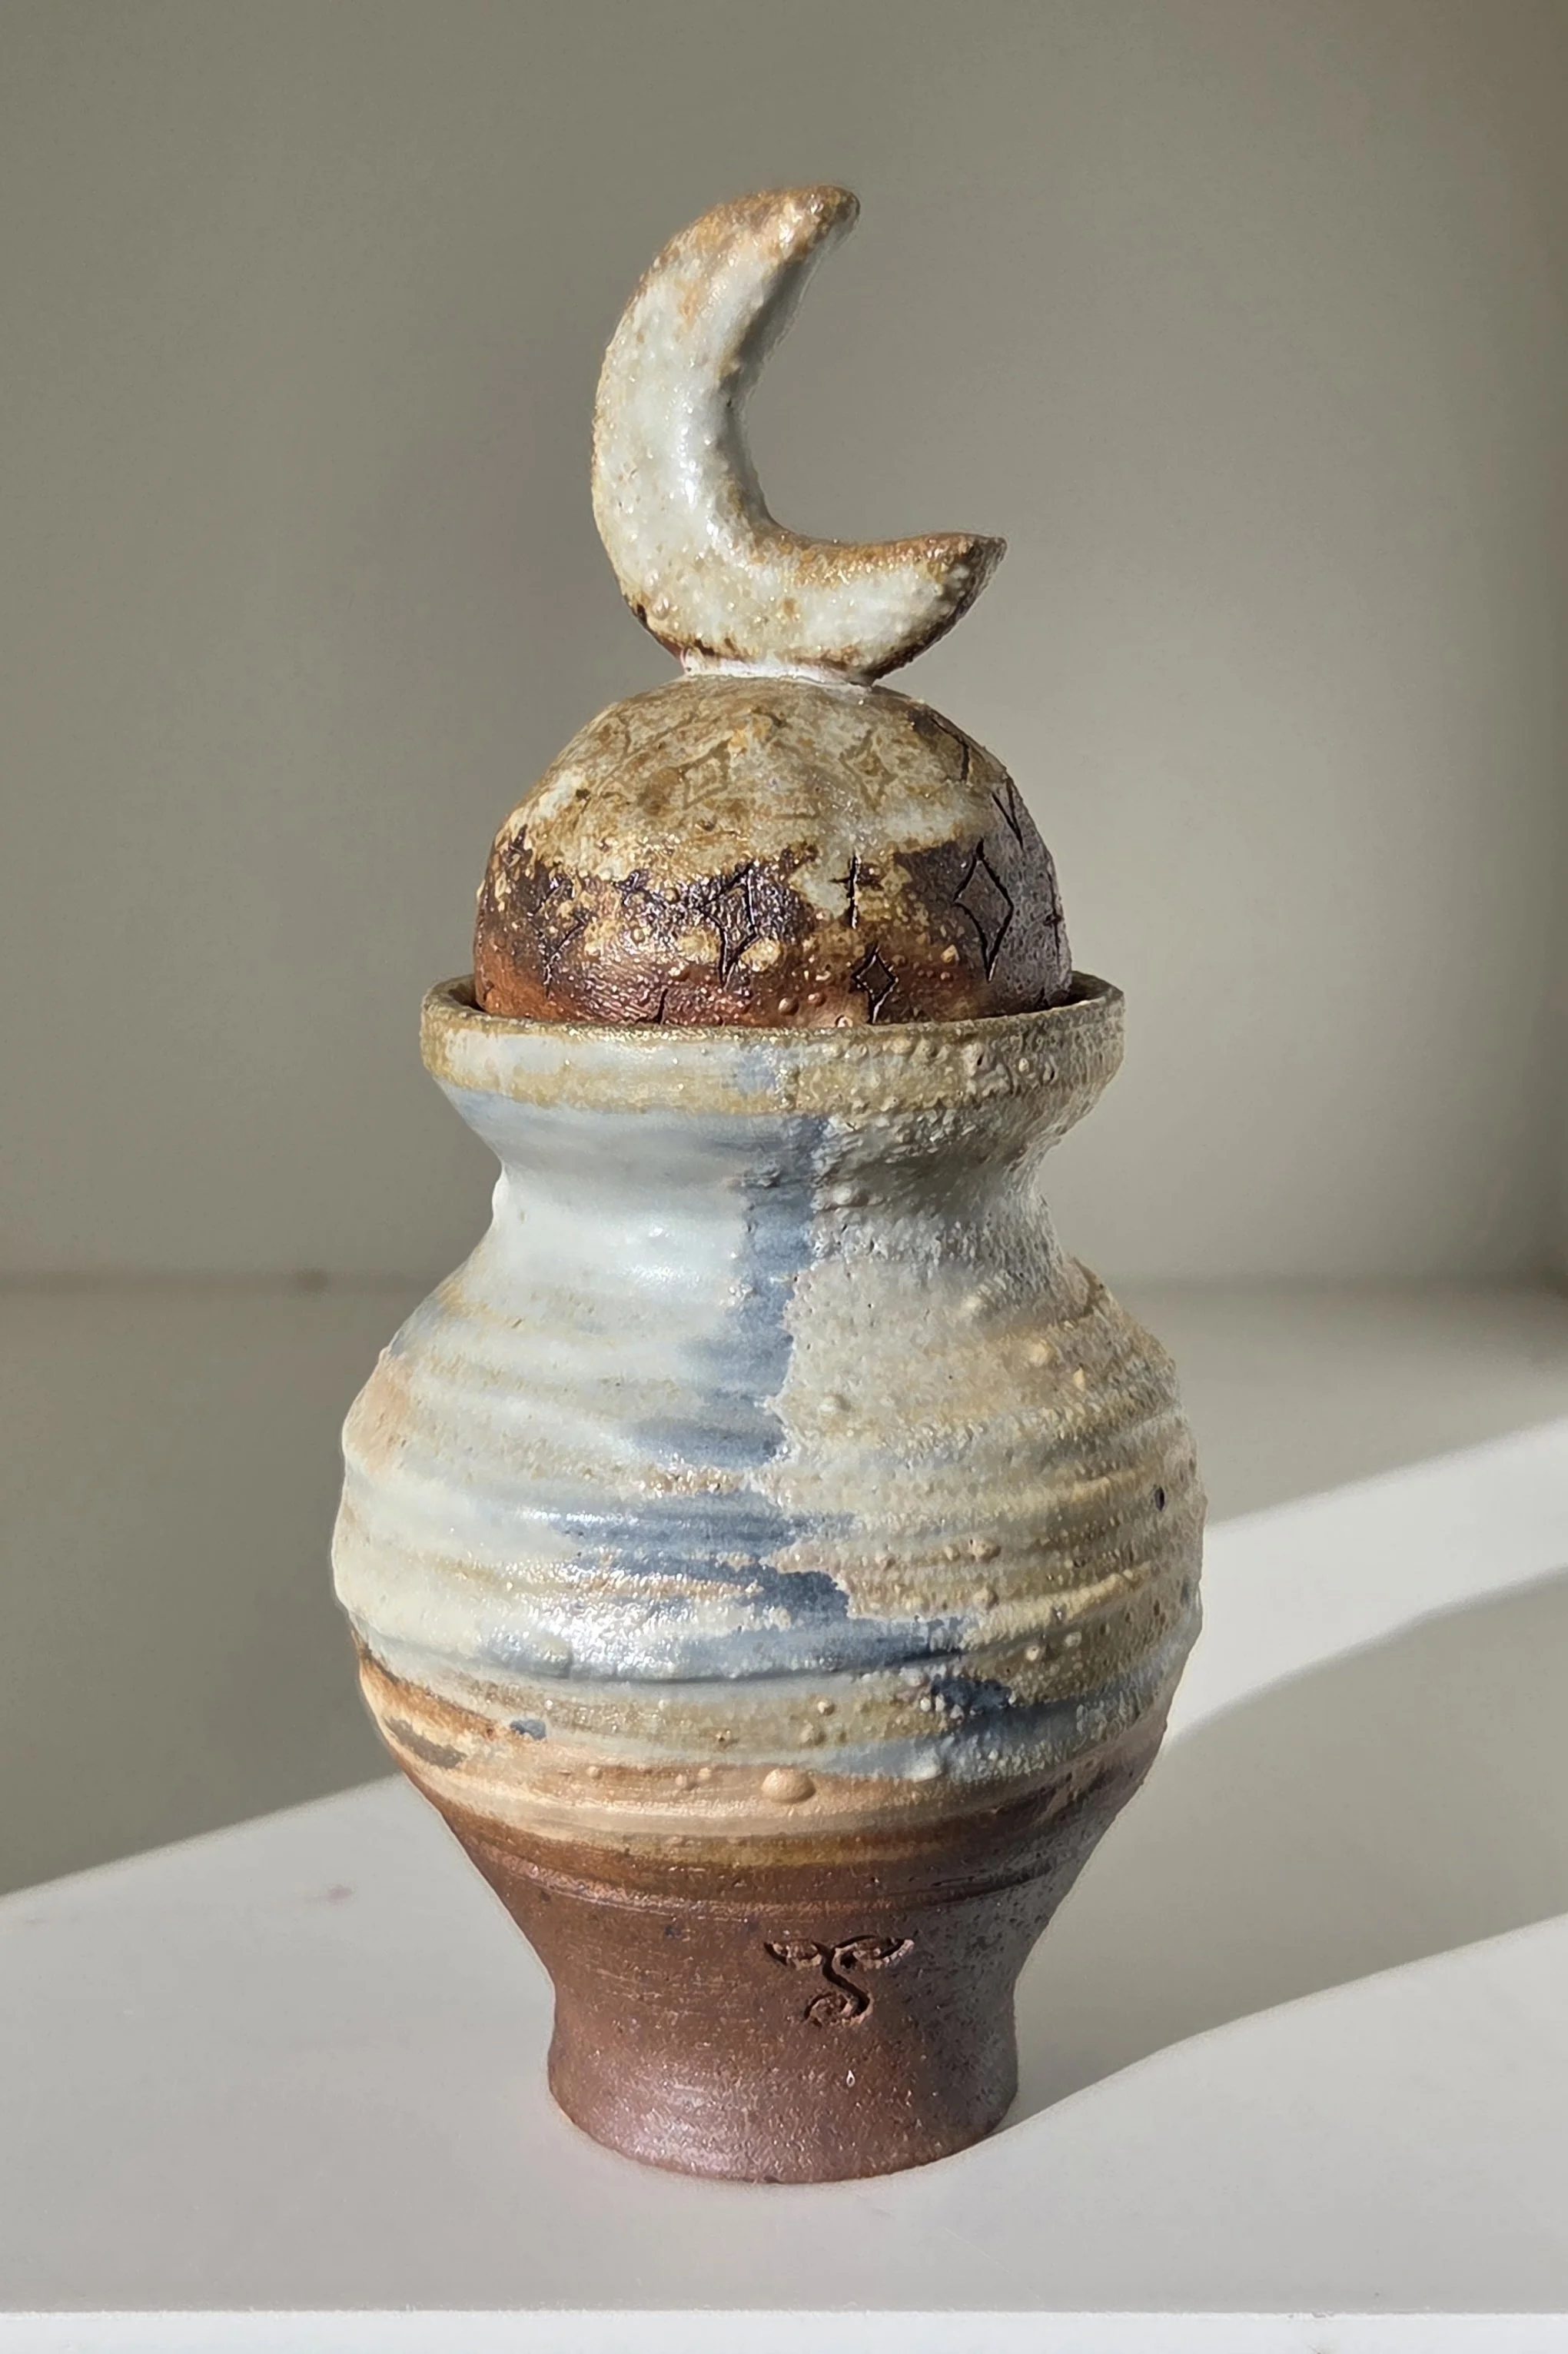
Resting Woman
Wood-fired stoneware with porcelain slip and ash glaze
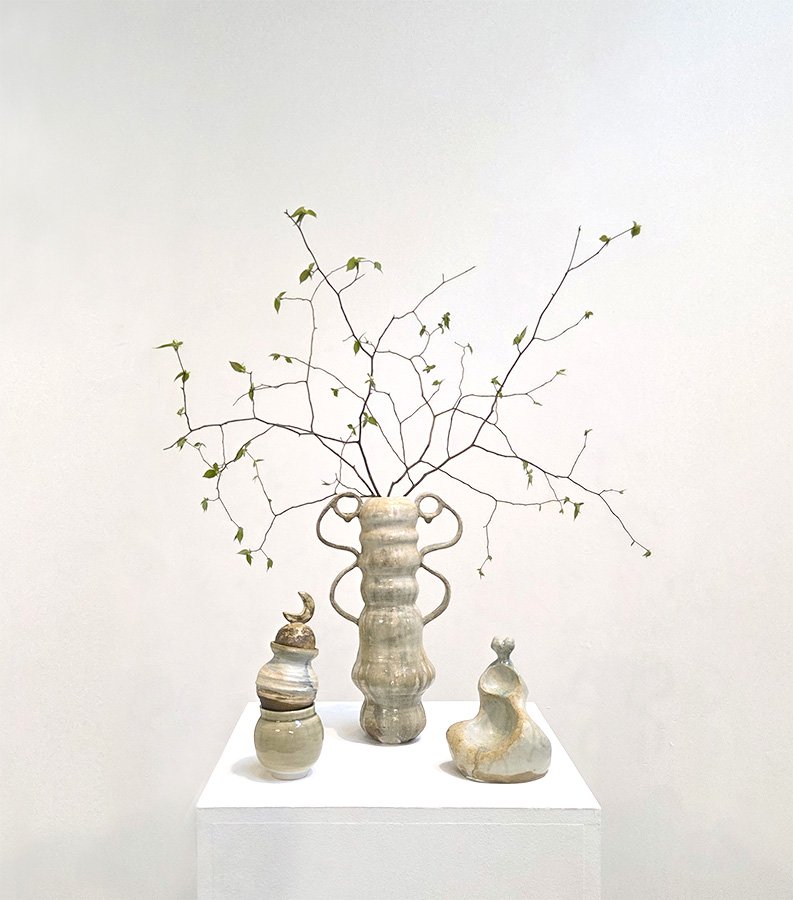
The Branches that Encase Me
Wood-fired Porcelain with ash glazes, branches of the species of the tree that makes up most of the ash
Wood Ash as a Glaze Material
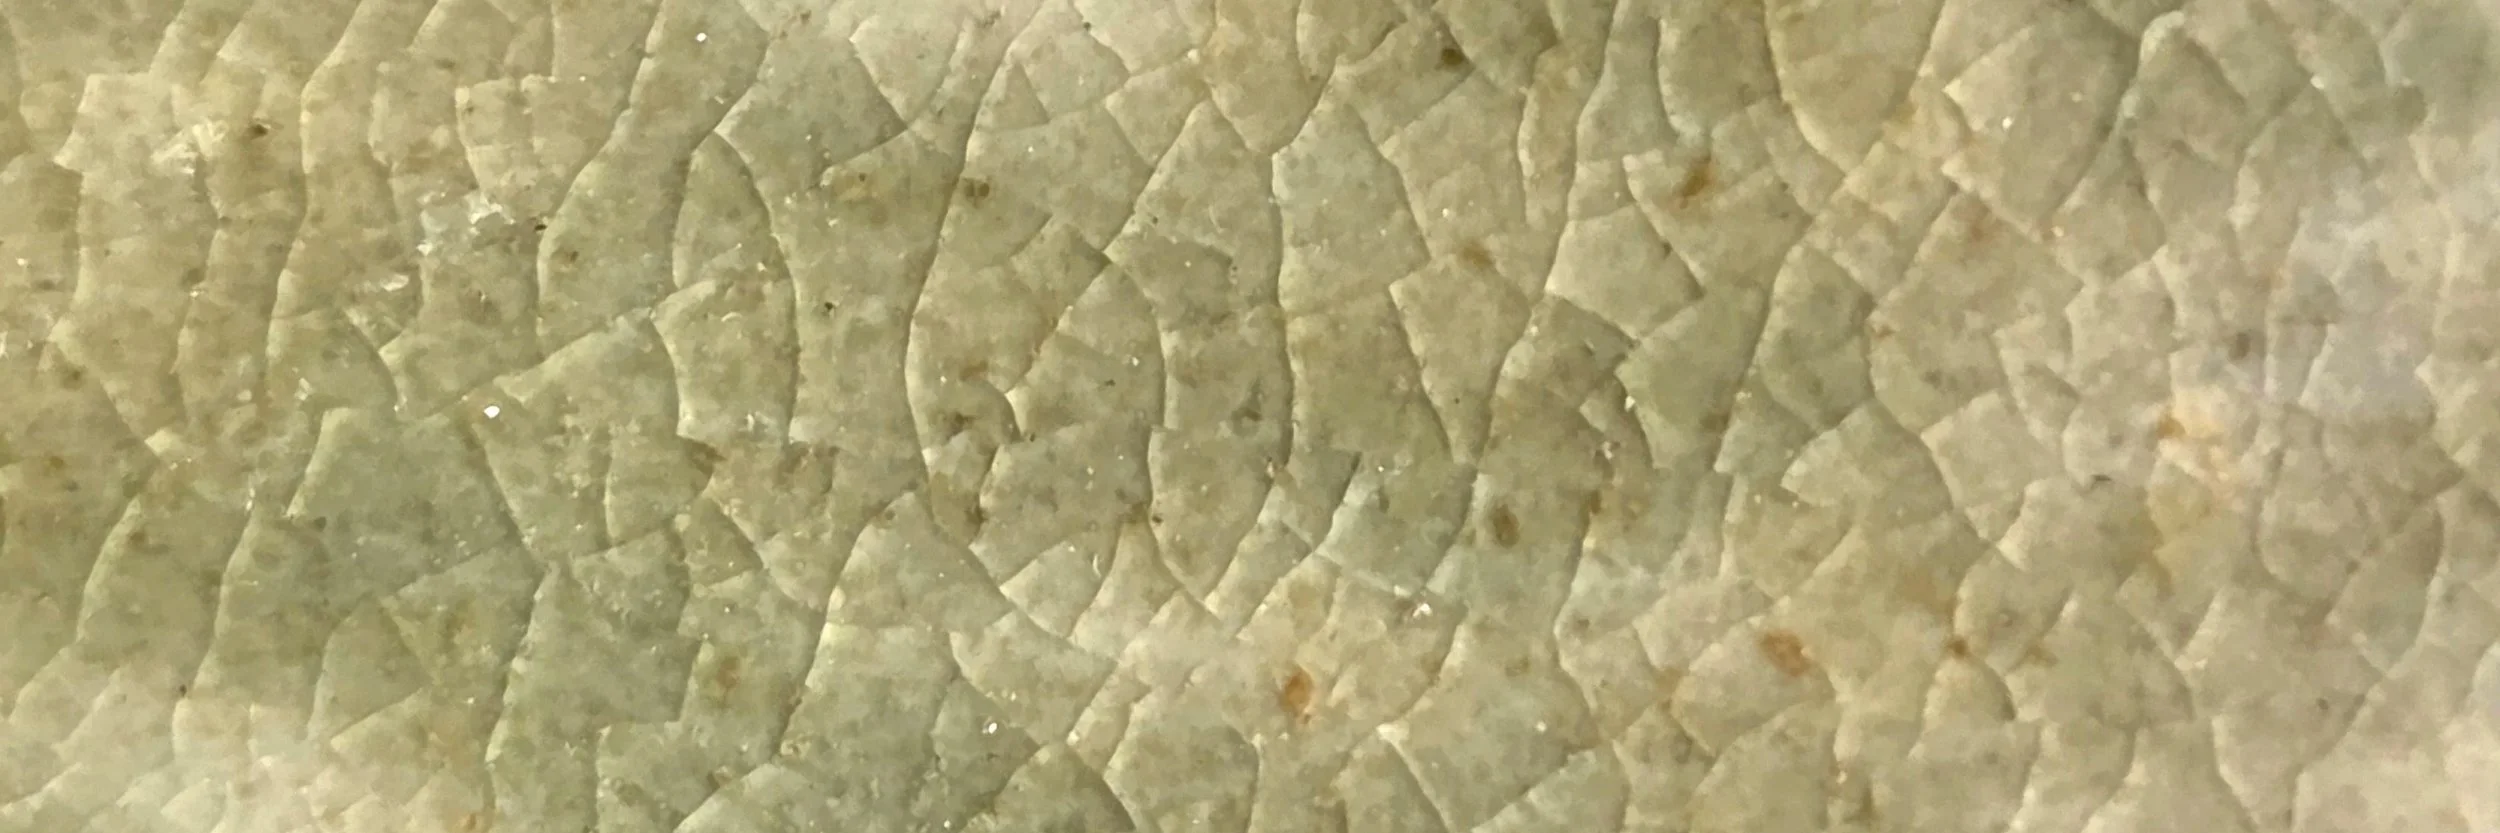
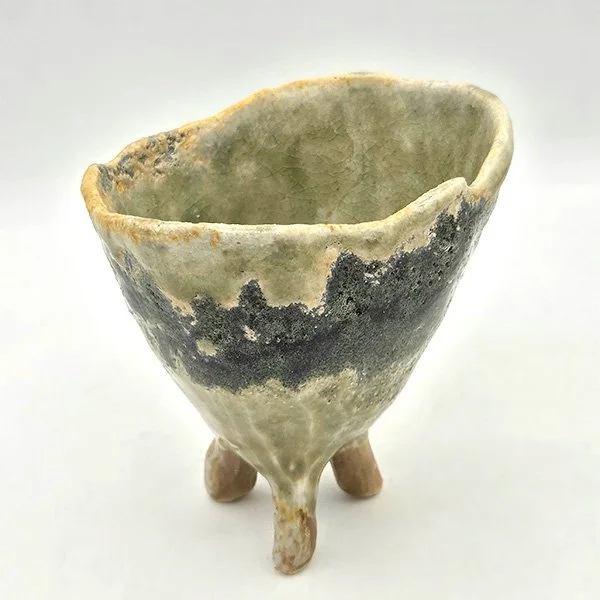
My experience/process with using wood ash as a glaze ingredient began in December 2026 with a campfire. After the coals cooled, I collected the ash and sieved out the charcoal with a collander. Next, I washed the ash continuously for several weeks. To do this, I added water to the ash, scooped out the floating charcoal/carbon, and poured out the caustic water (into a waste bucket, not down the sink). I repeated this many times until the water ran clear.After washing and spreading the ash on a sheet, I let the remaining moisture evaporate. When dry, I sieved the ash again through a 40-mesh sieve (while wearing PPE). At this point, I then began utilizing the washed wood ash in a variety of glazes, but most heavily in celadon recipes.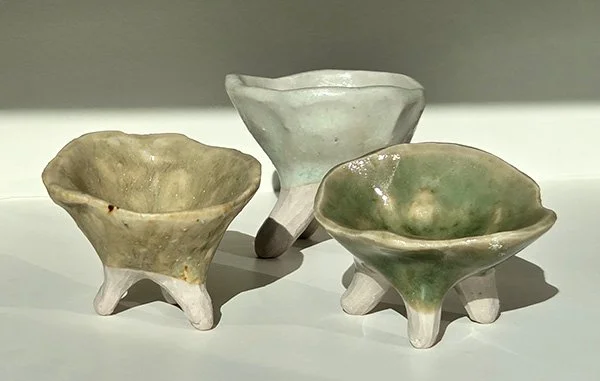
Left: Chun-U Celadon, Center: Chun-U with no added RIO, Right: Lung Chuan Celadon
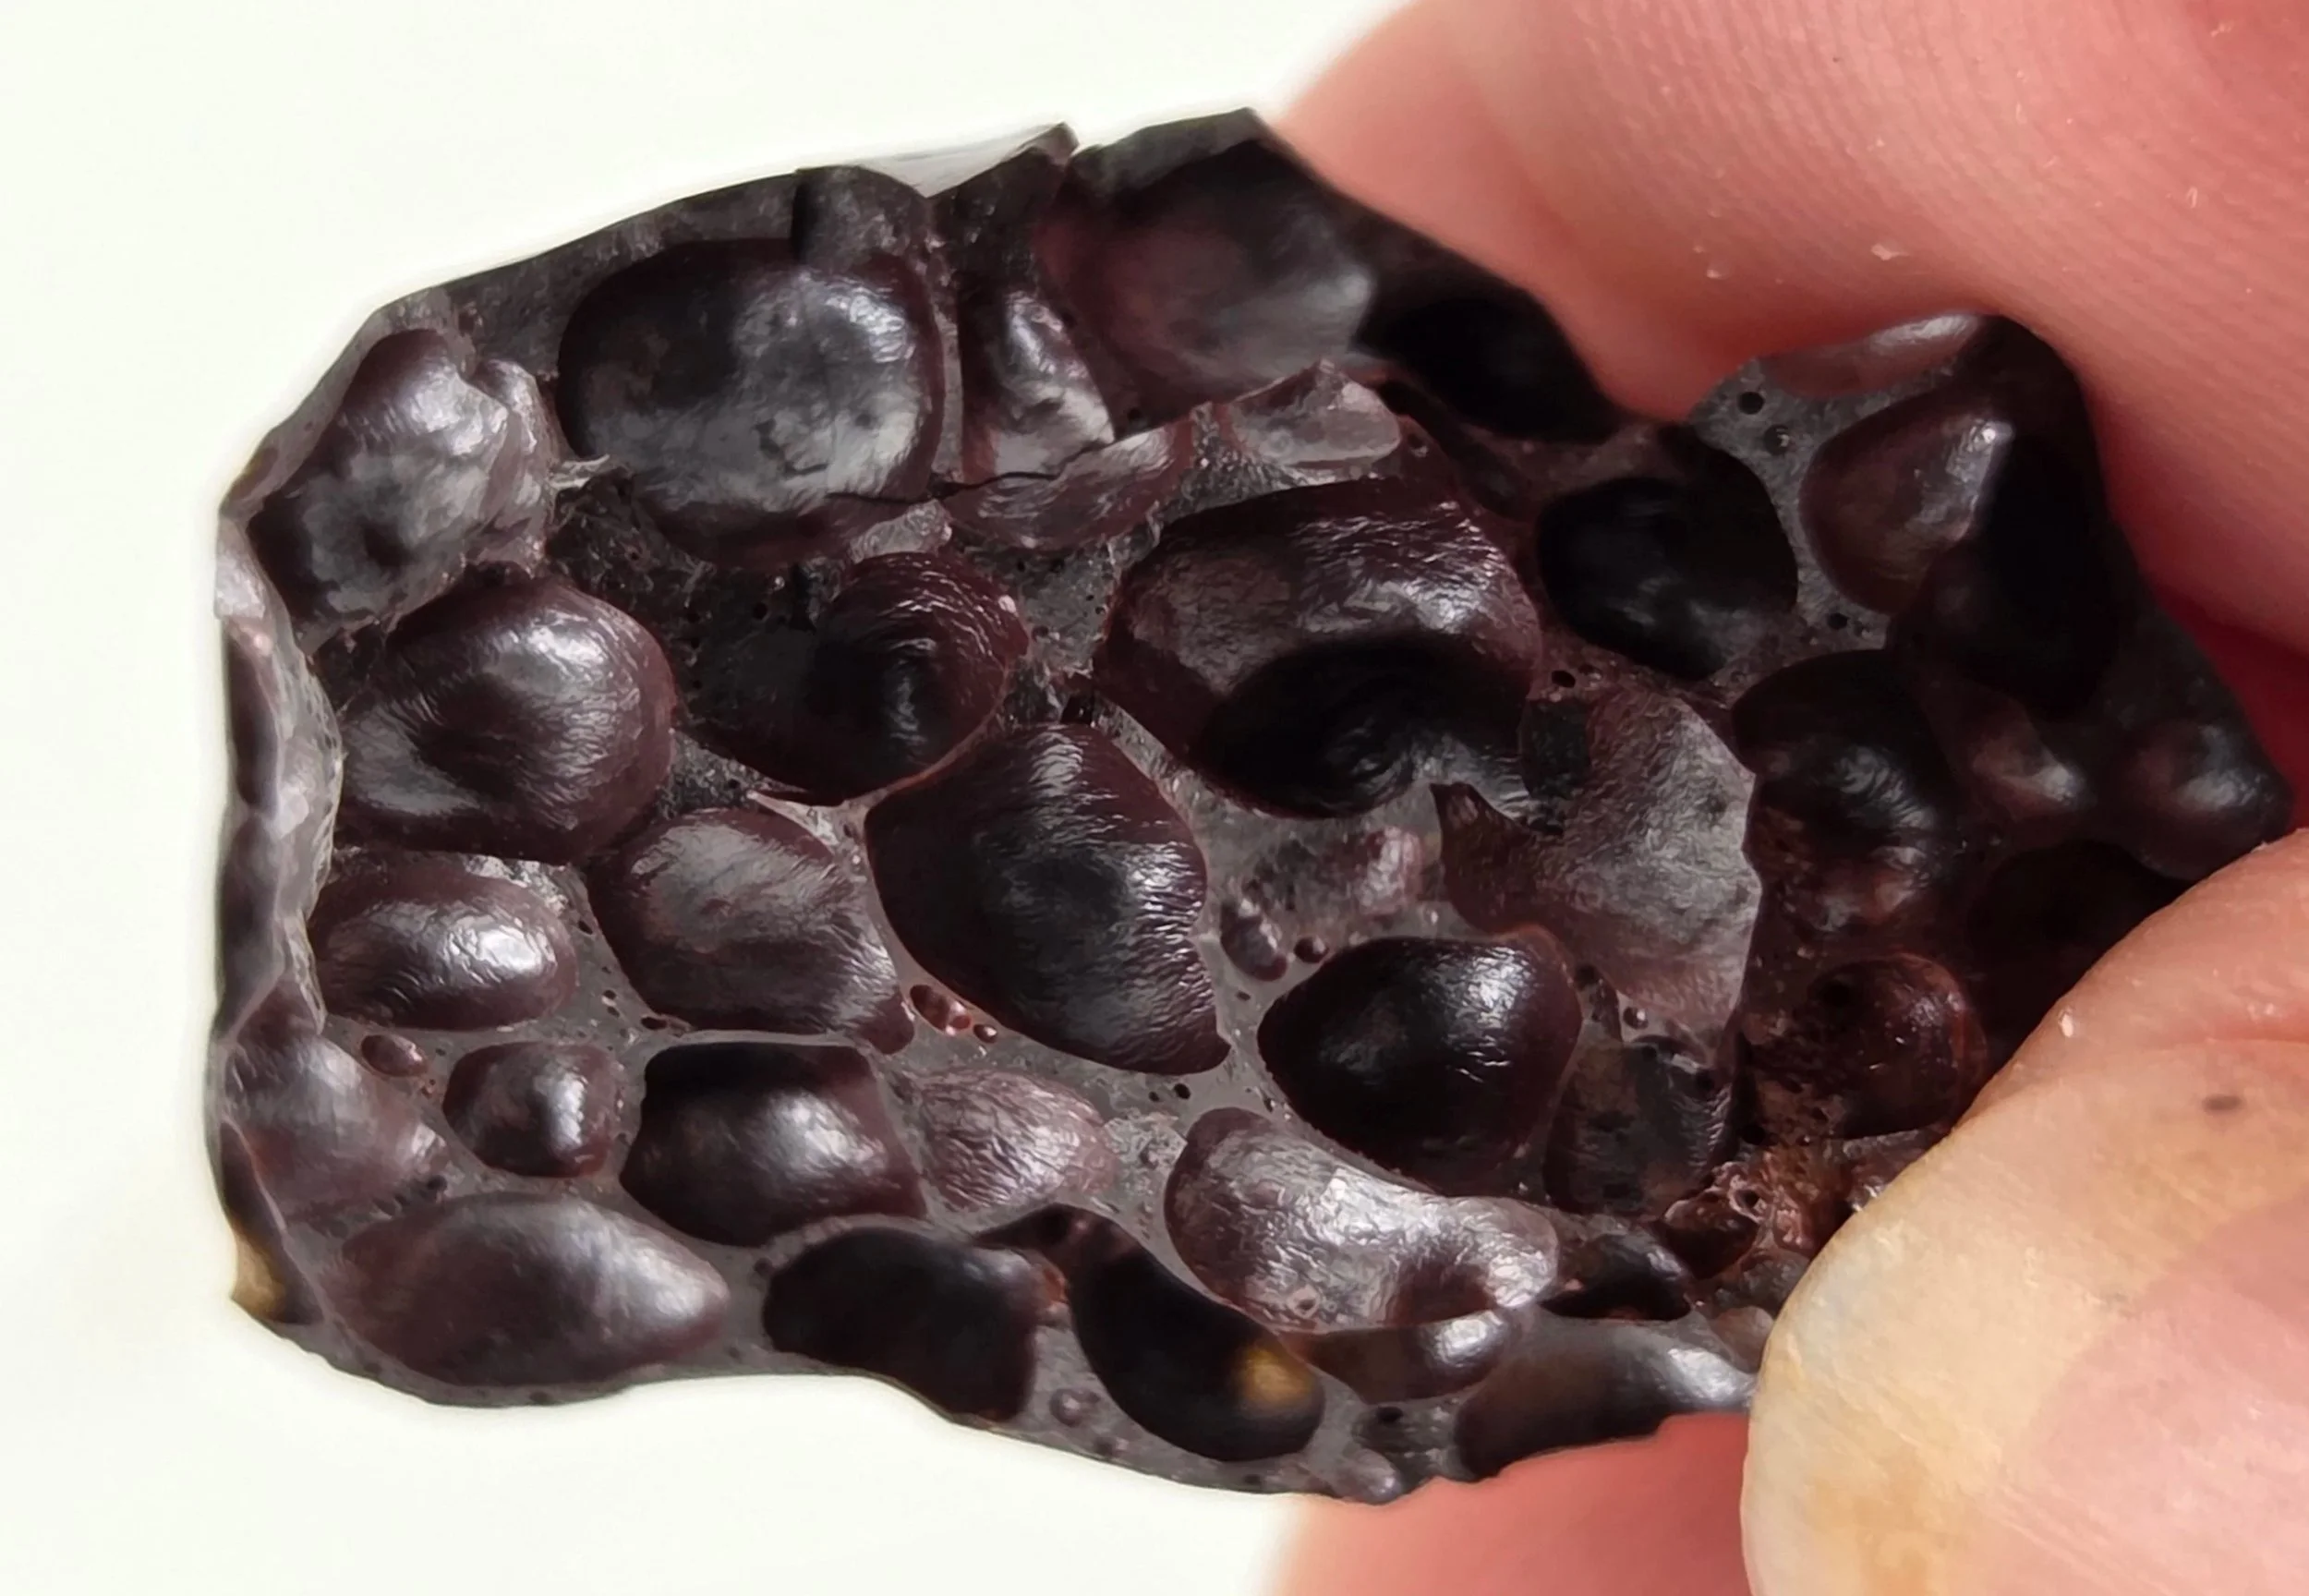
Local Clay Research
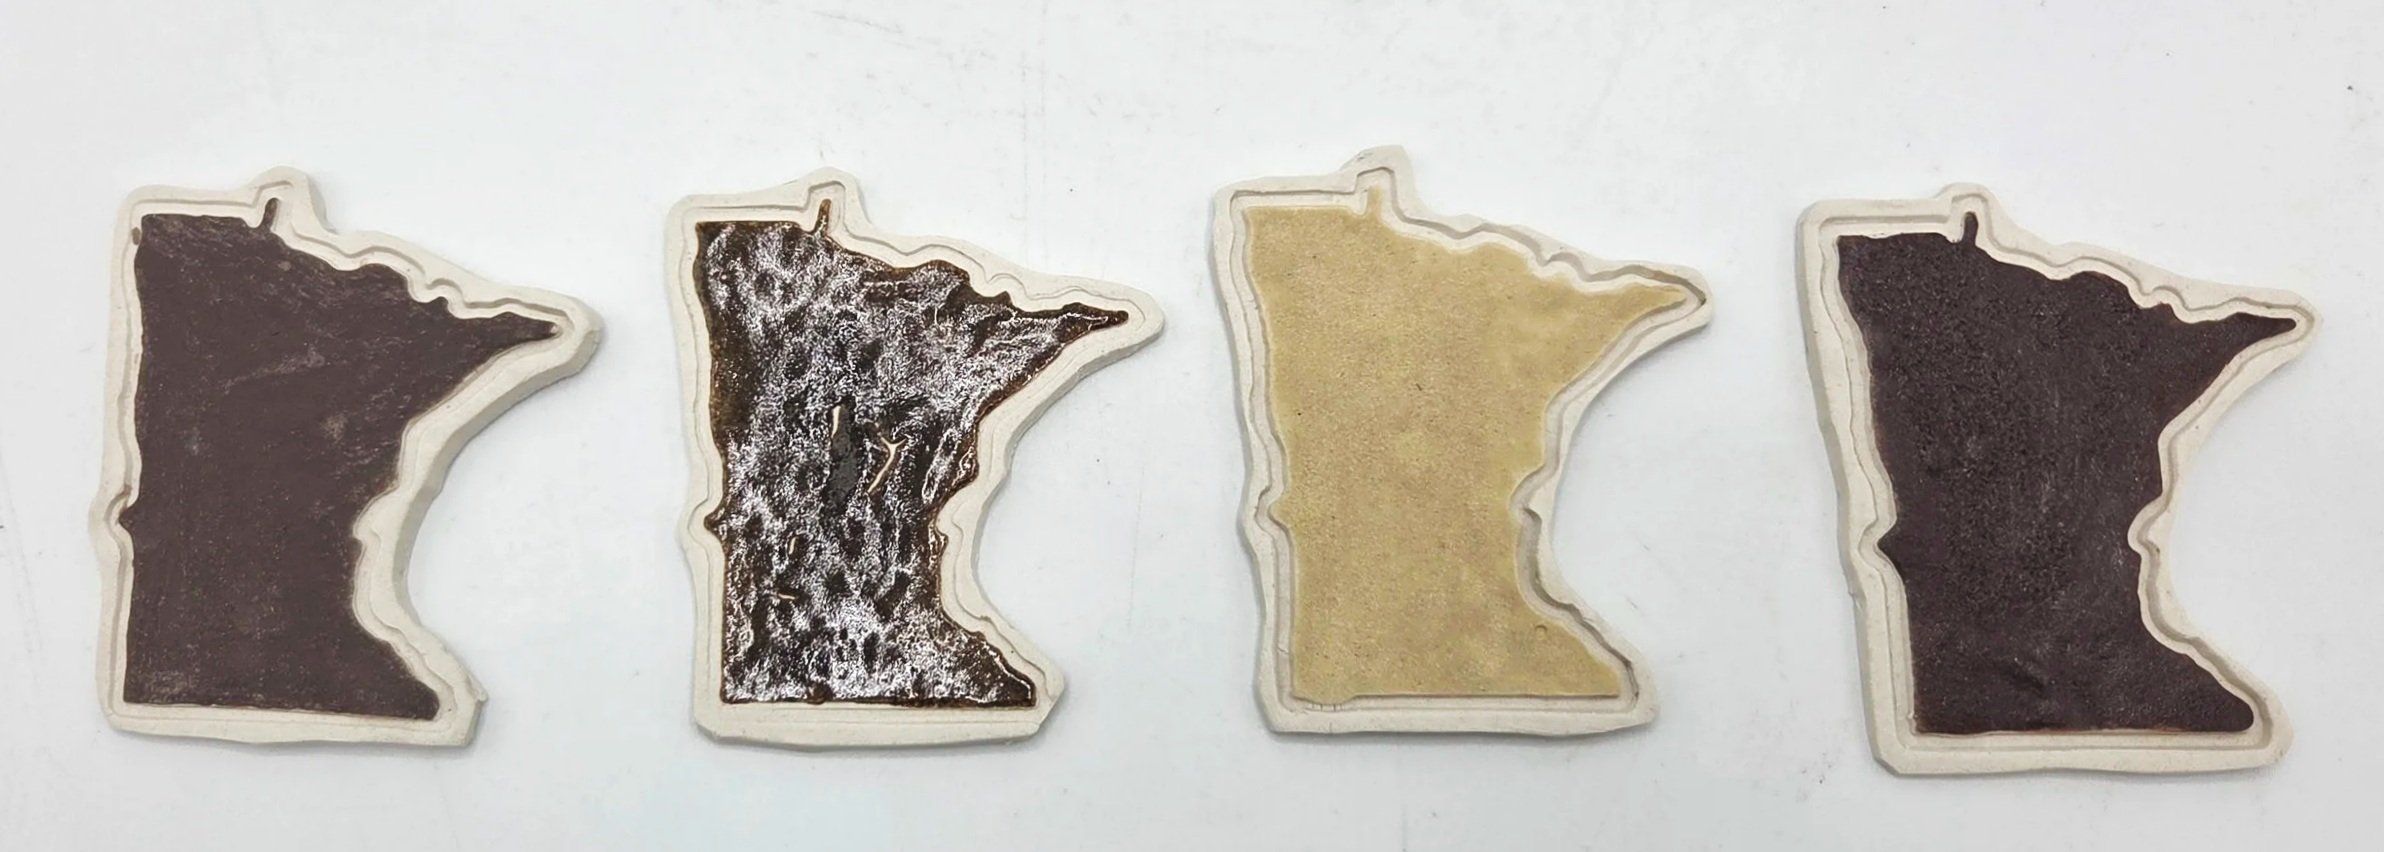
Rockford, MN (A) , Rockford, MN (B), Minneapolis, MN, St Croix River
Whisper Creek Clay
Rockford, MN
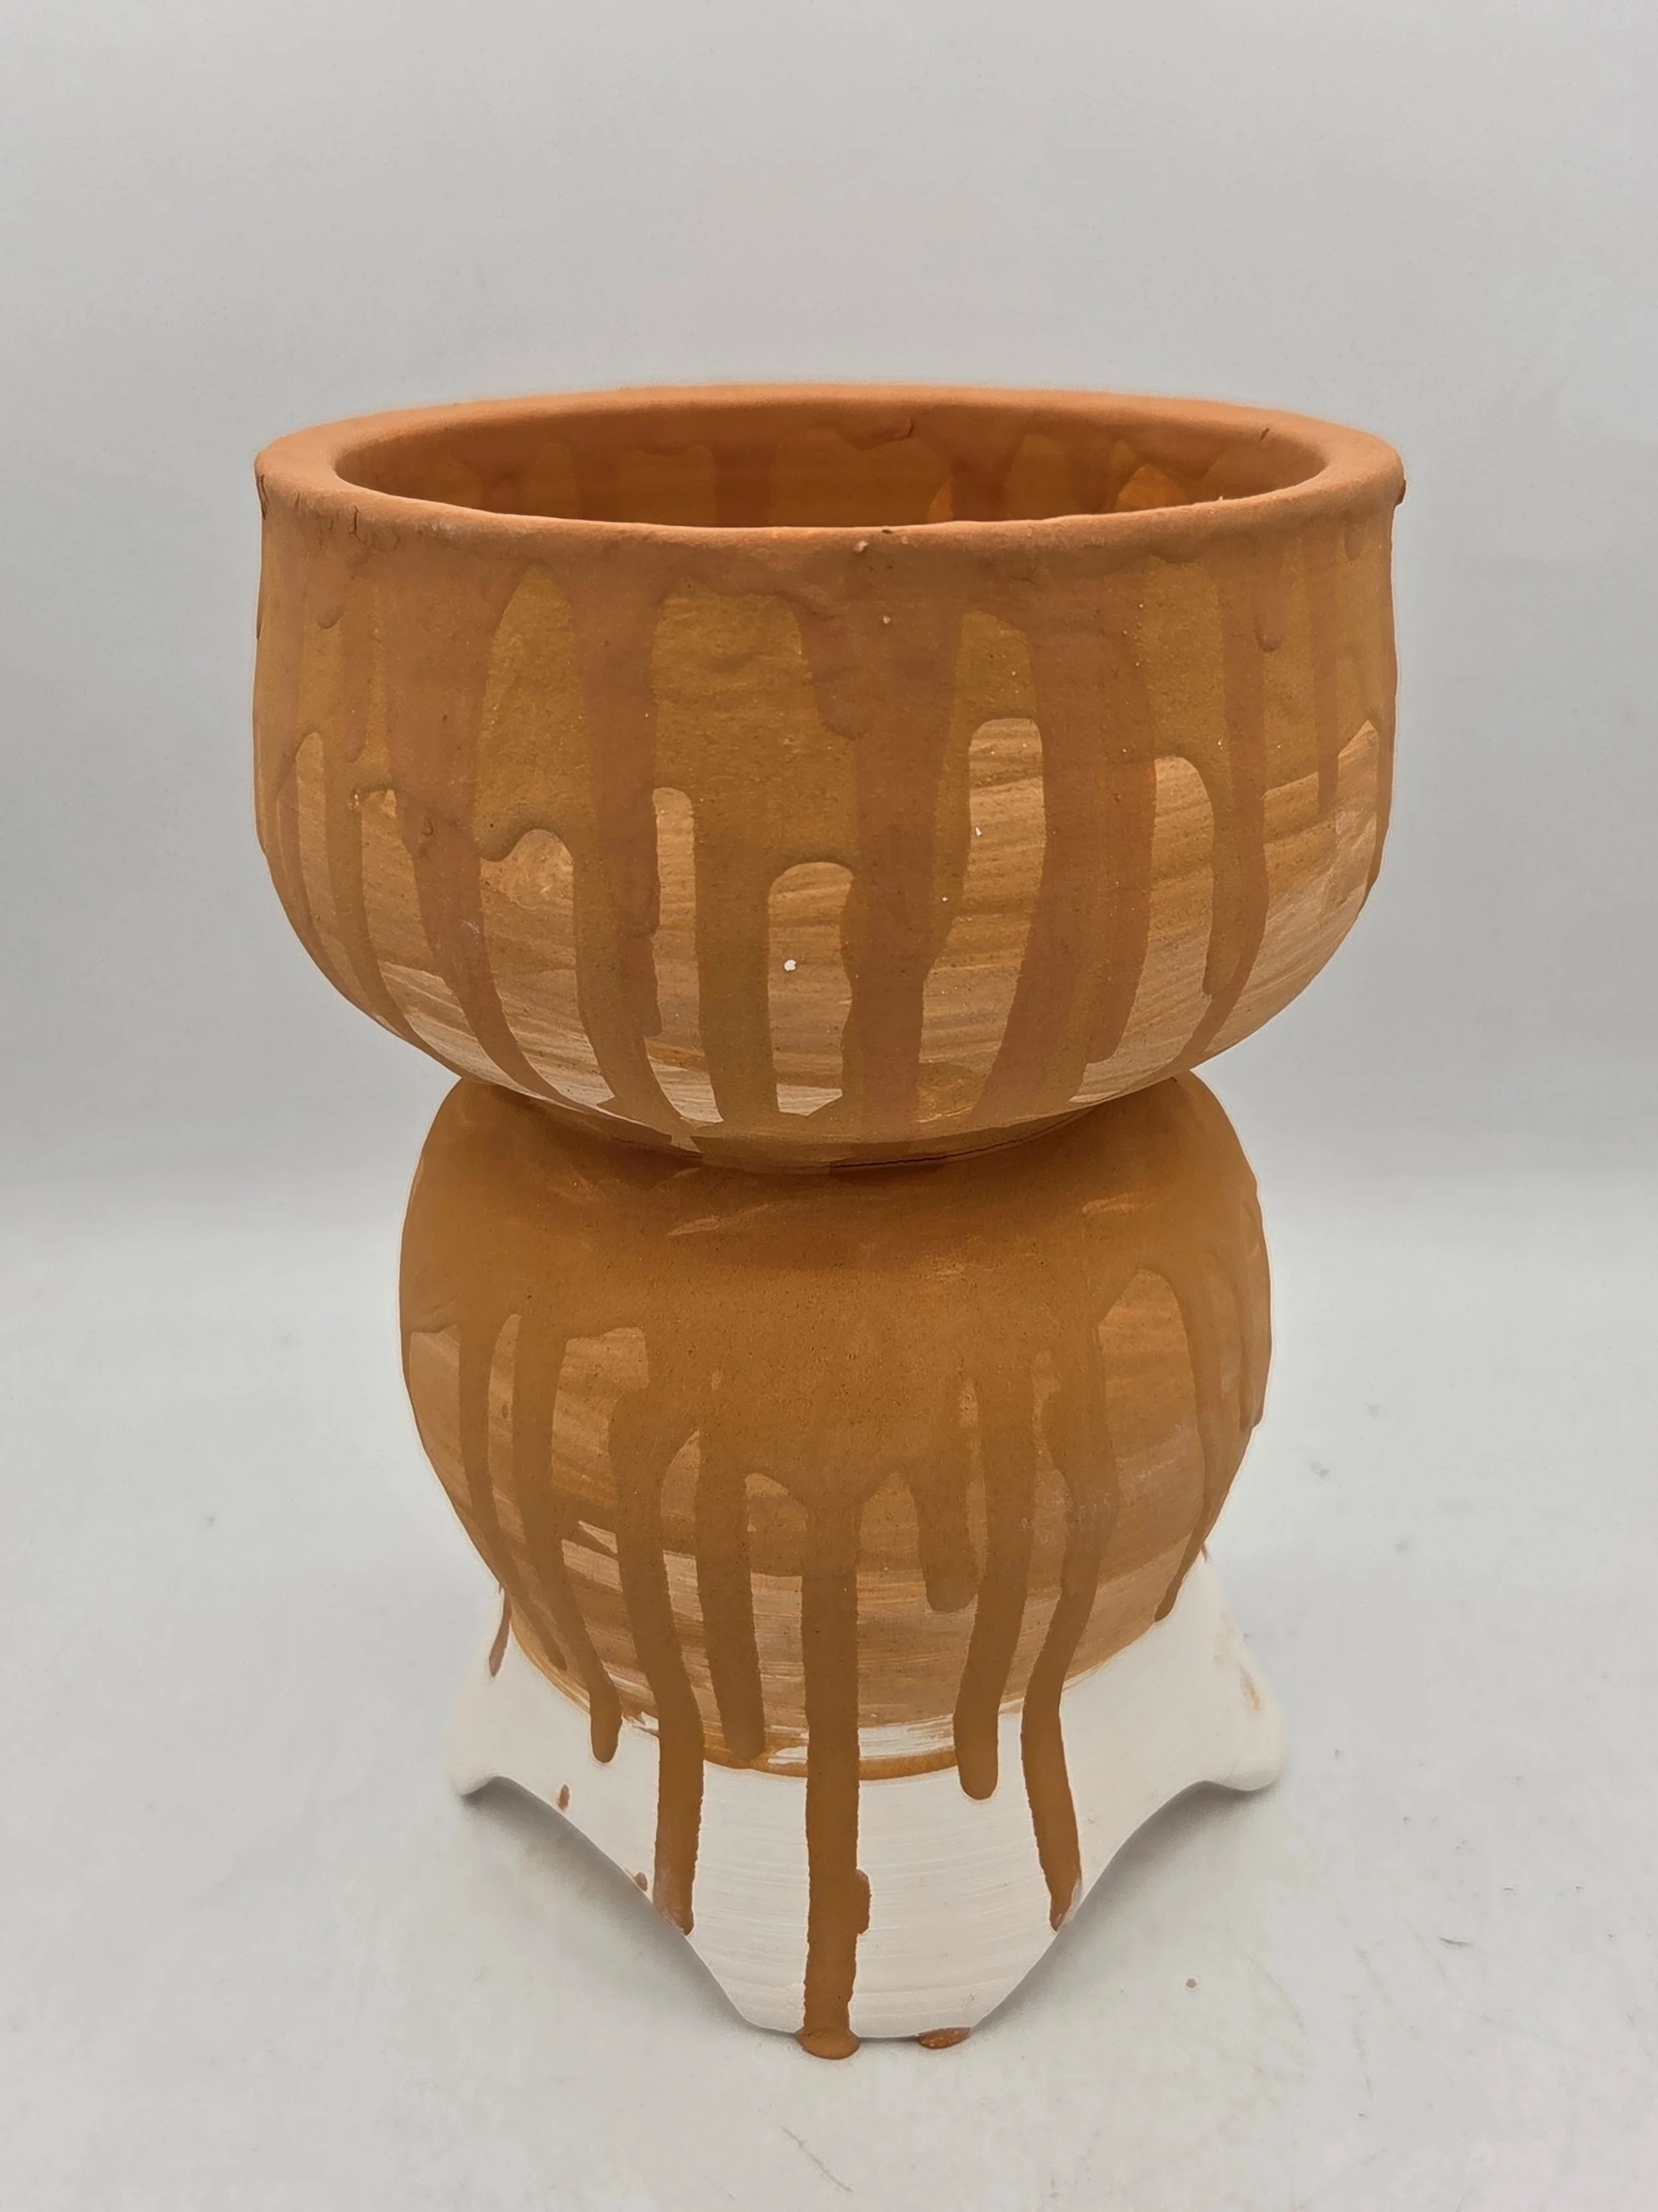
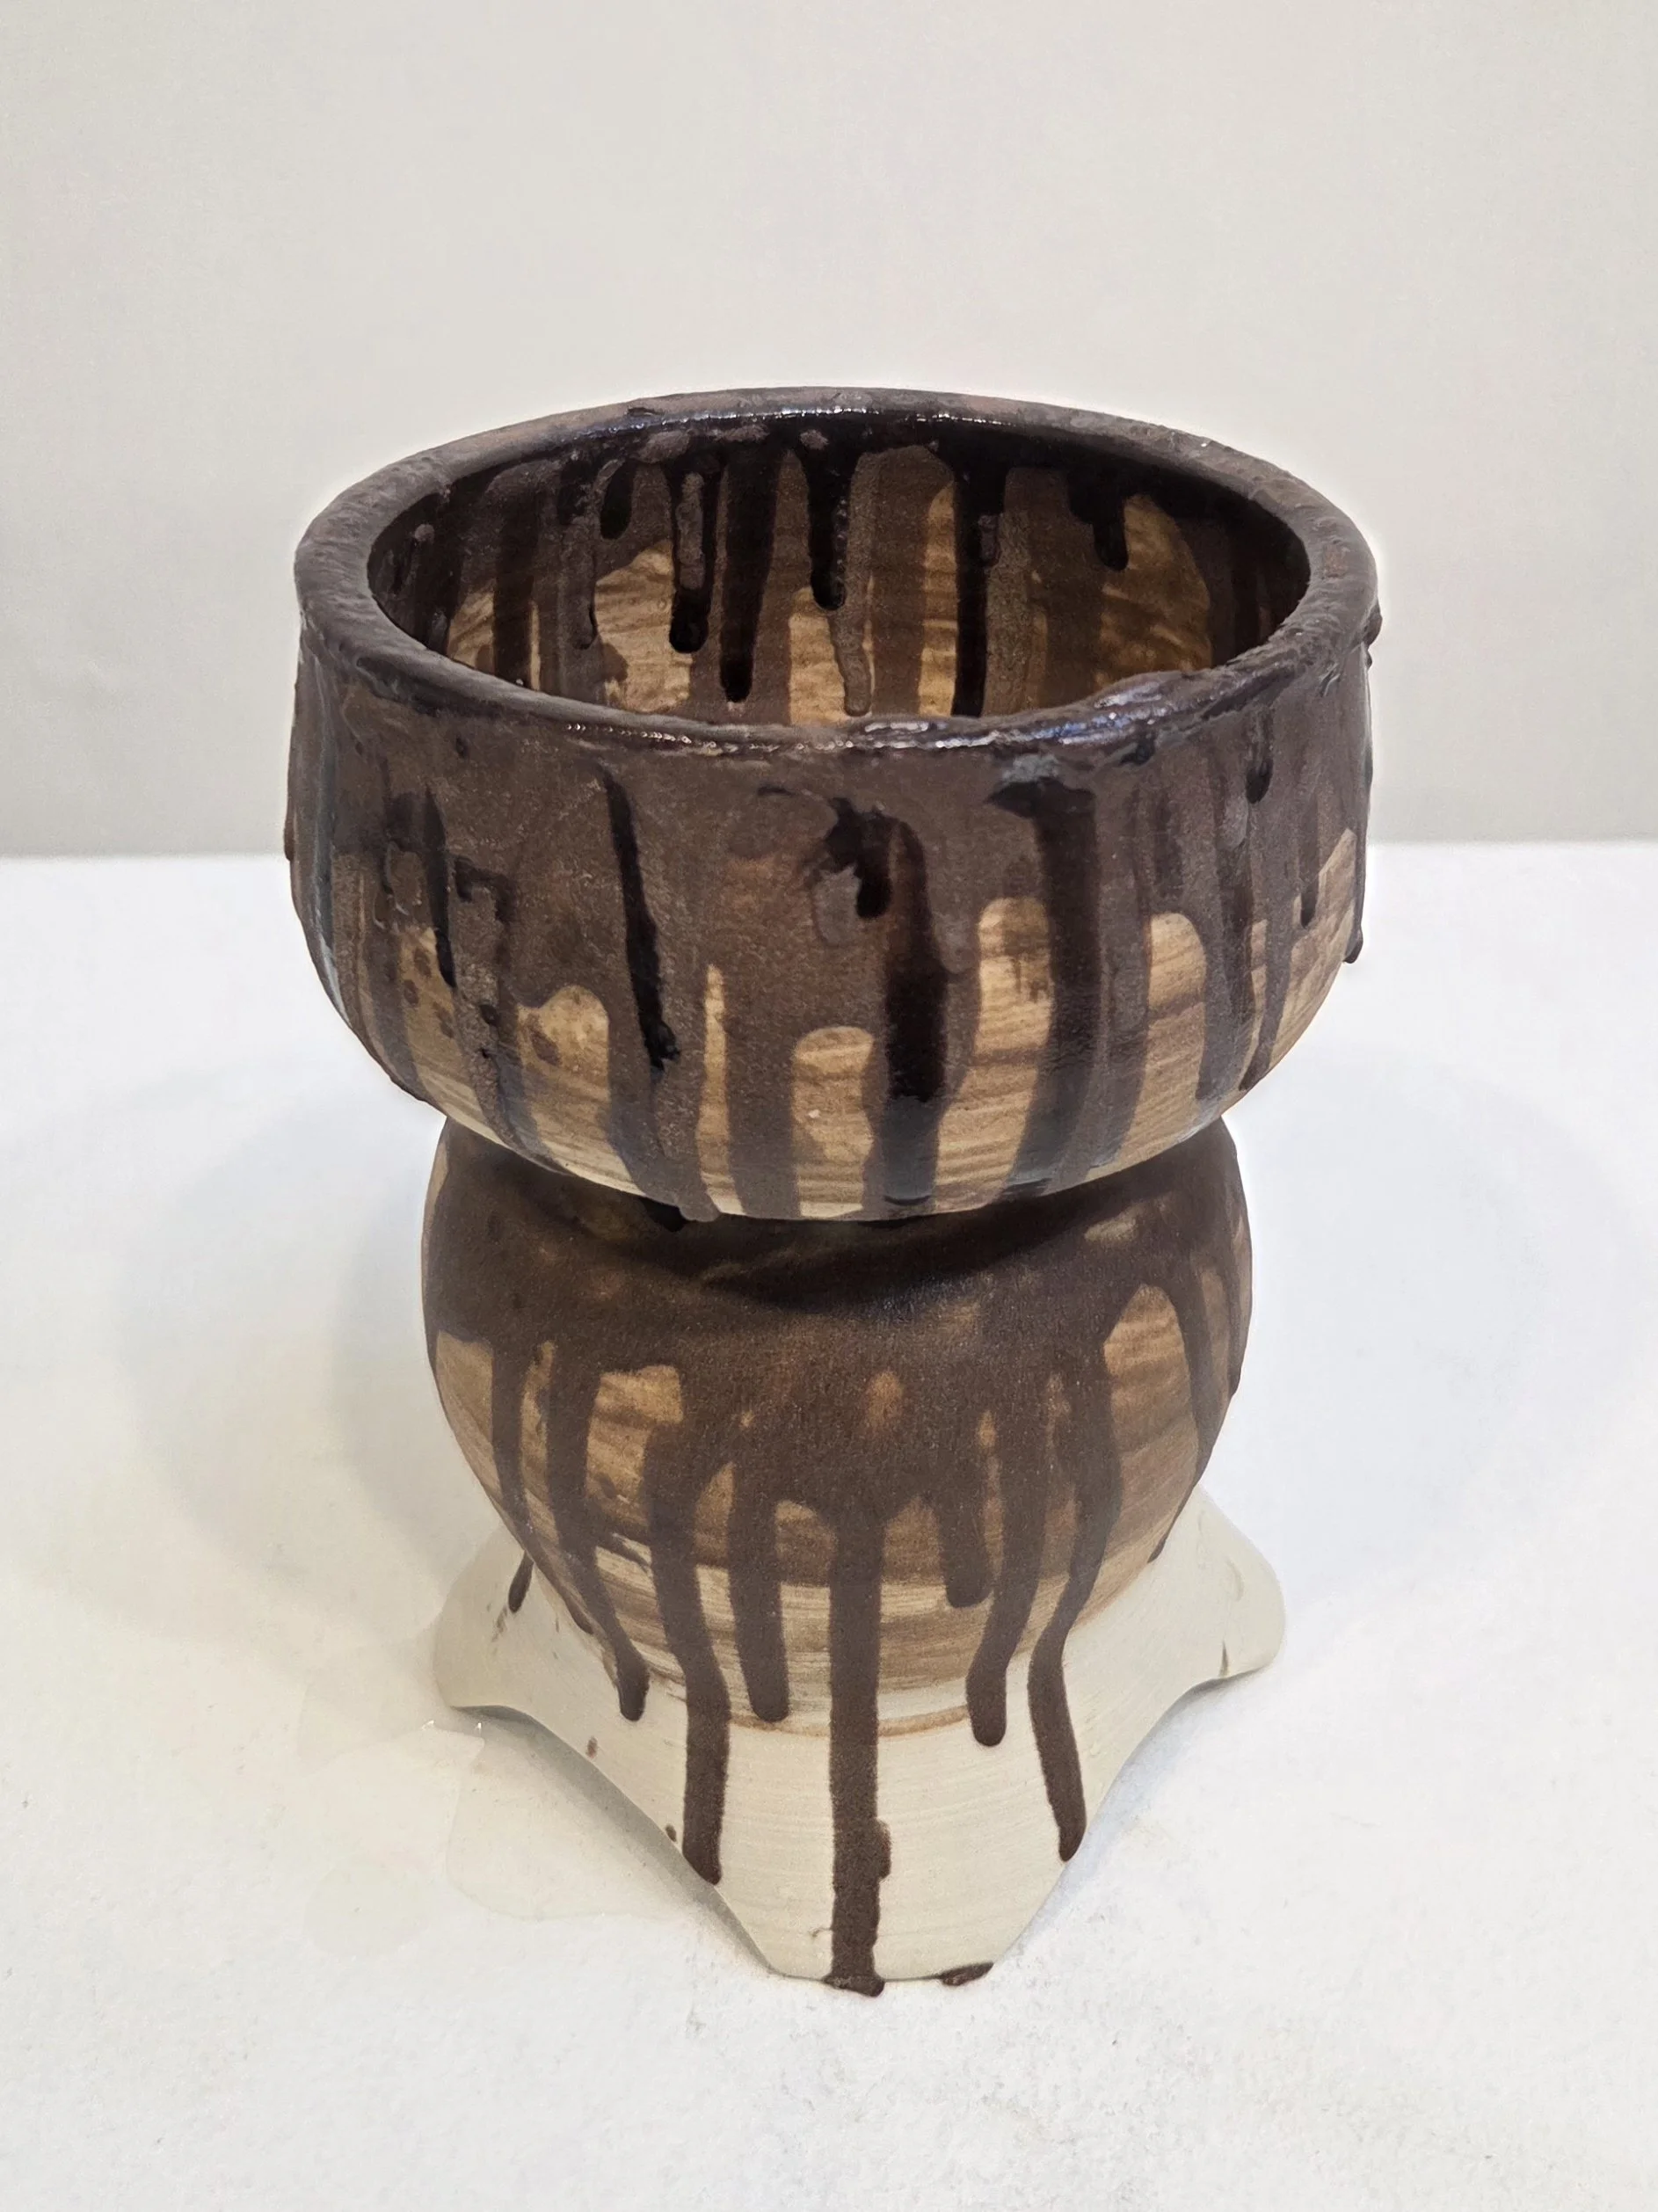
Whisper Creek Vessel
Two local clay slips (Dug 100 ft apart) over mid-fire porcelain
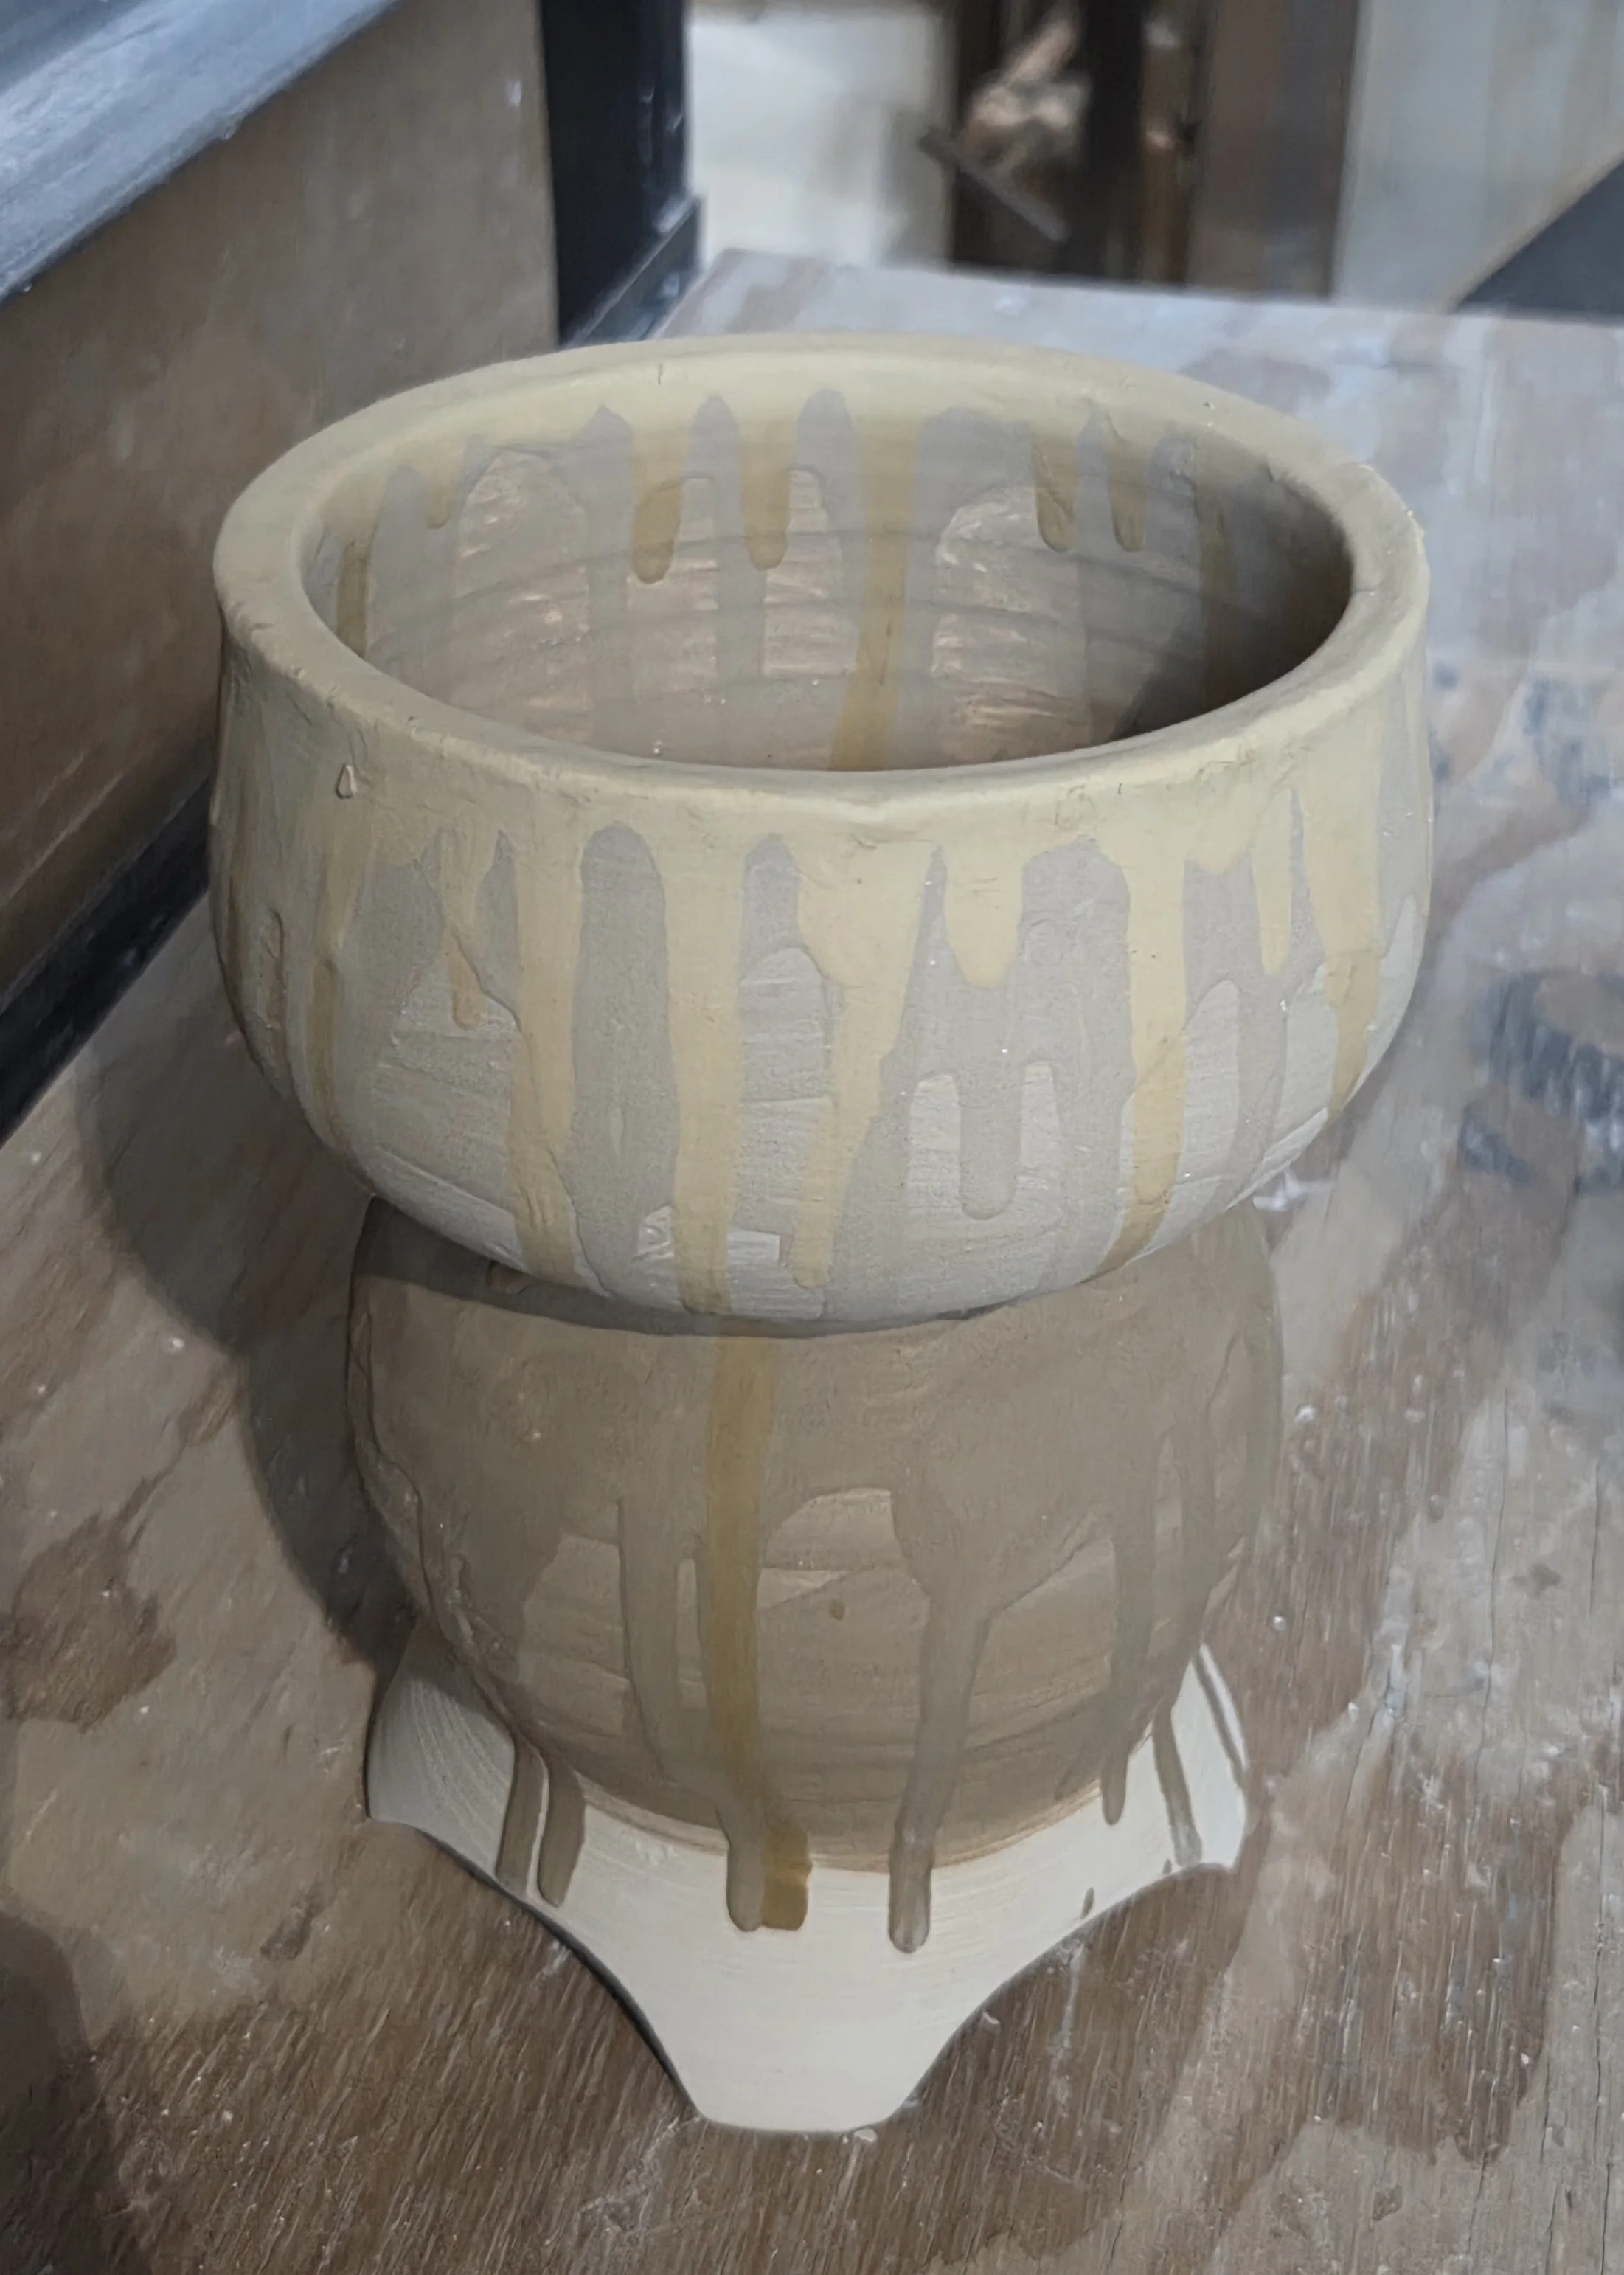
Variations in Clay within the same location:
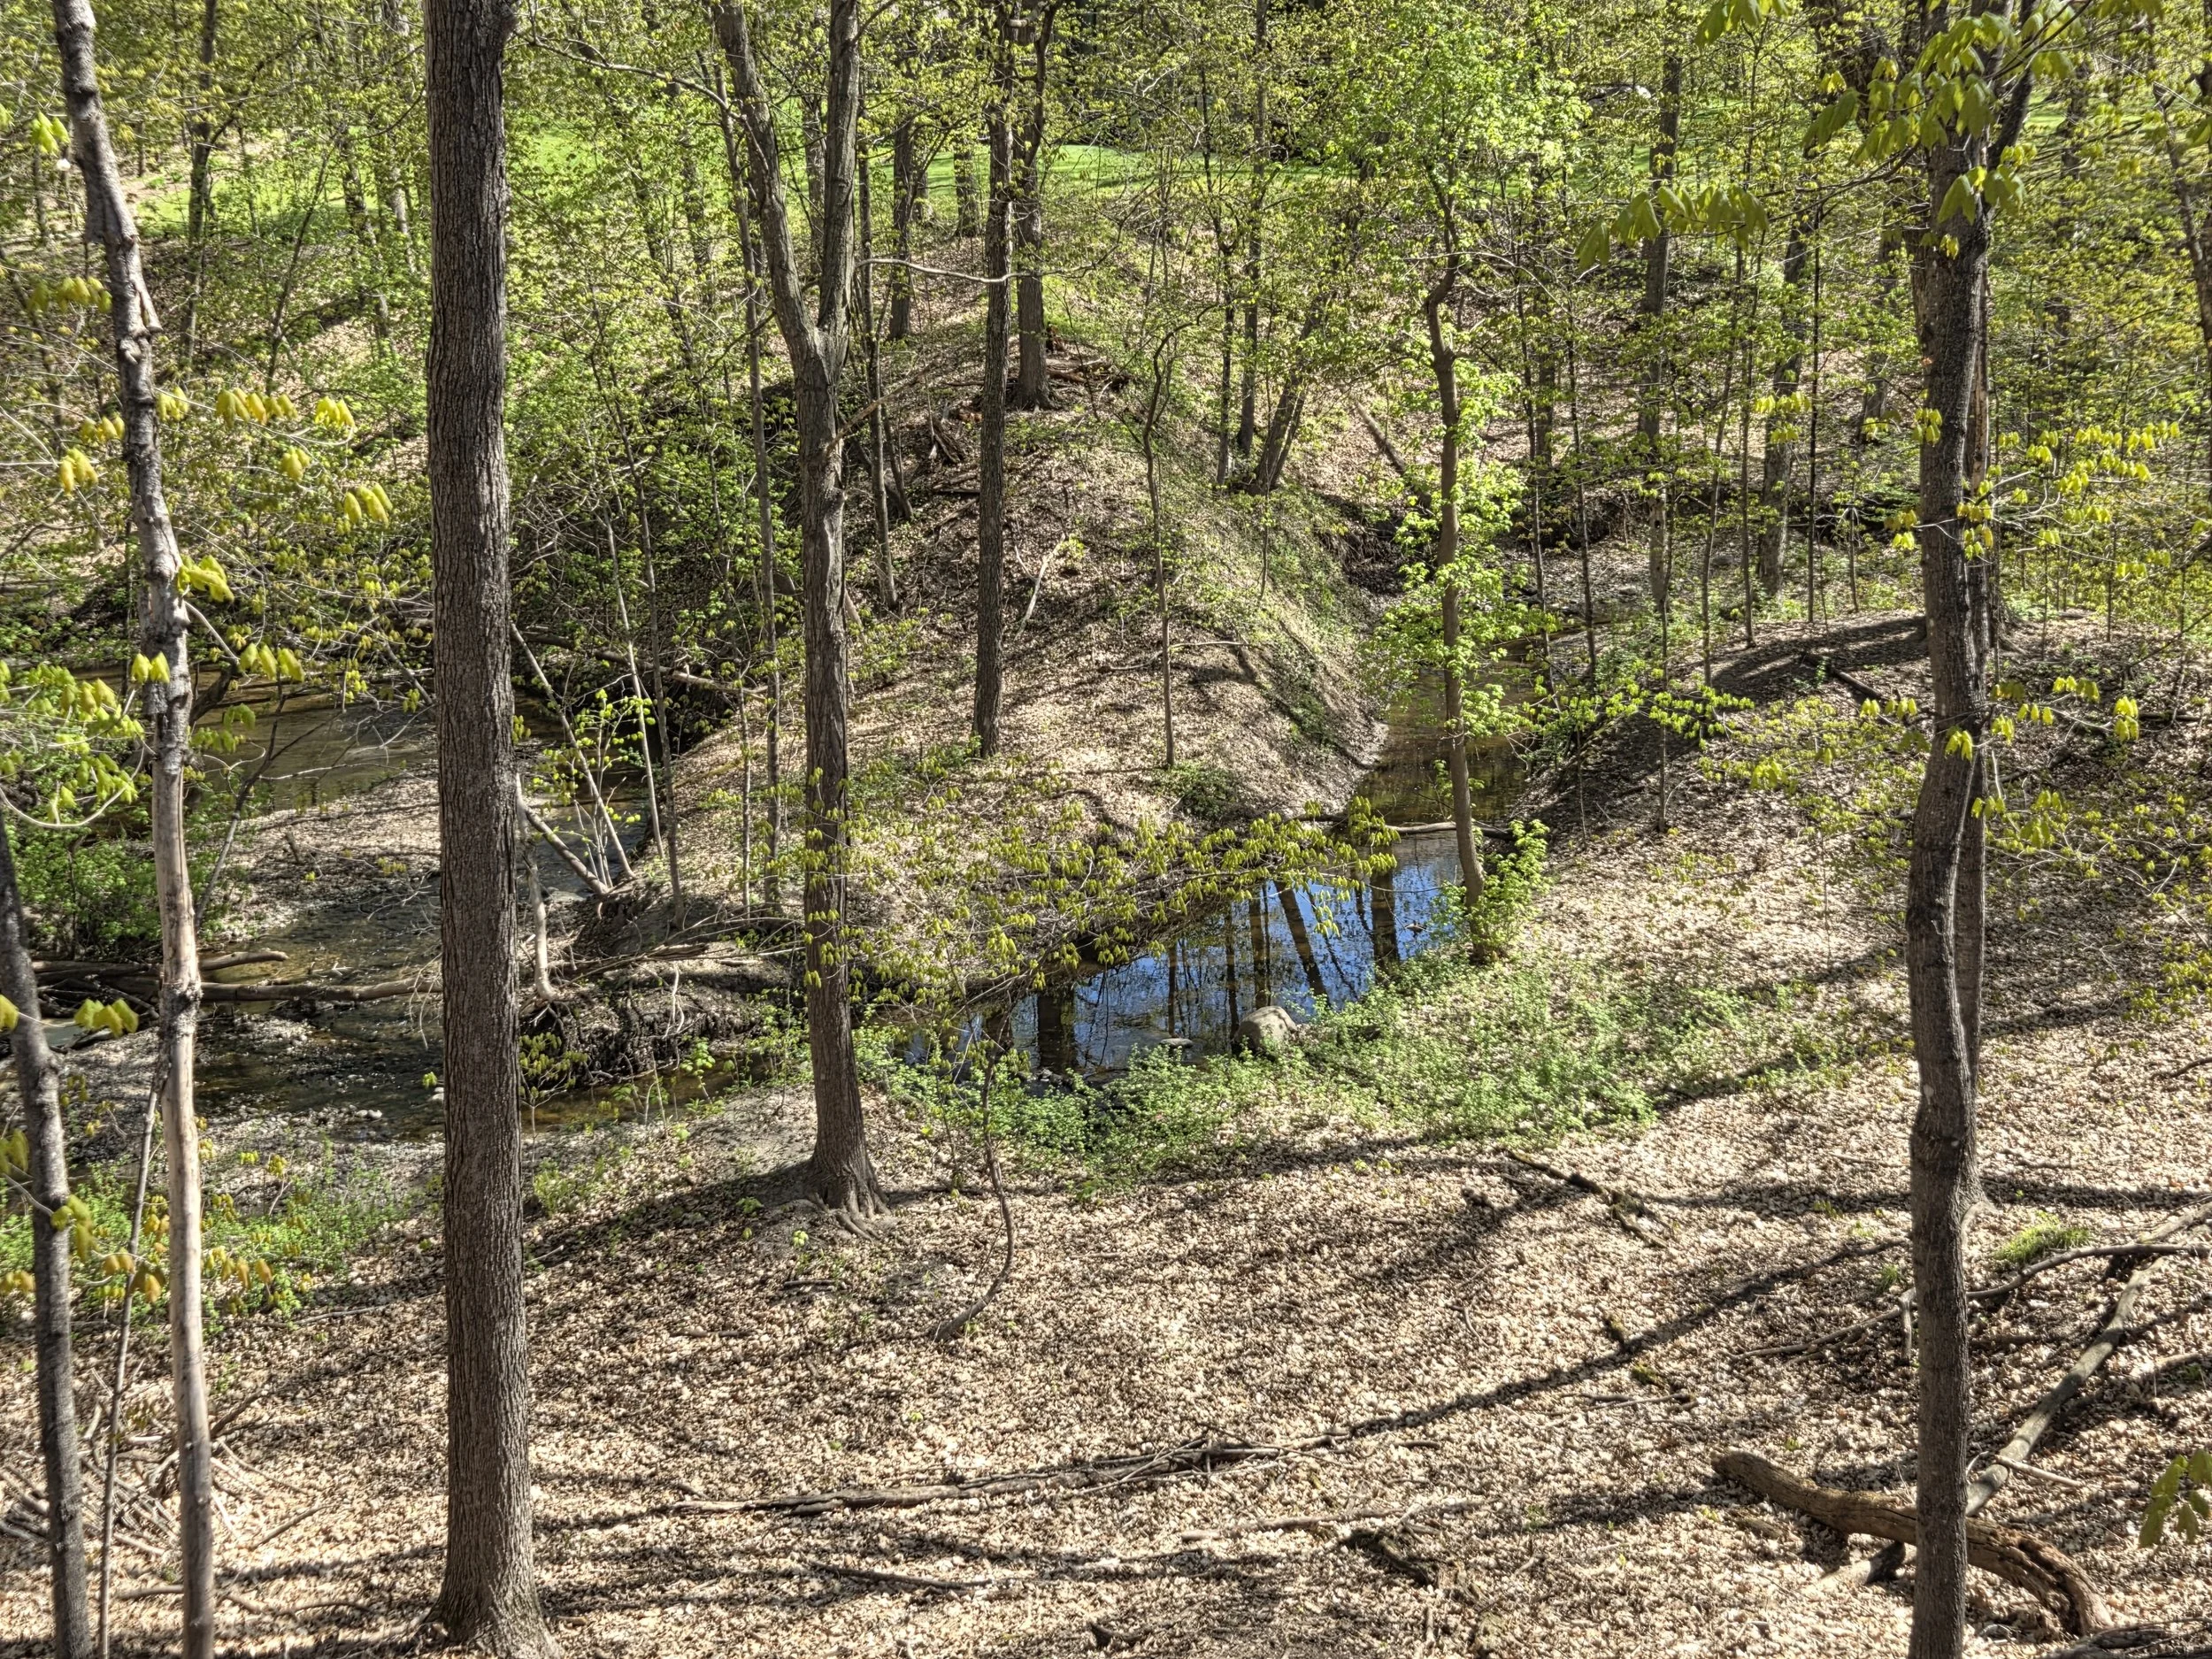
While harvesting clay in my parent’s forest acreage, I found 2 clay deposits approximately 100ft from each other. (A) was located further inland, away from the creek and contained signigicant amounts of sand and silt. (B) was located just near the creek and contained less rocks, sand, and silt.
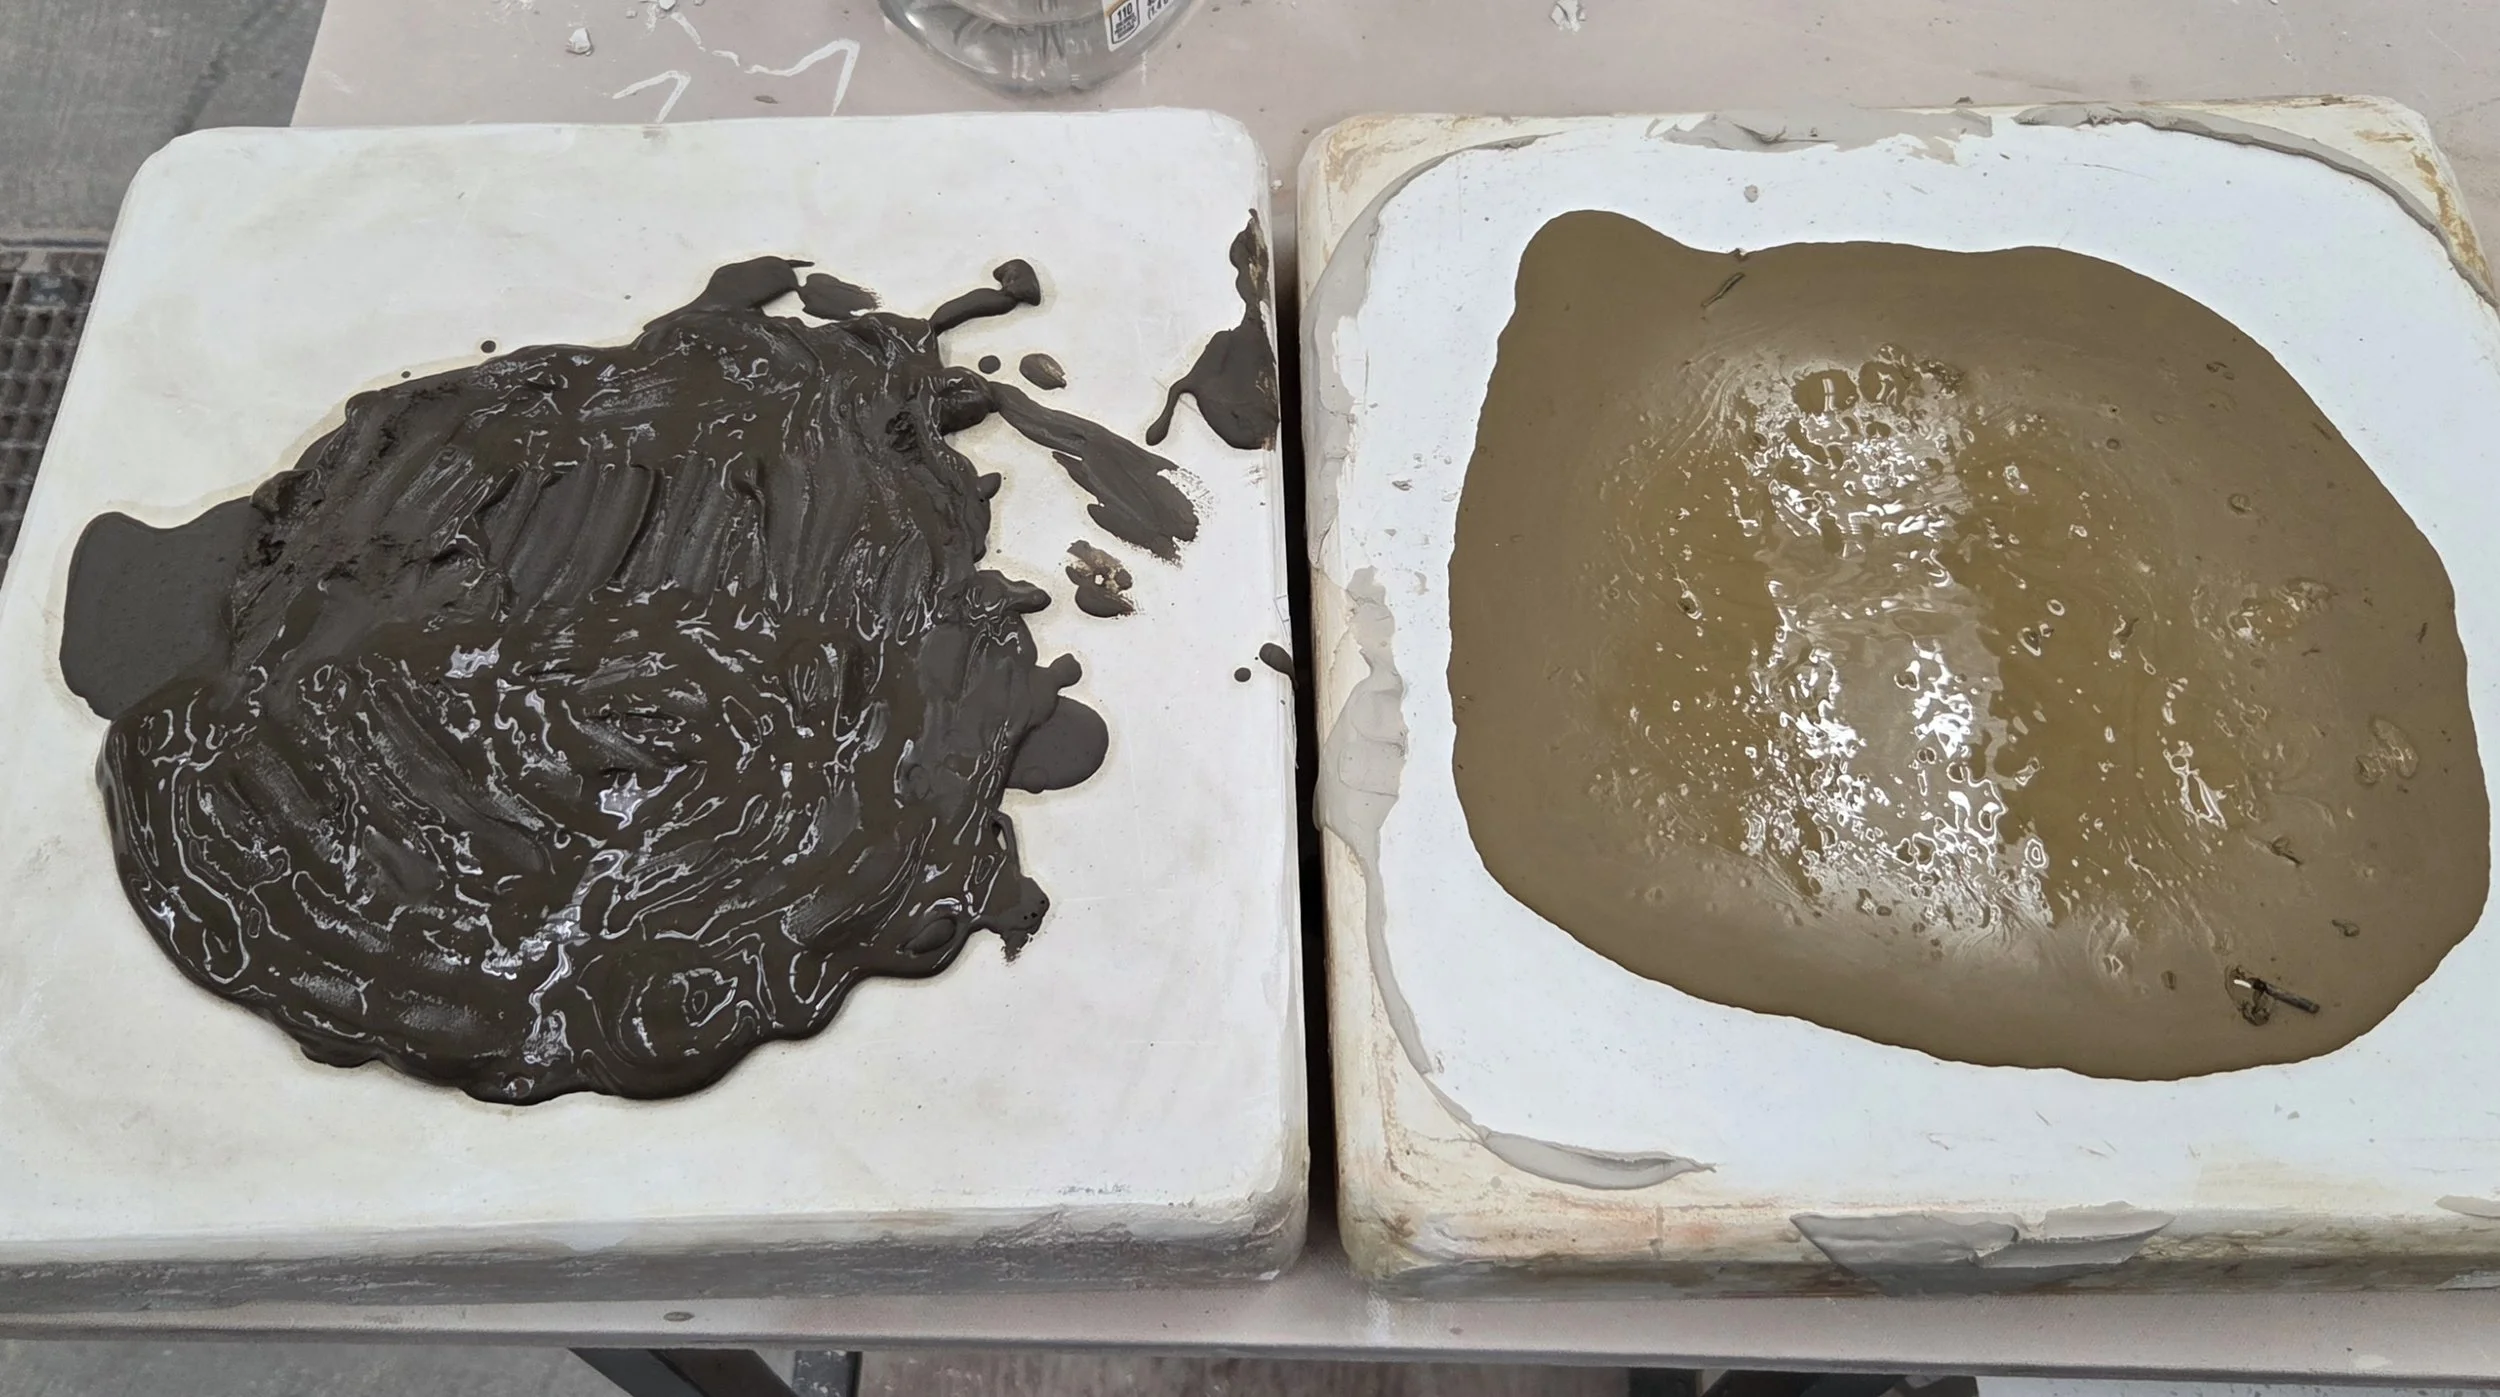
Left: Deposit (A) Right: Deposit (B)
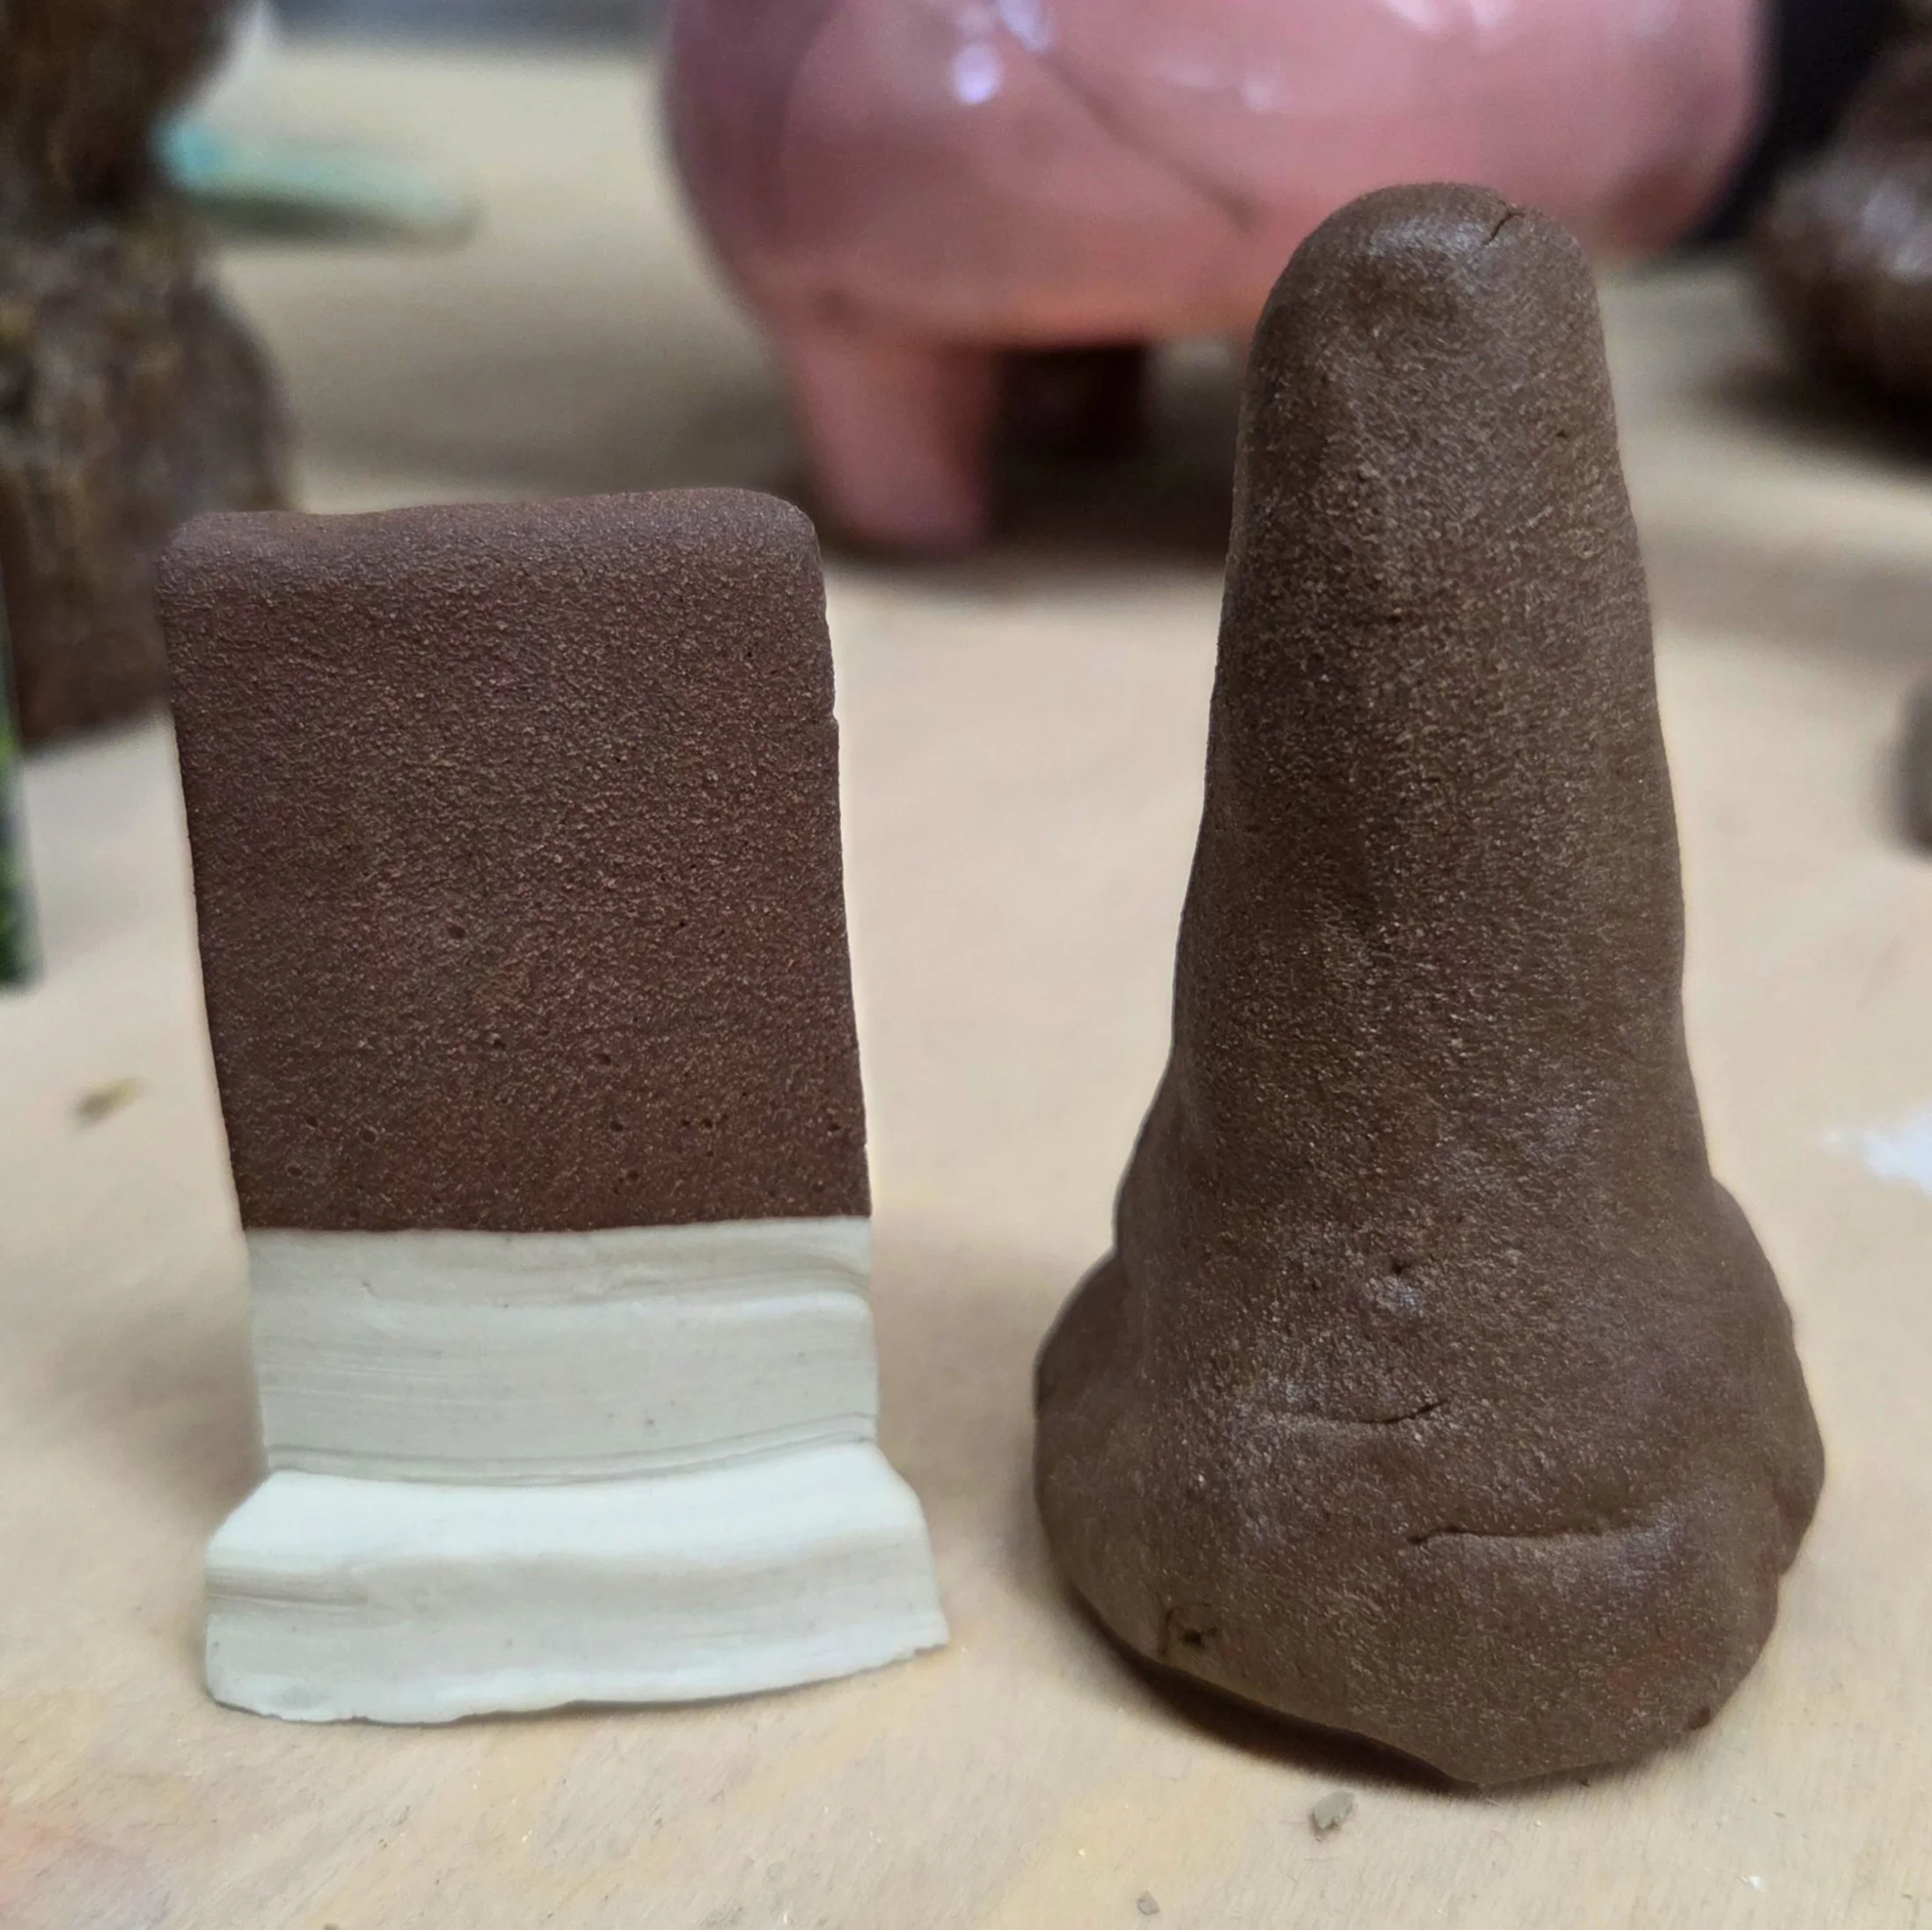
(A) Lacks plasticity, but maintains its form at C/6. As a slip, this clay does not vitrify until C/9. At C/6 the slip has a maroon color and a matte finish.
(B) Is very plastic, but melts and bubbles at C/6. As a slip, this clay becomes a glaze but begins to crawl when applied thickly.
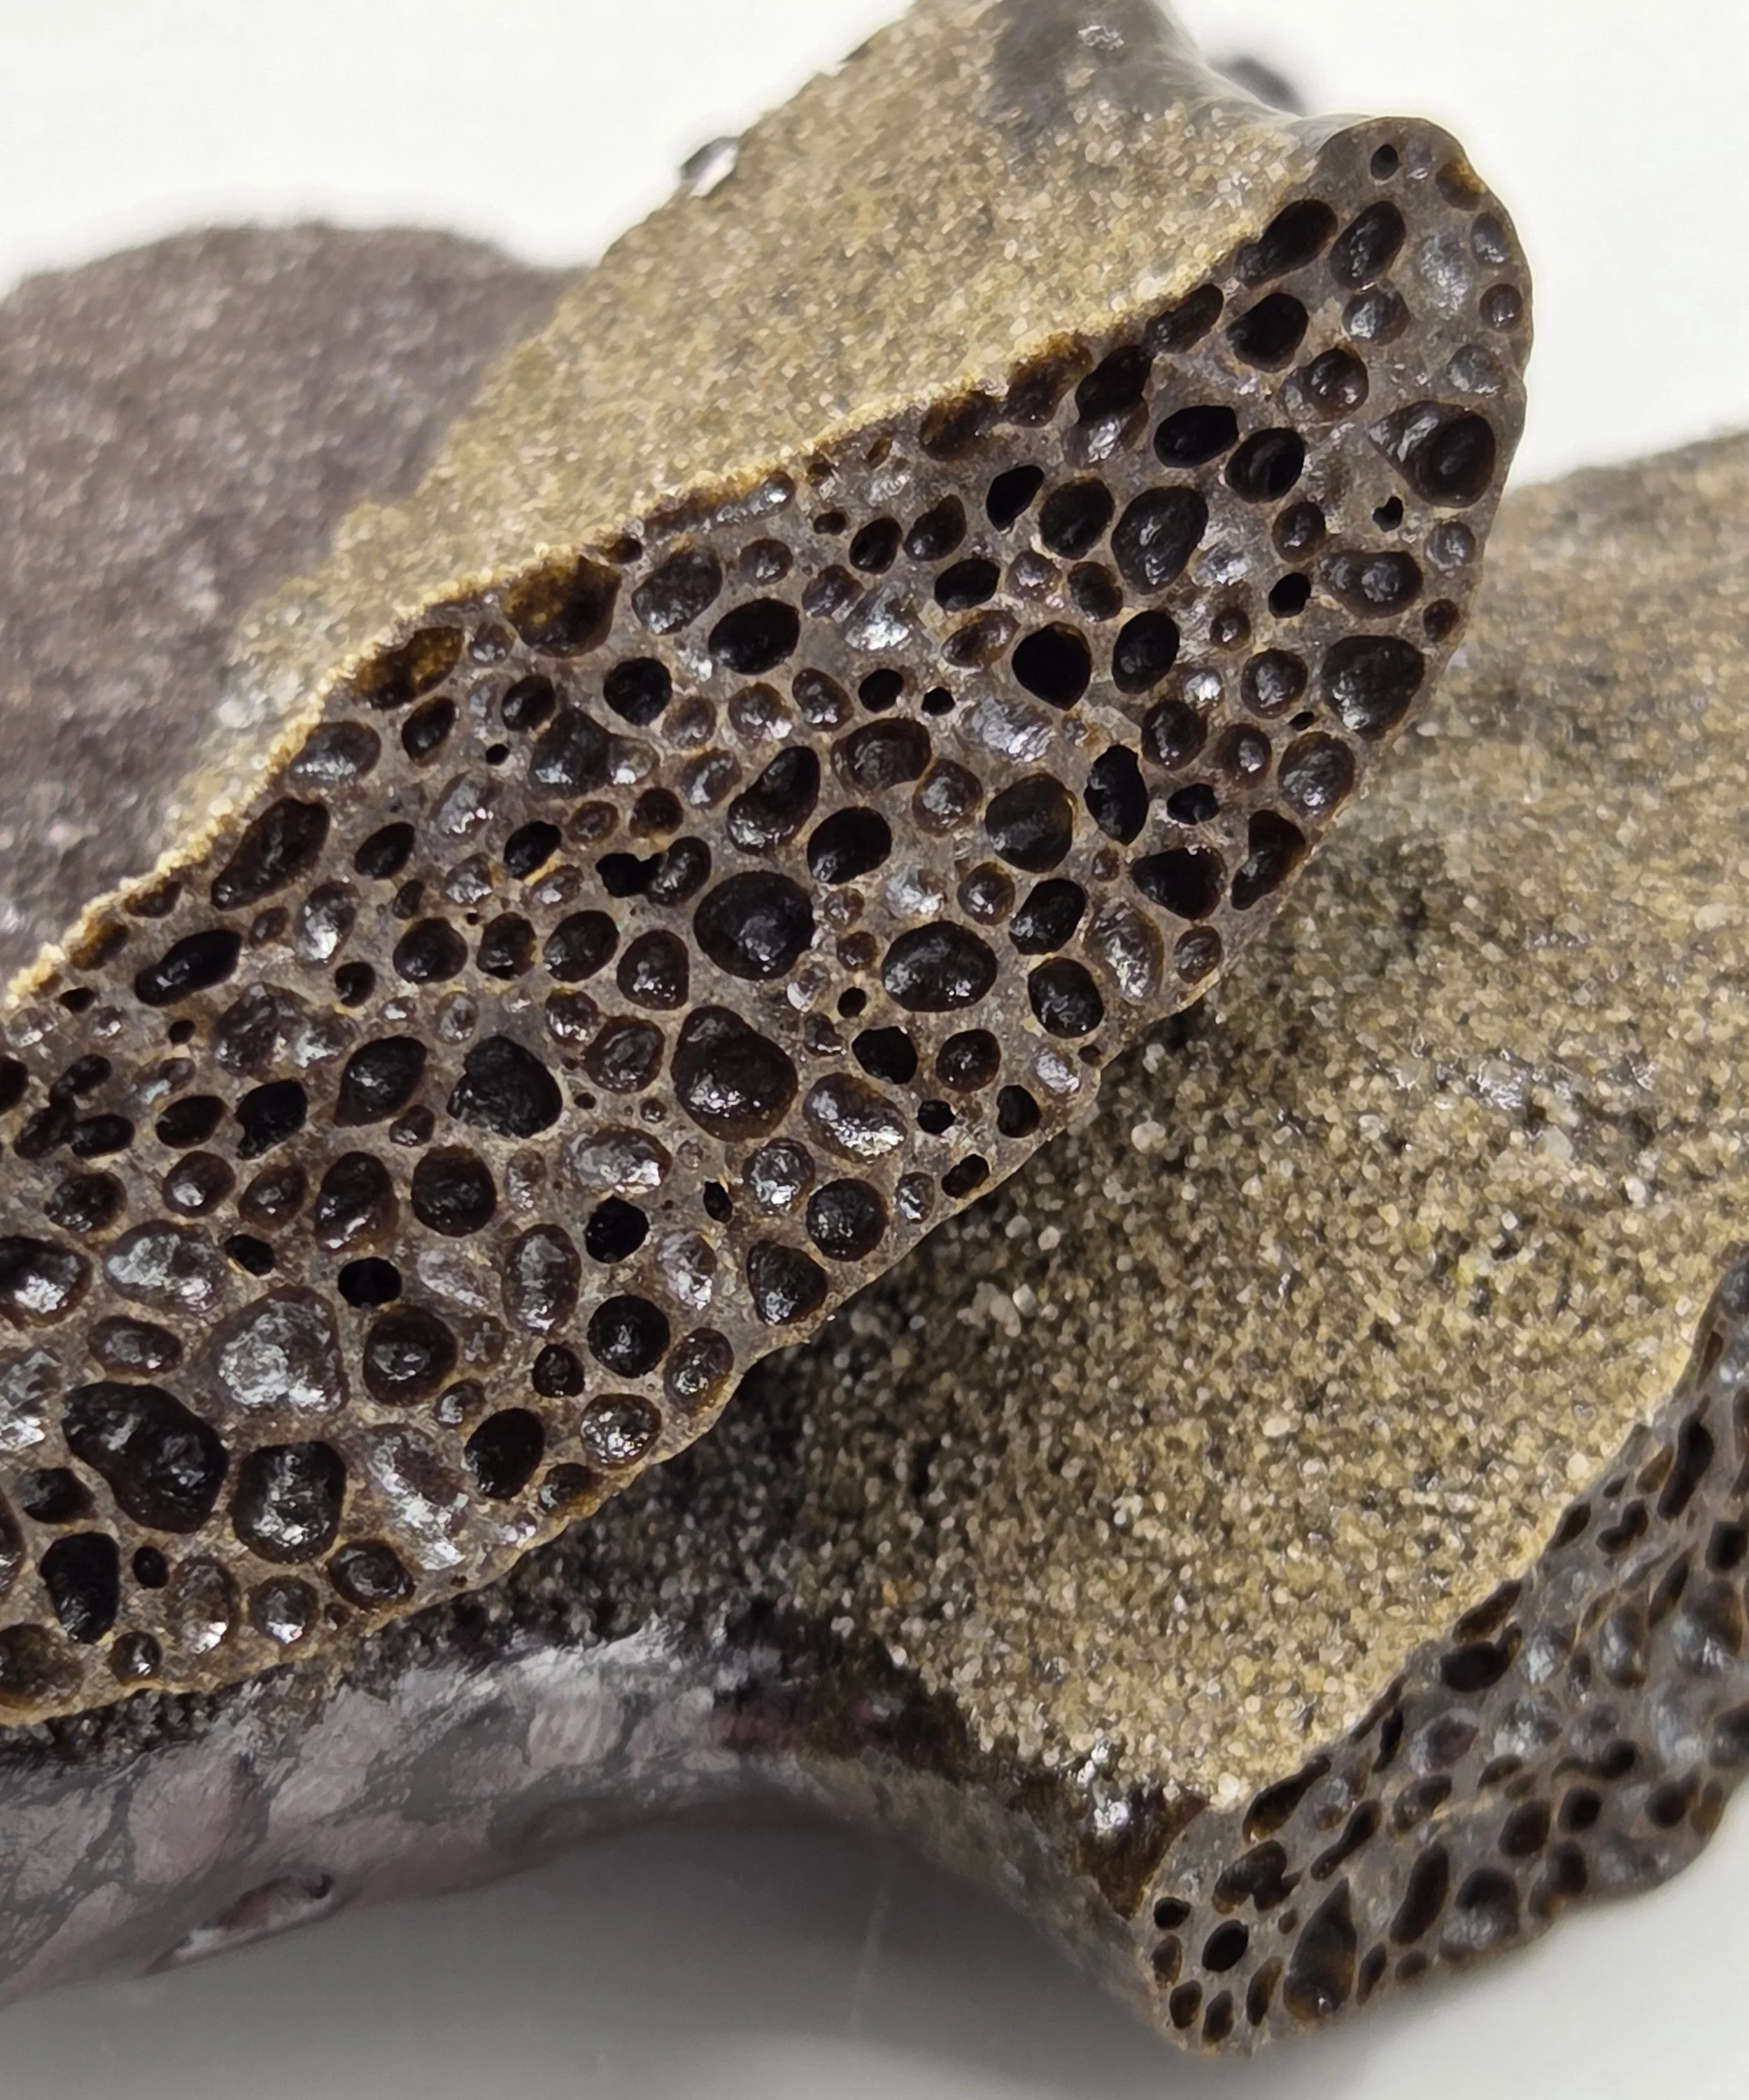
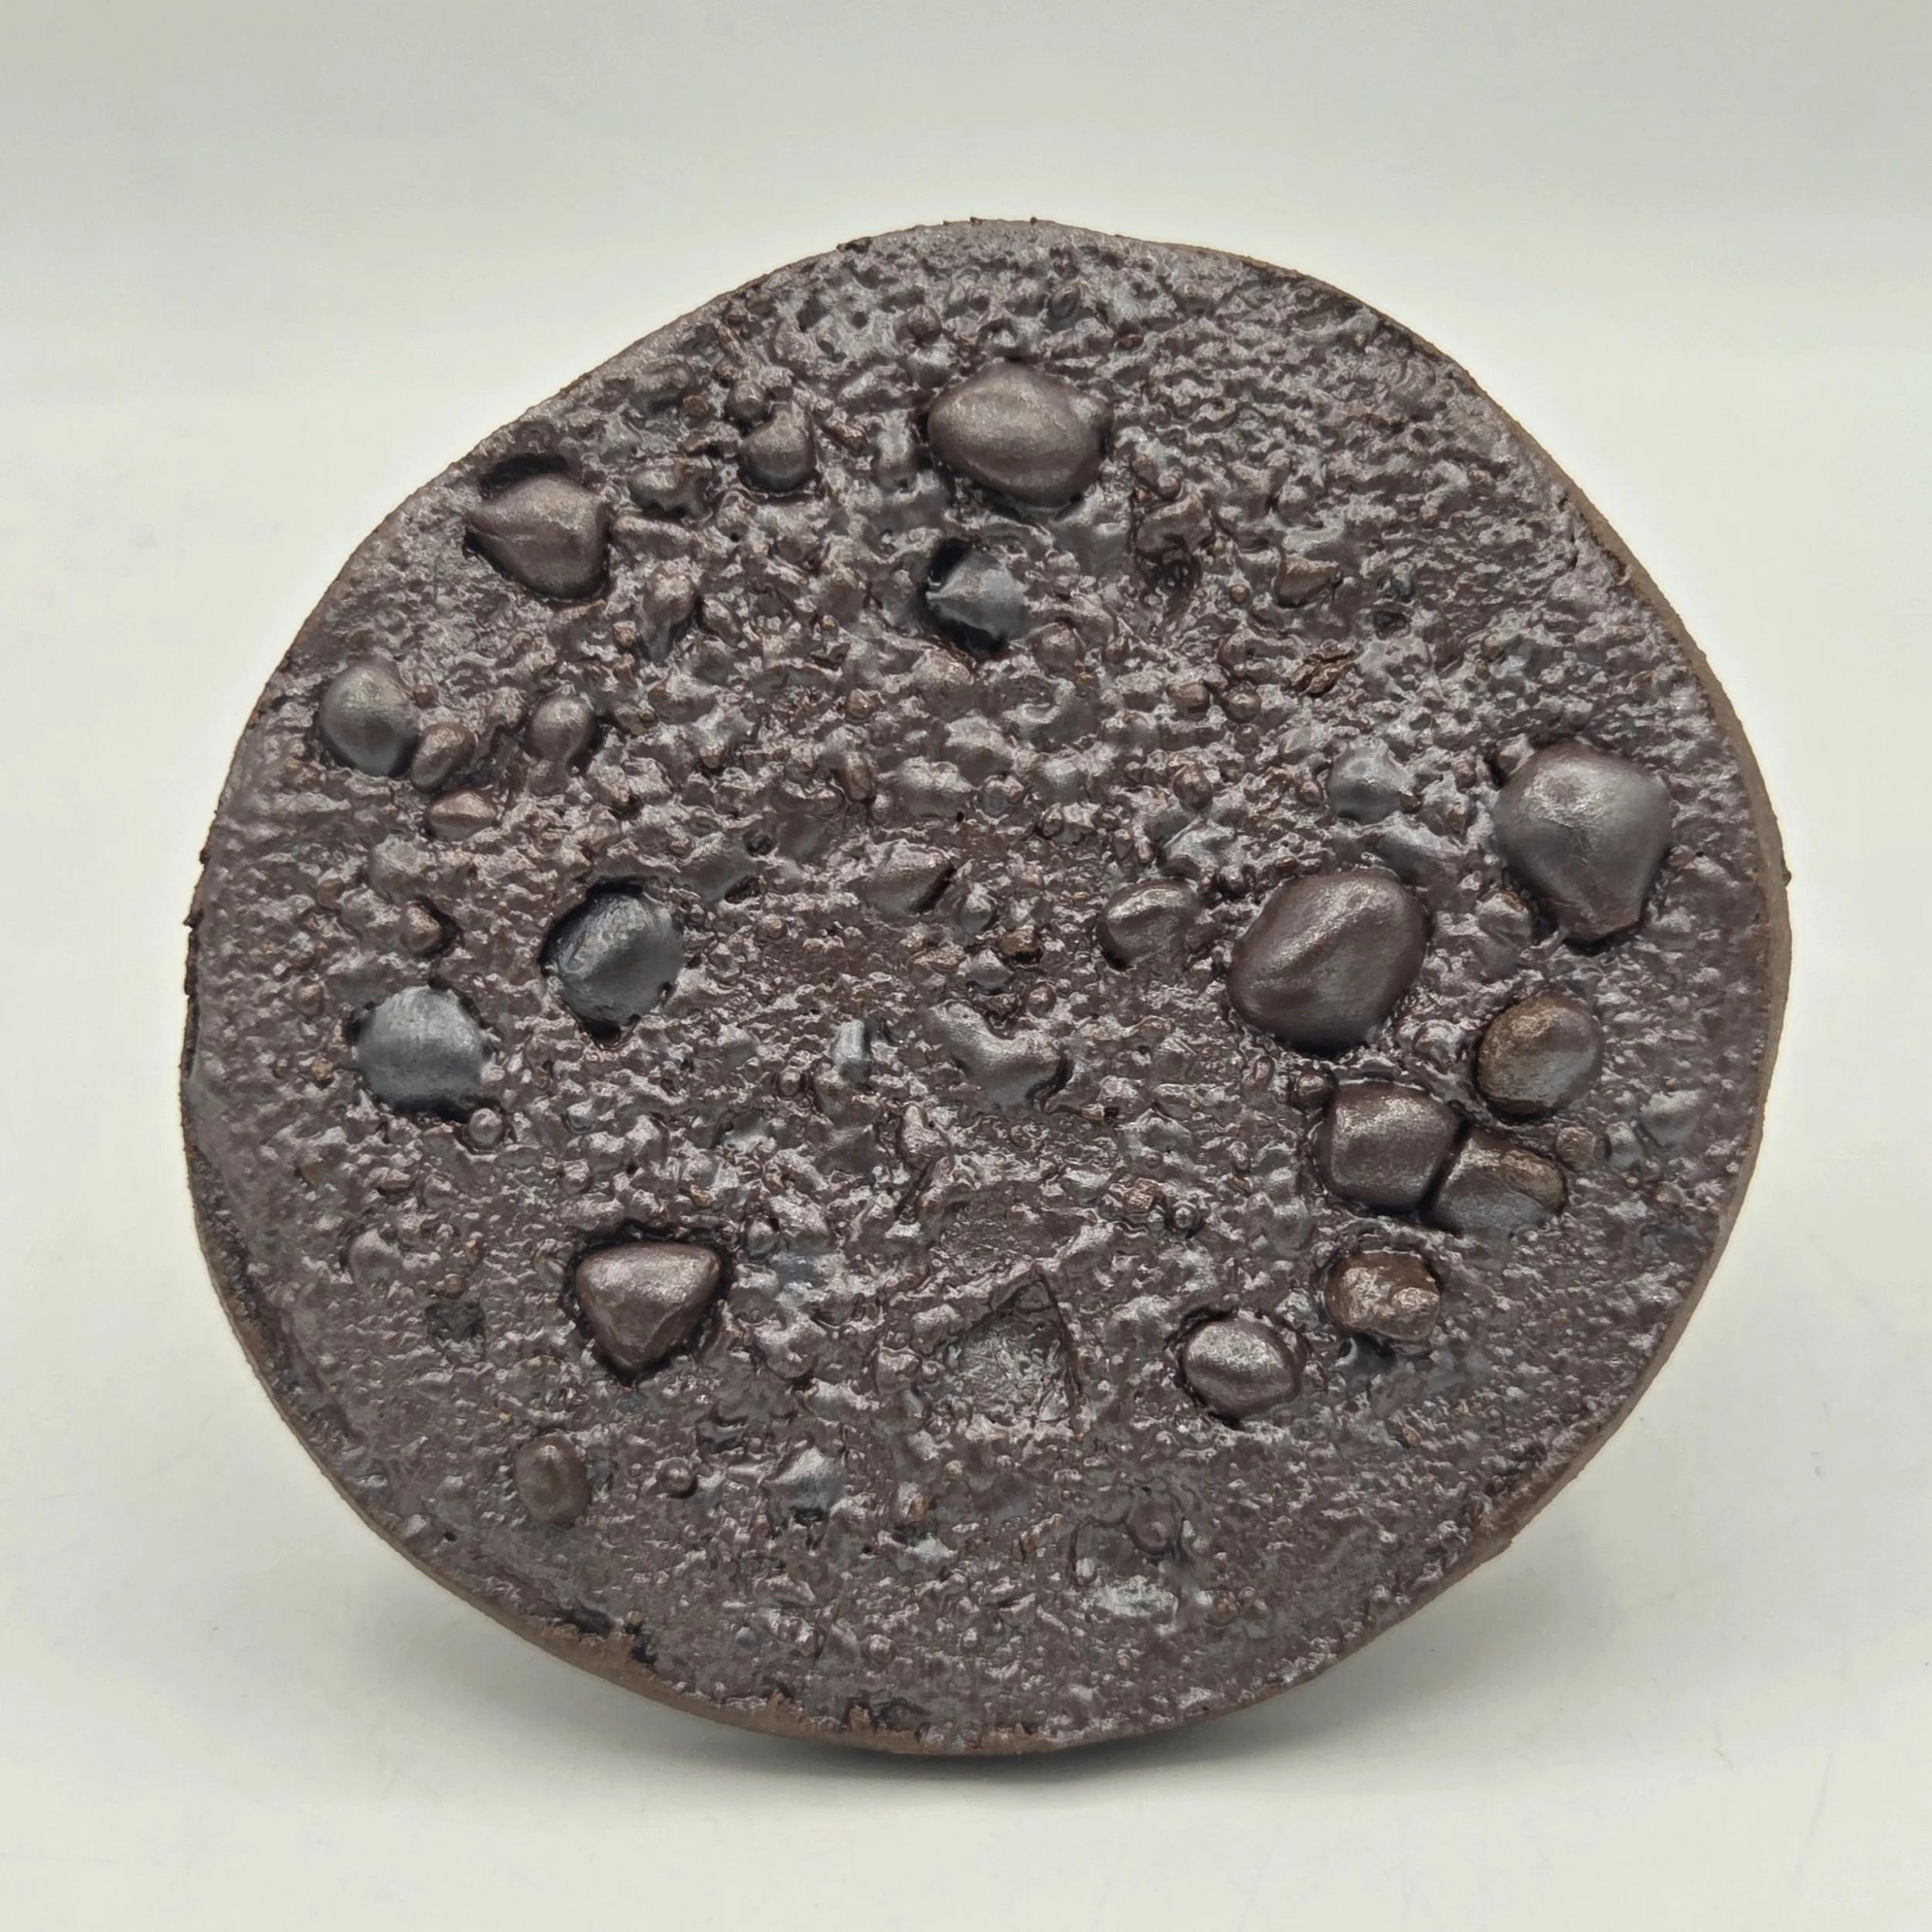
Left: (A) Bonedry chunks were crumbled to a stoneware slab coated in (A) slip and fired to C/10 in Reduction. the jagged pieces of clay vitrified and smoothed like river rock. The sheen appears similar to that of a soda ash coating. Right: (B) was formed into a cone and fired to C/6. This is a cross section of the interior of the melted cone after snapping it in half. The matte, smooth exterior is where the mass was on silica sand.Left: (B) Bird cones have fired to C/01, and they are placed on a mound of silica sand. Right: (B) one of the bird cones after being fired to C/6.
Mississippi River Clay
Minneapolis, MN
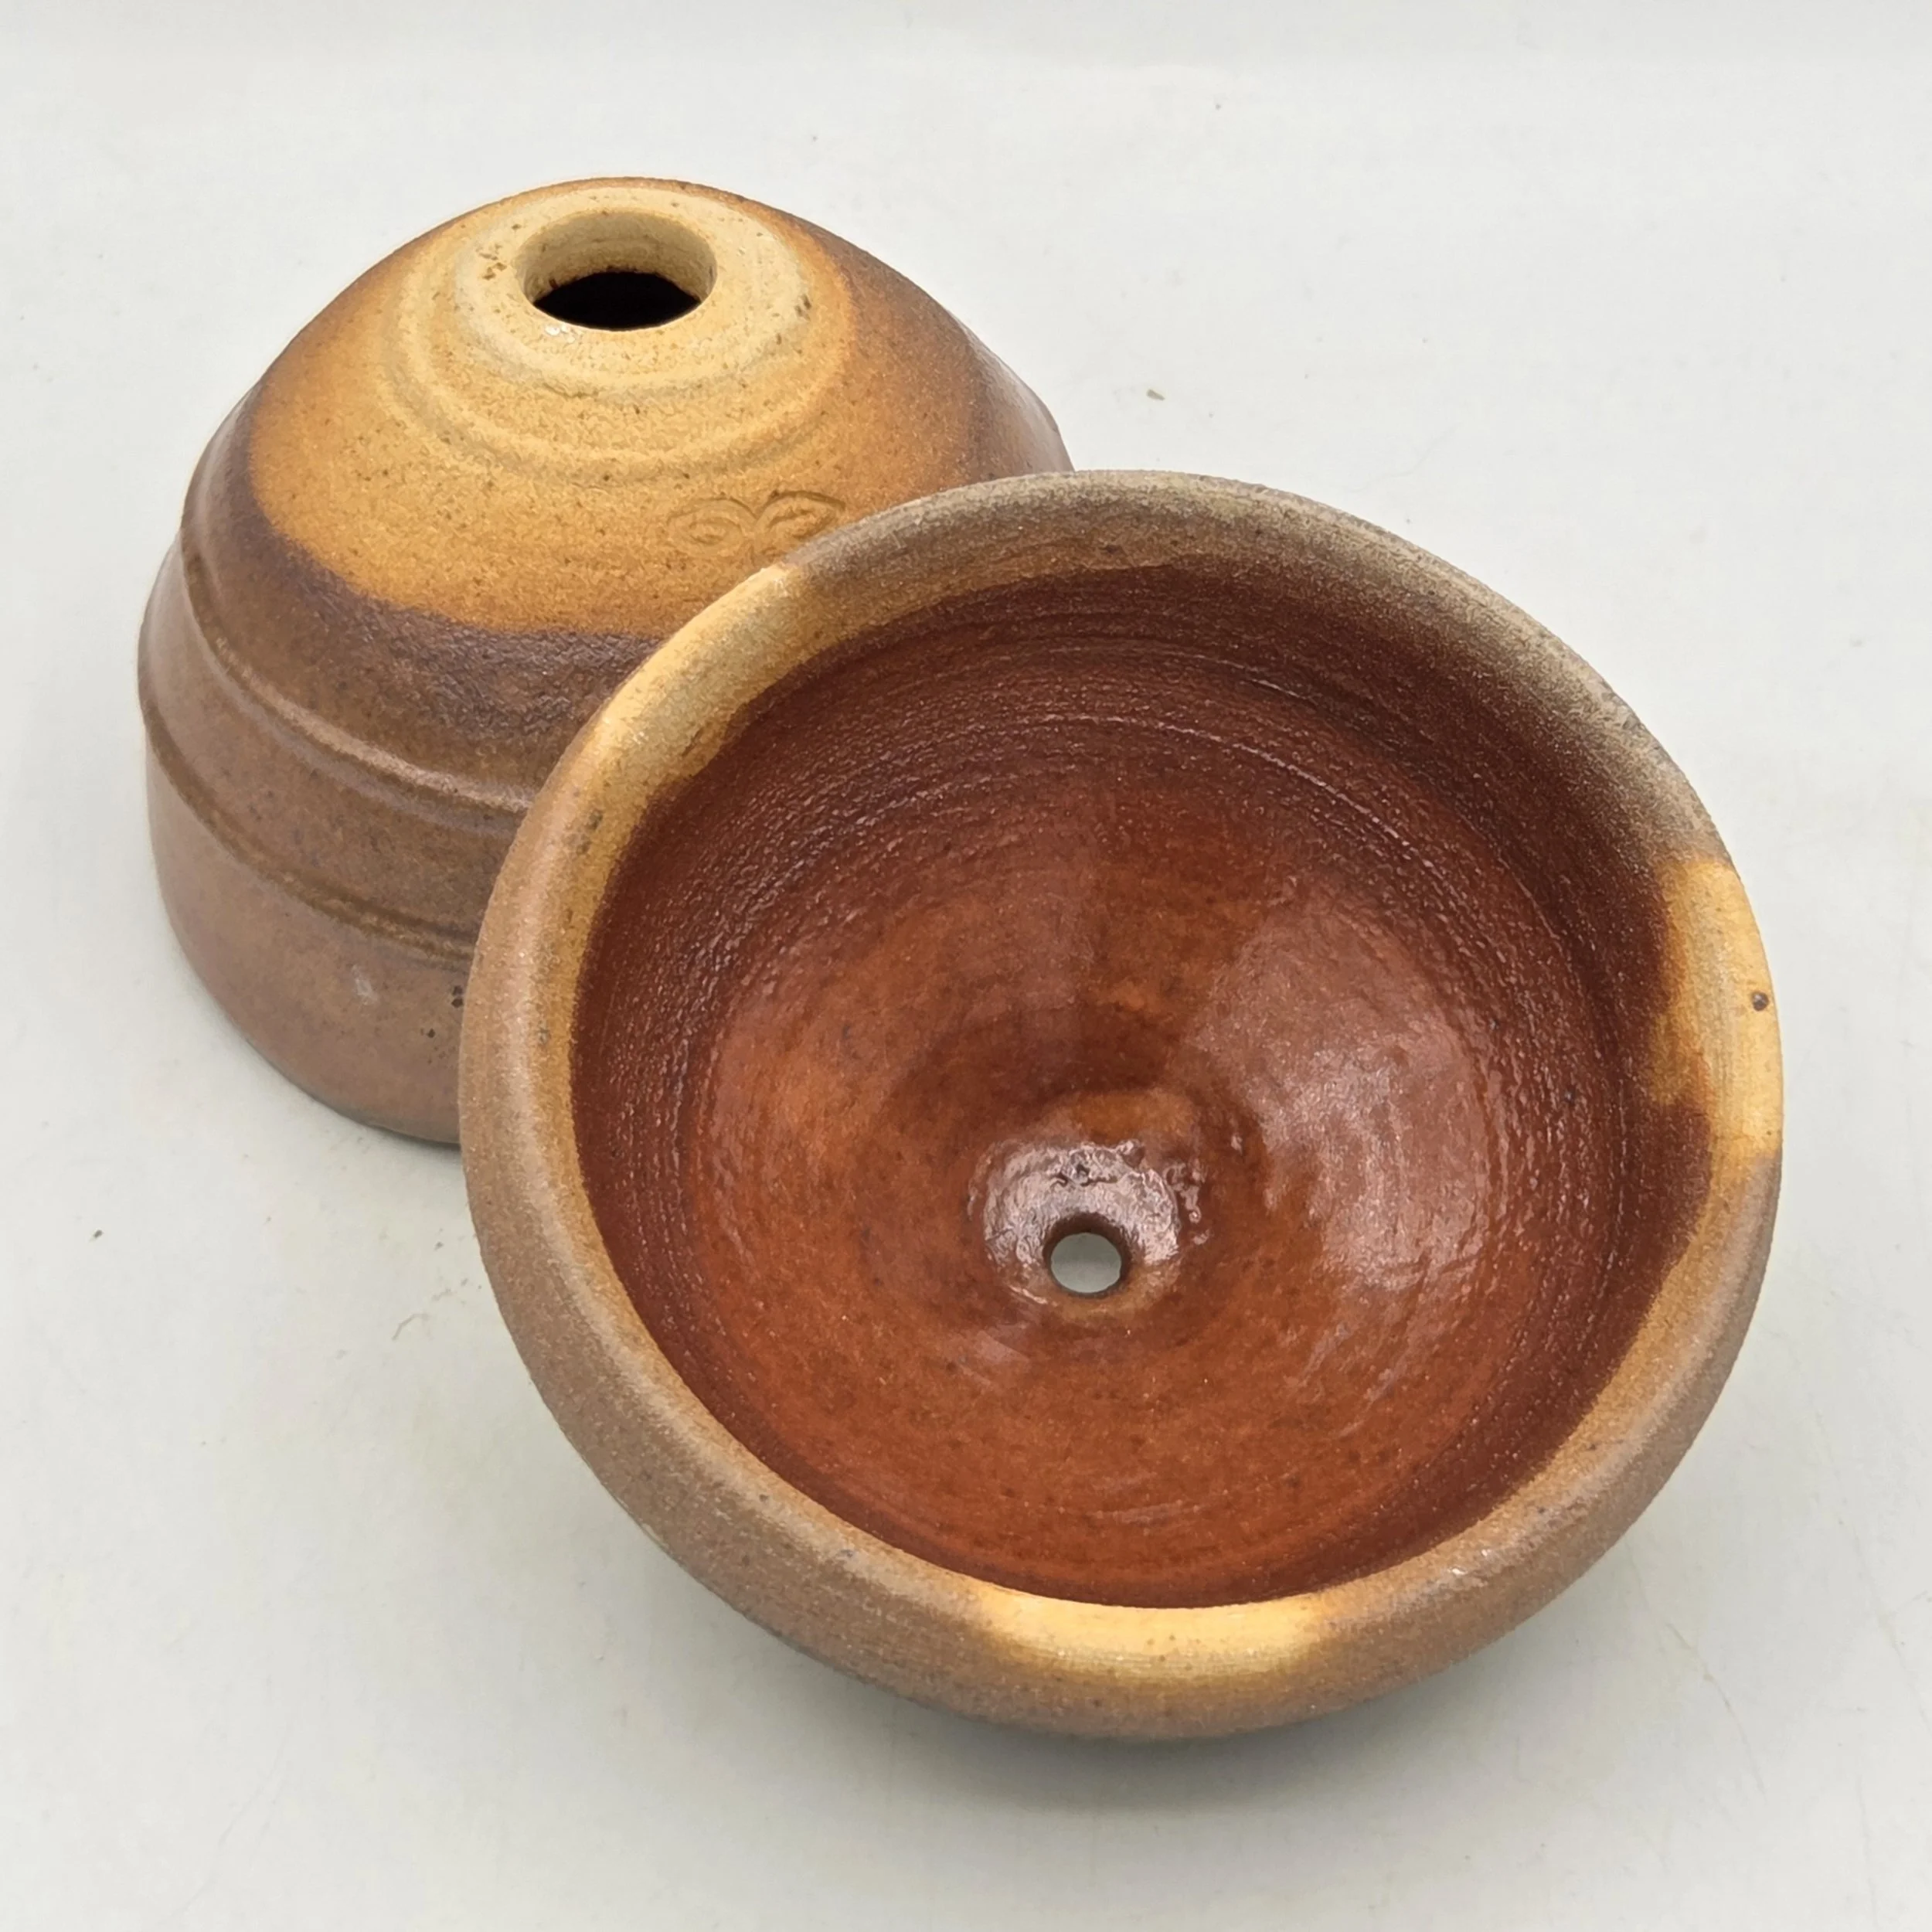
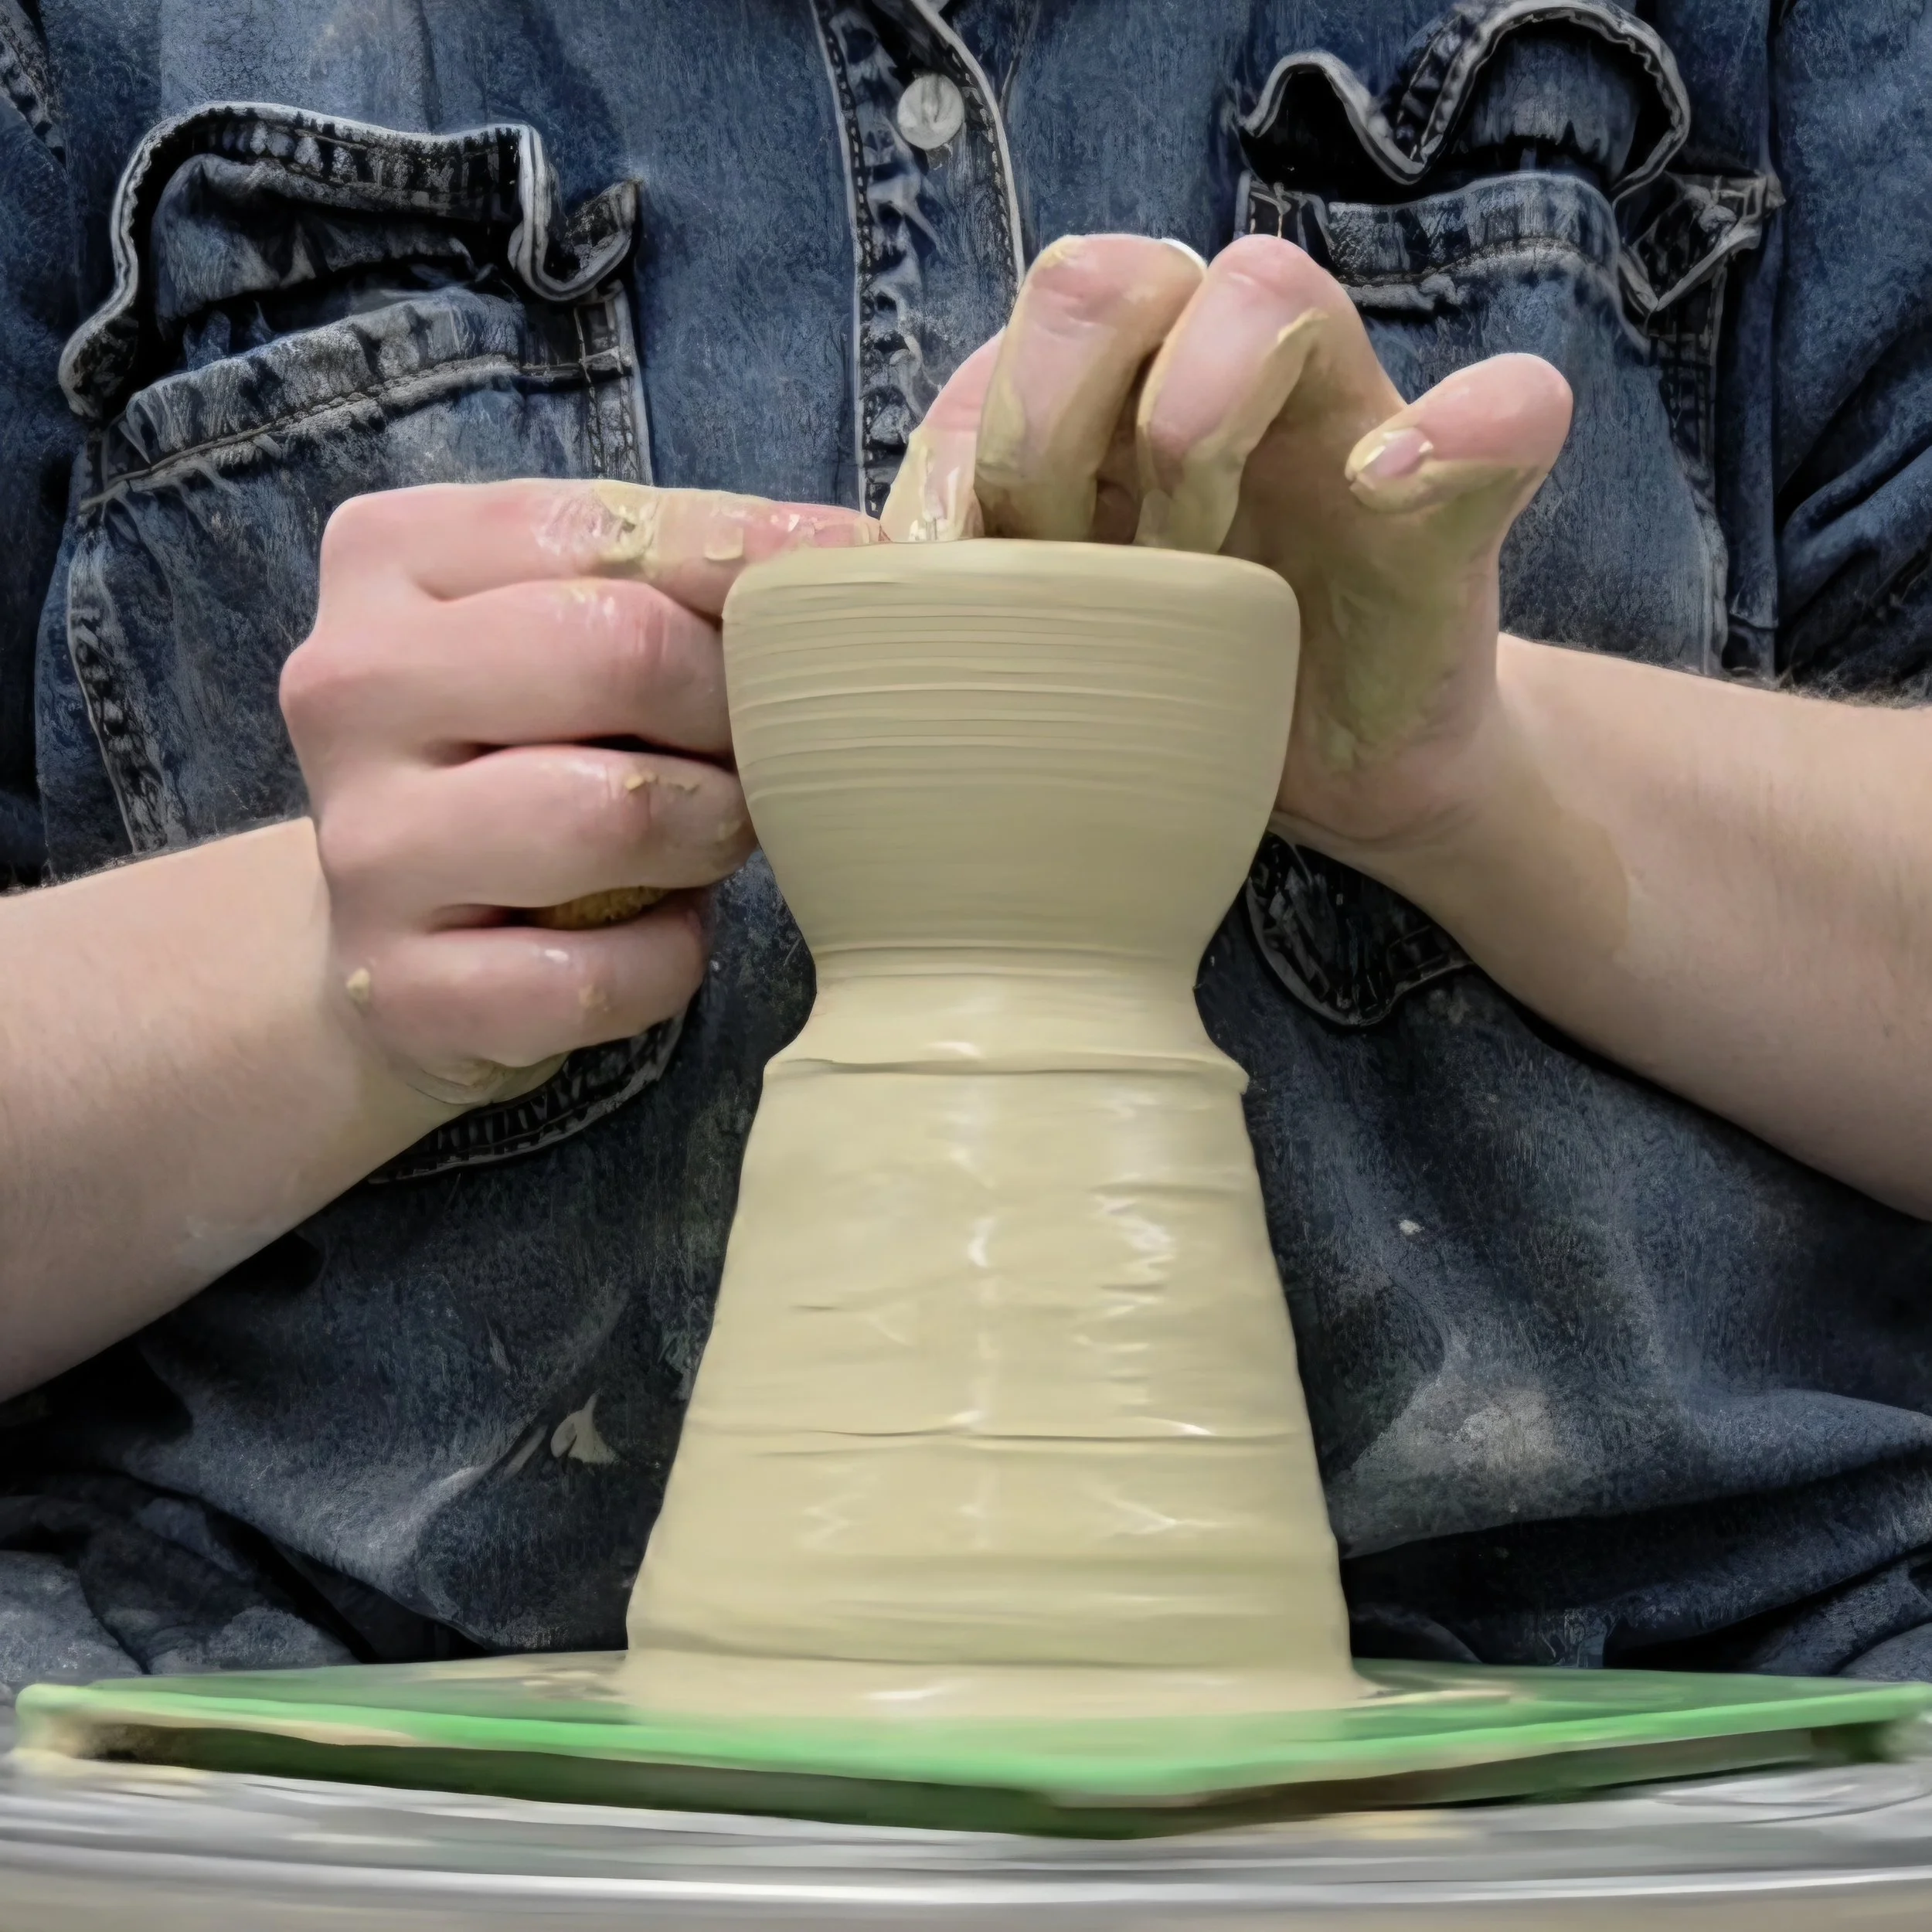
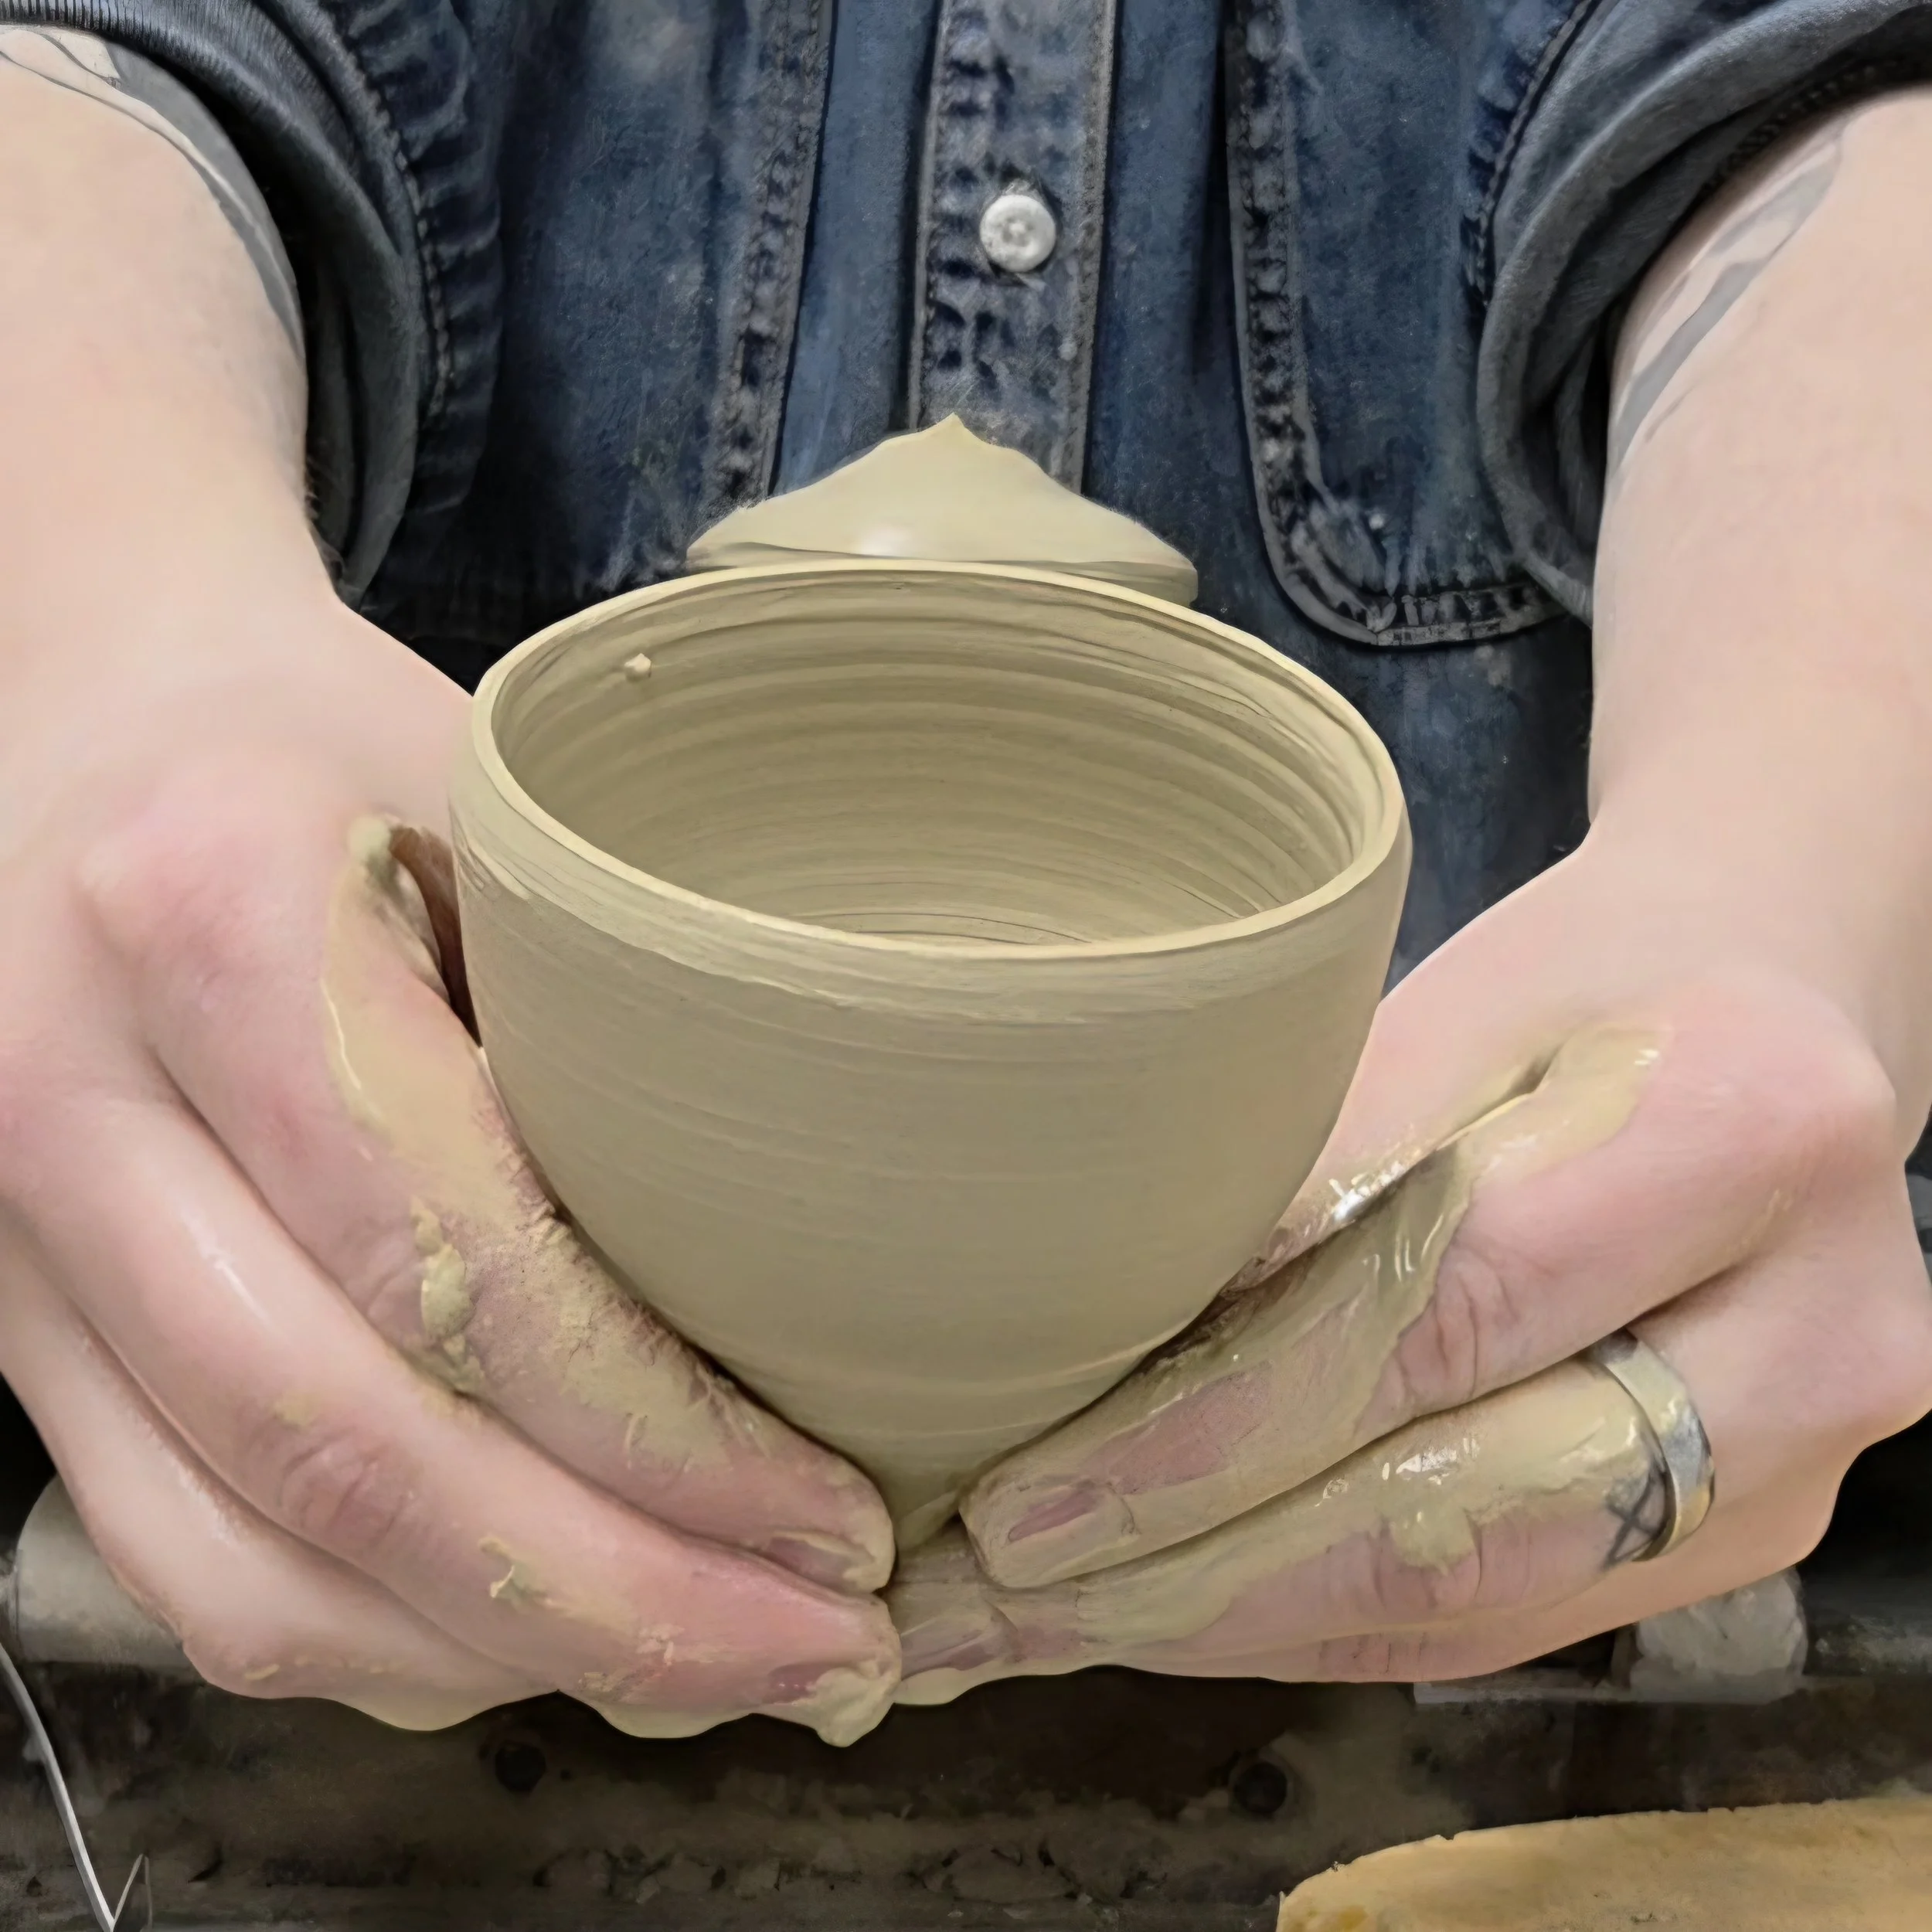
Processing: Sieving and Getting to the Desired Consistency
Both the level of sieving one does and the consistency they choose to work with the local clay in is entirely dependent on their personal goals and desired uses of the material.
As a Slip or Terra Sig:
I used an 80 mesh sieve to remove both organic matter and any sand and silt. I then stored this lip in a closed container so that no moisture would evaporate. The method of water suspension that I use suspends the very fine particles within the clay that is used for terra sig. To collect the fine particles that sit on top of the settled clay, I would need to skim off or siphon the finest particles from the settled container
As a clay body:
I used a 40 mesh sieve to remove organic matter and more silt and fine sand. After which, I allowed the water to evaporate naturally until the clay was very soft, but malleable. From here, I wedged the clay until workable and incorporated.
Additional considerations about processing:
The sand and rocks removed during the initial processing can be used in terms of grog or sculpturally.
One may want to test as-is with zero processing. (Both as a slip and a clay body
Local Clay: From the Earth to the Kiln
Whisper Creek (B)
Left: (A) Slip was applied to leatherhard mid-fire porcelain and fired to C/07. Right (A) Slip was applied to bisqued mid-fire porcelain and also made into a cone, both fired to C/6.
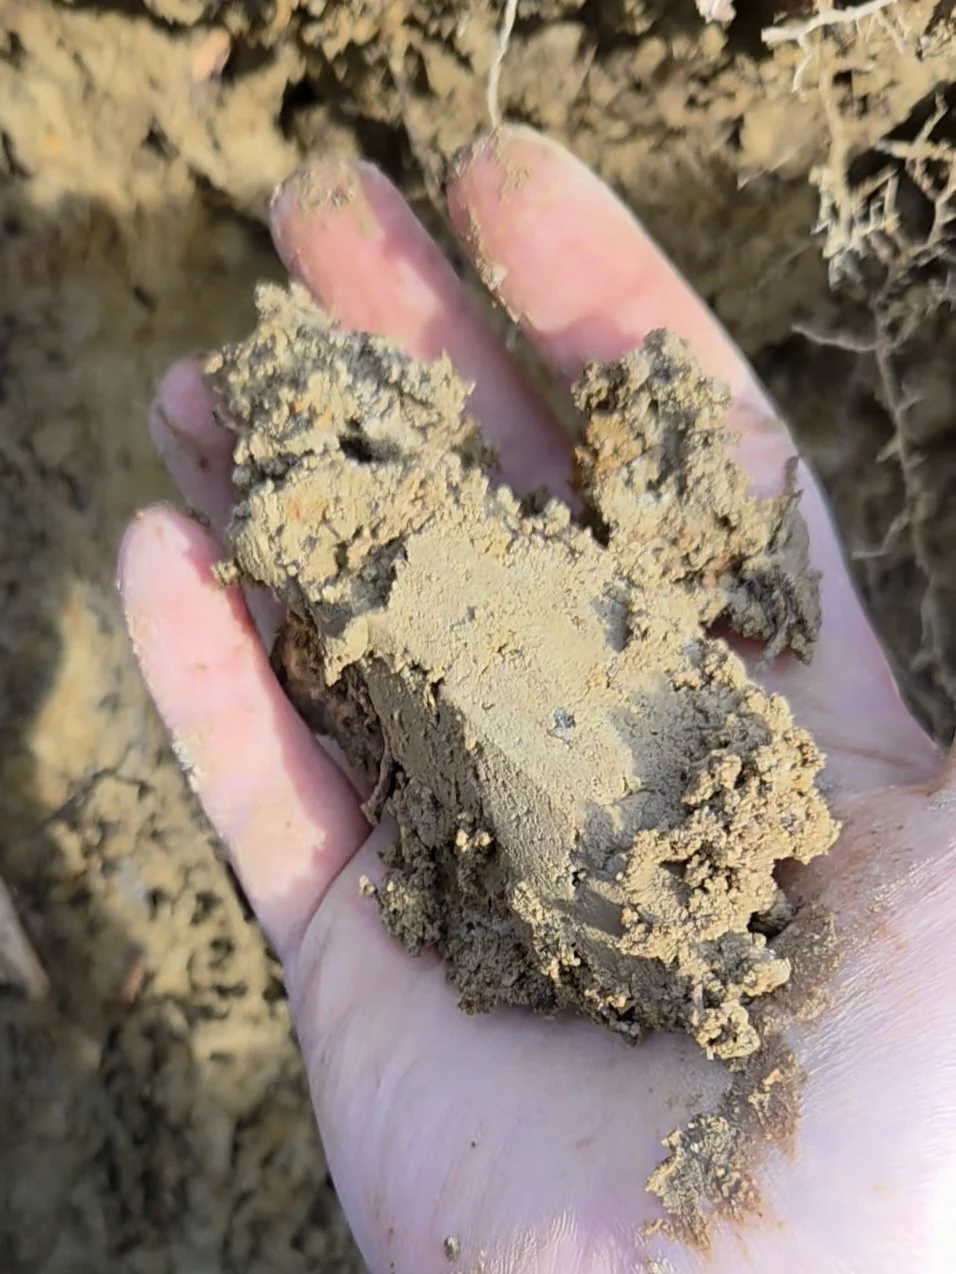
C/6
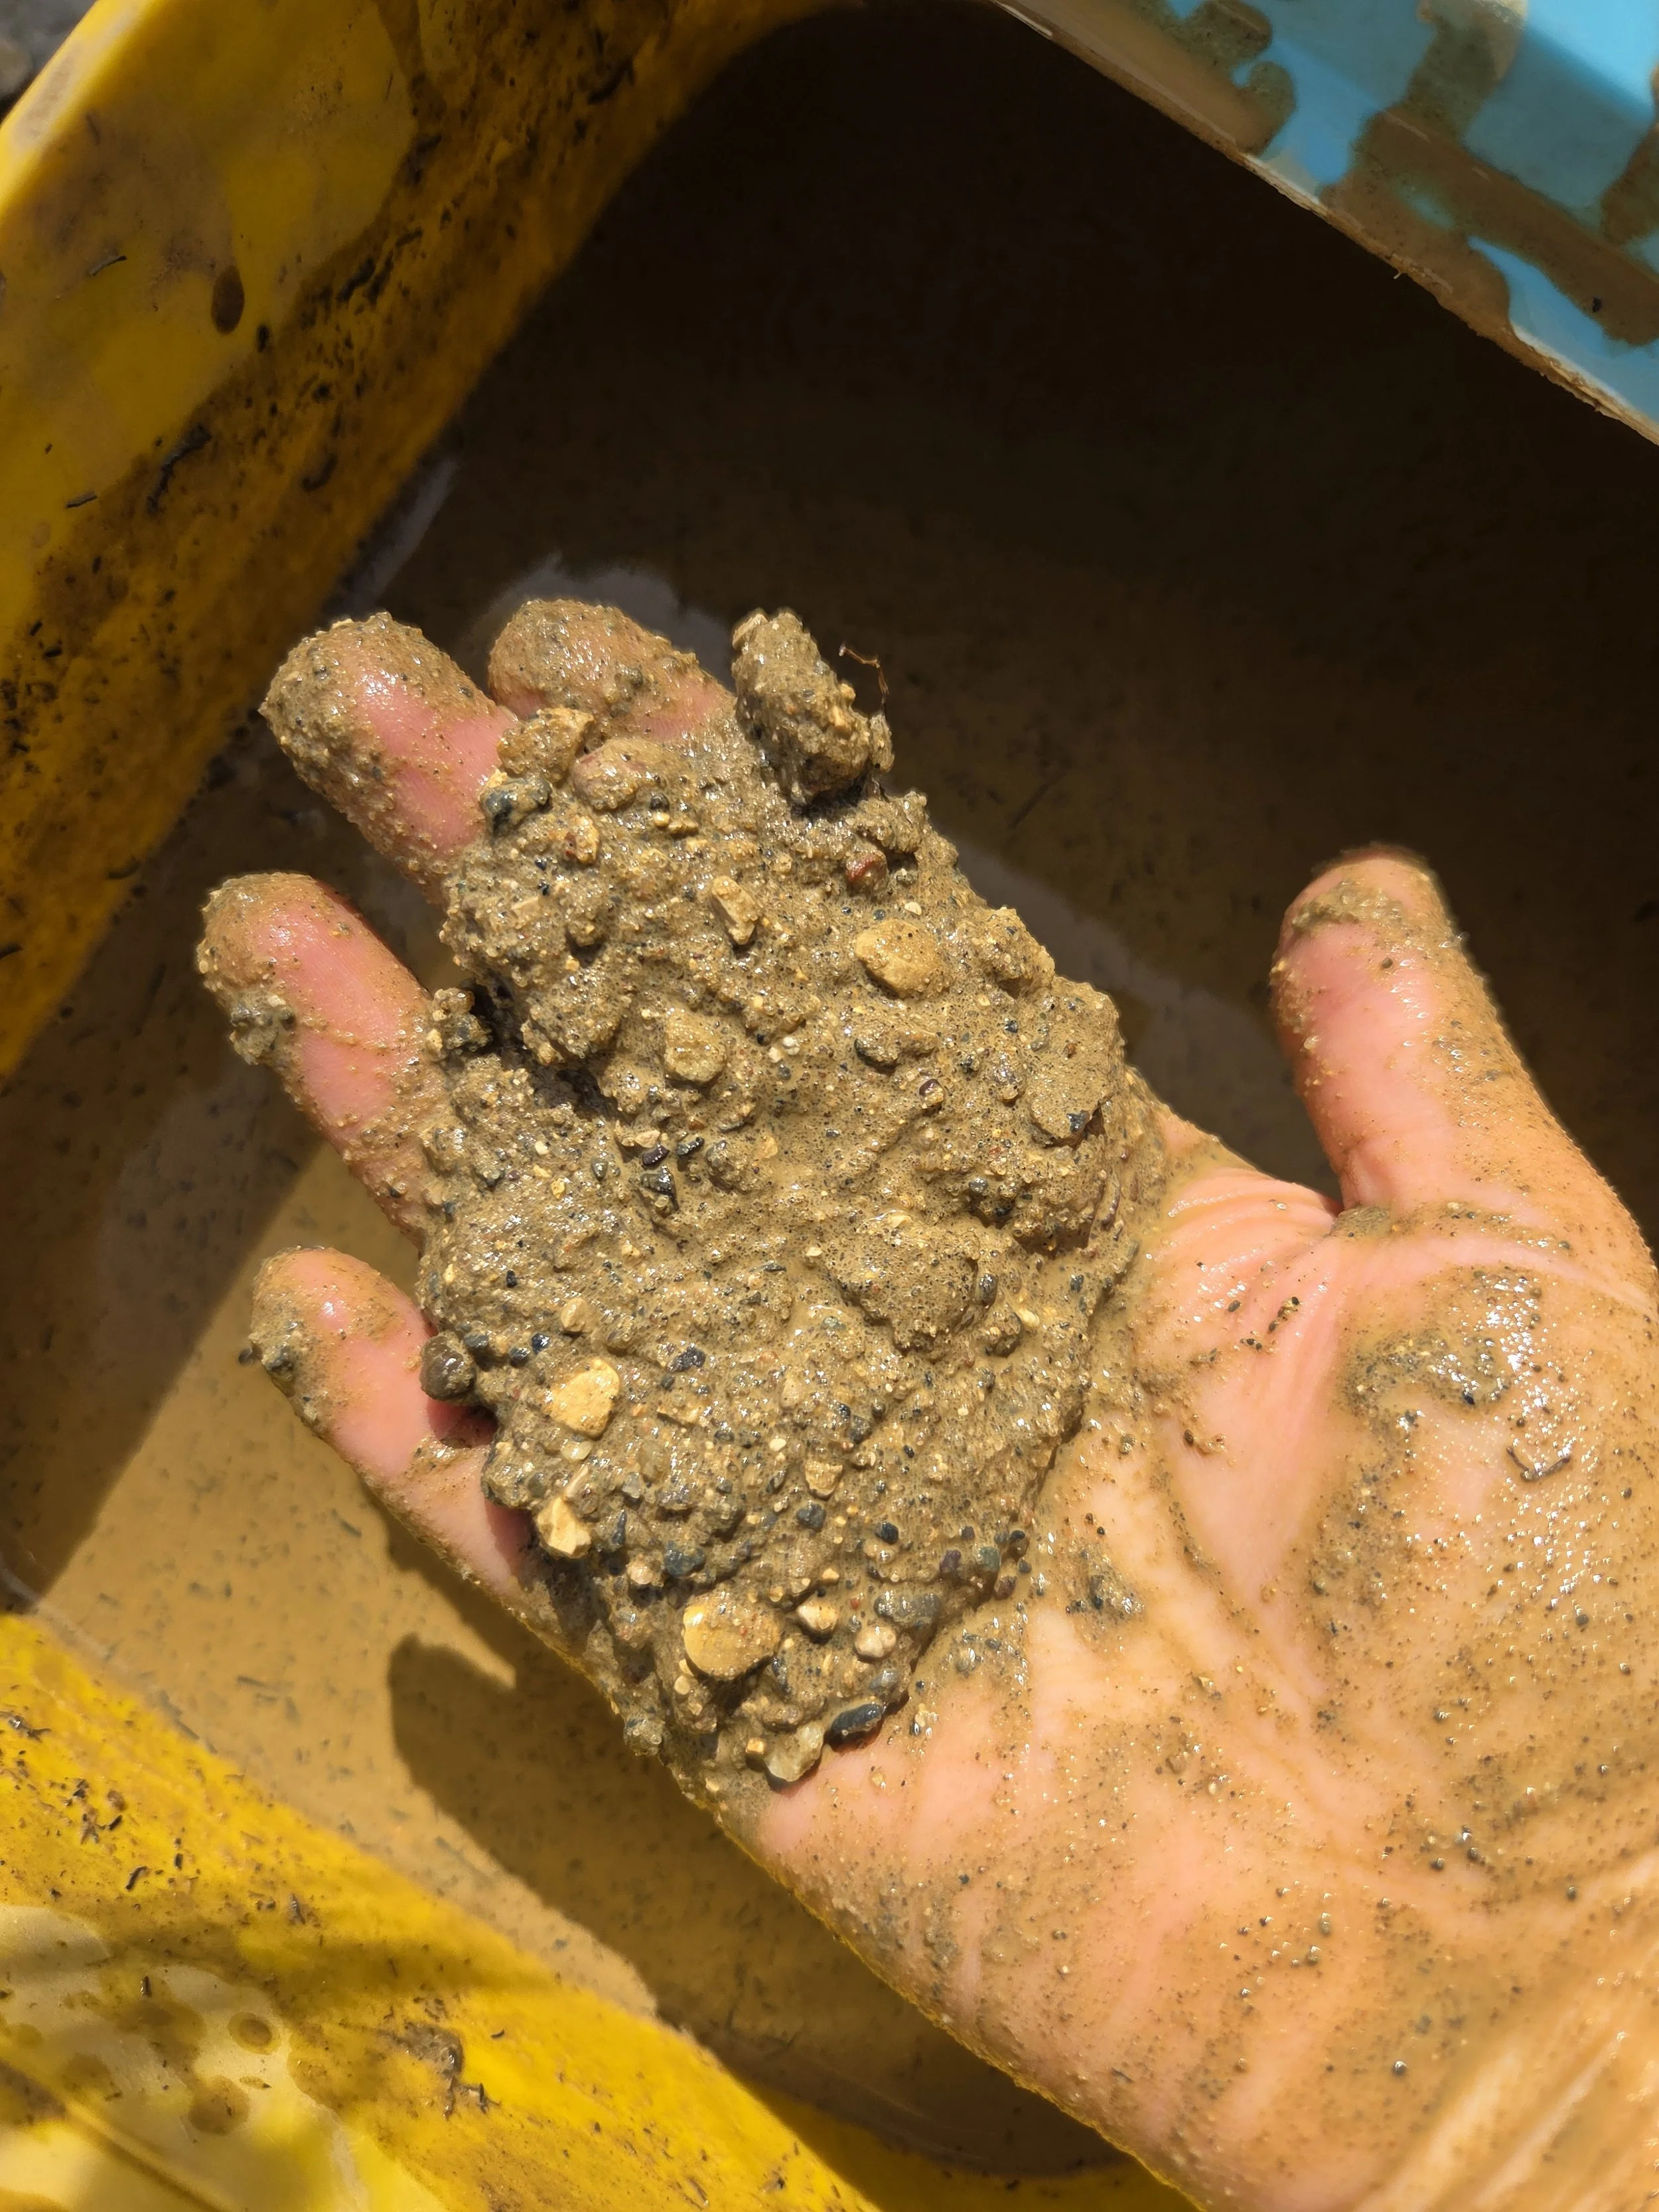
Processing: Water Suspension
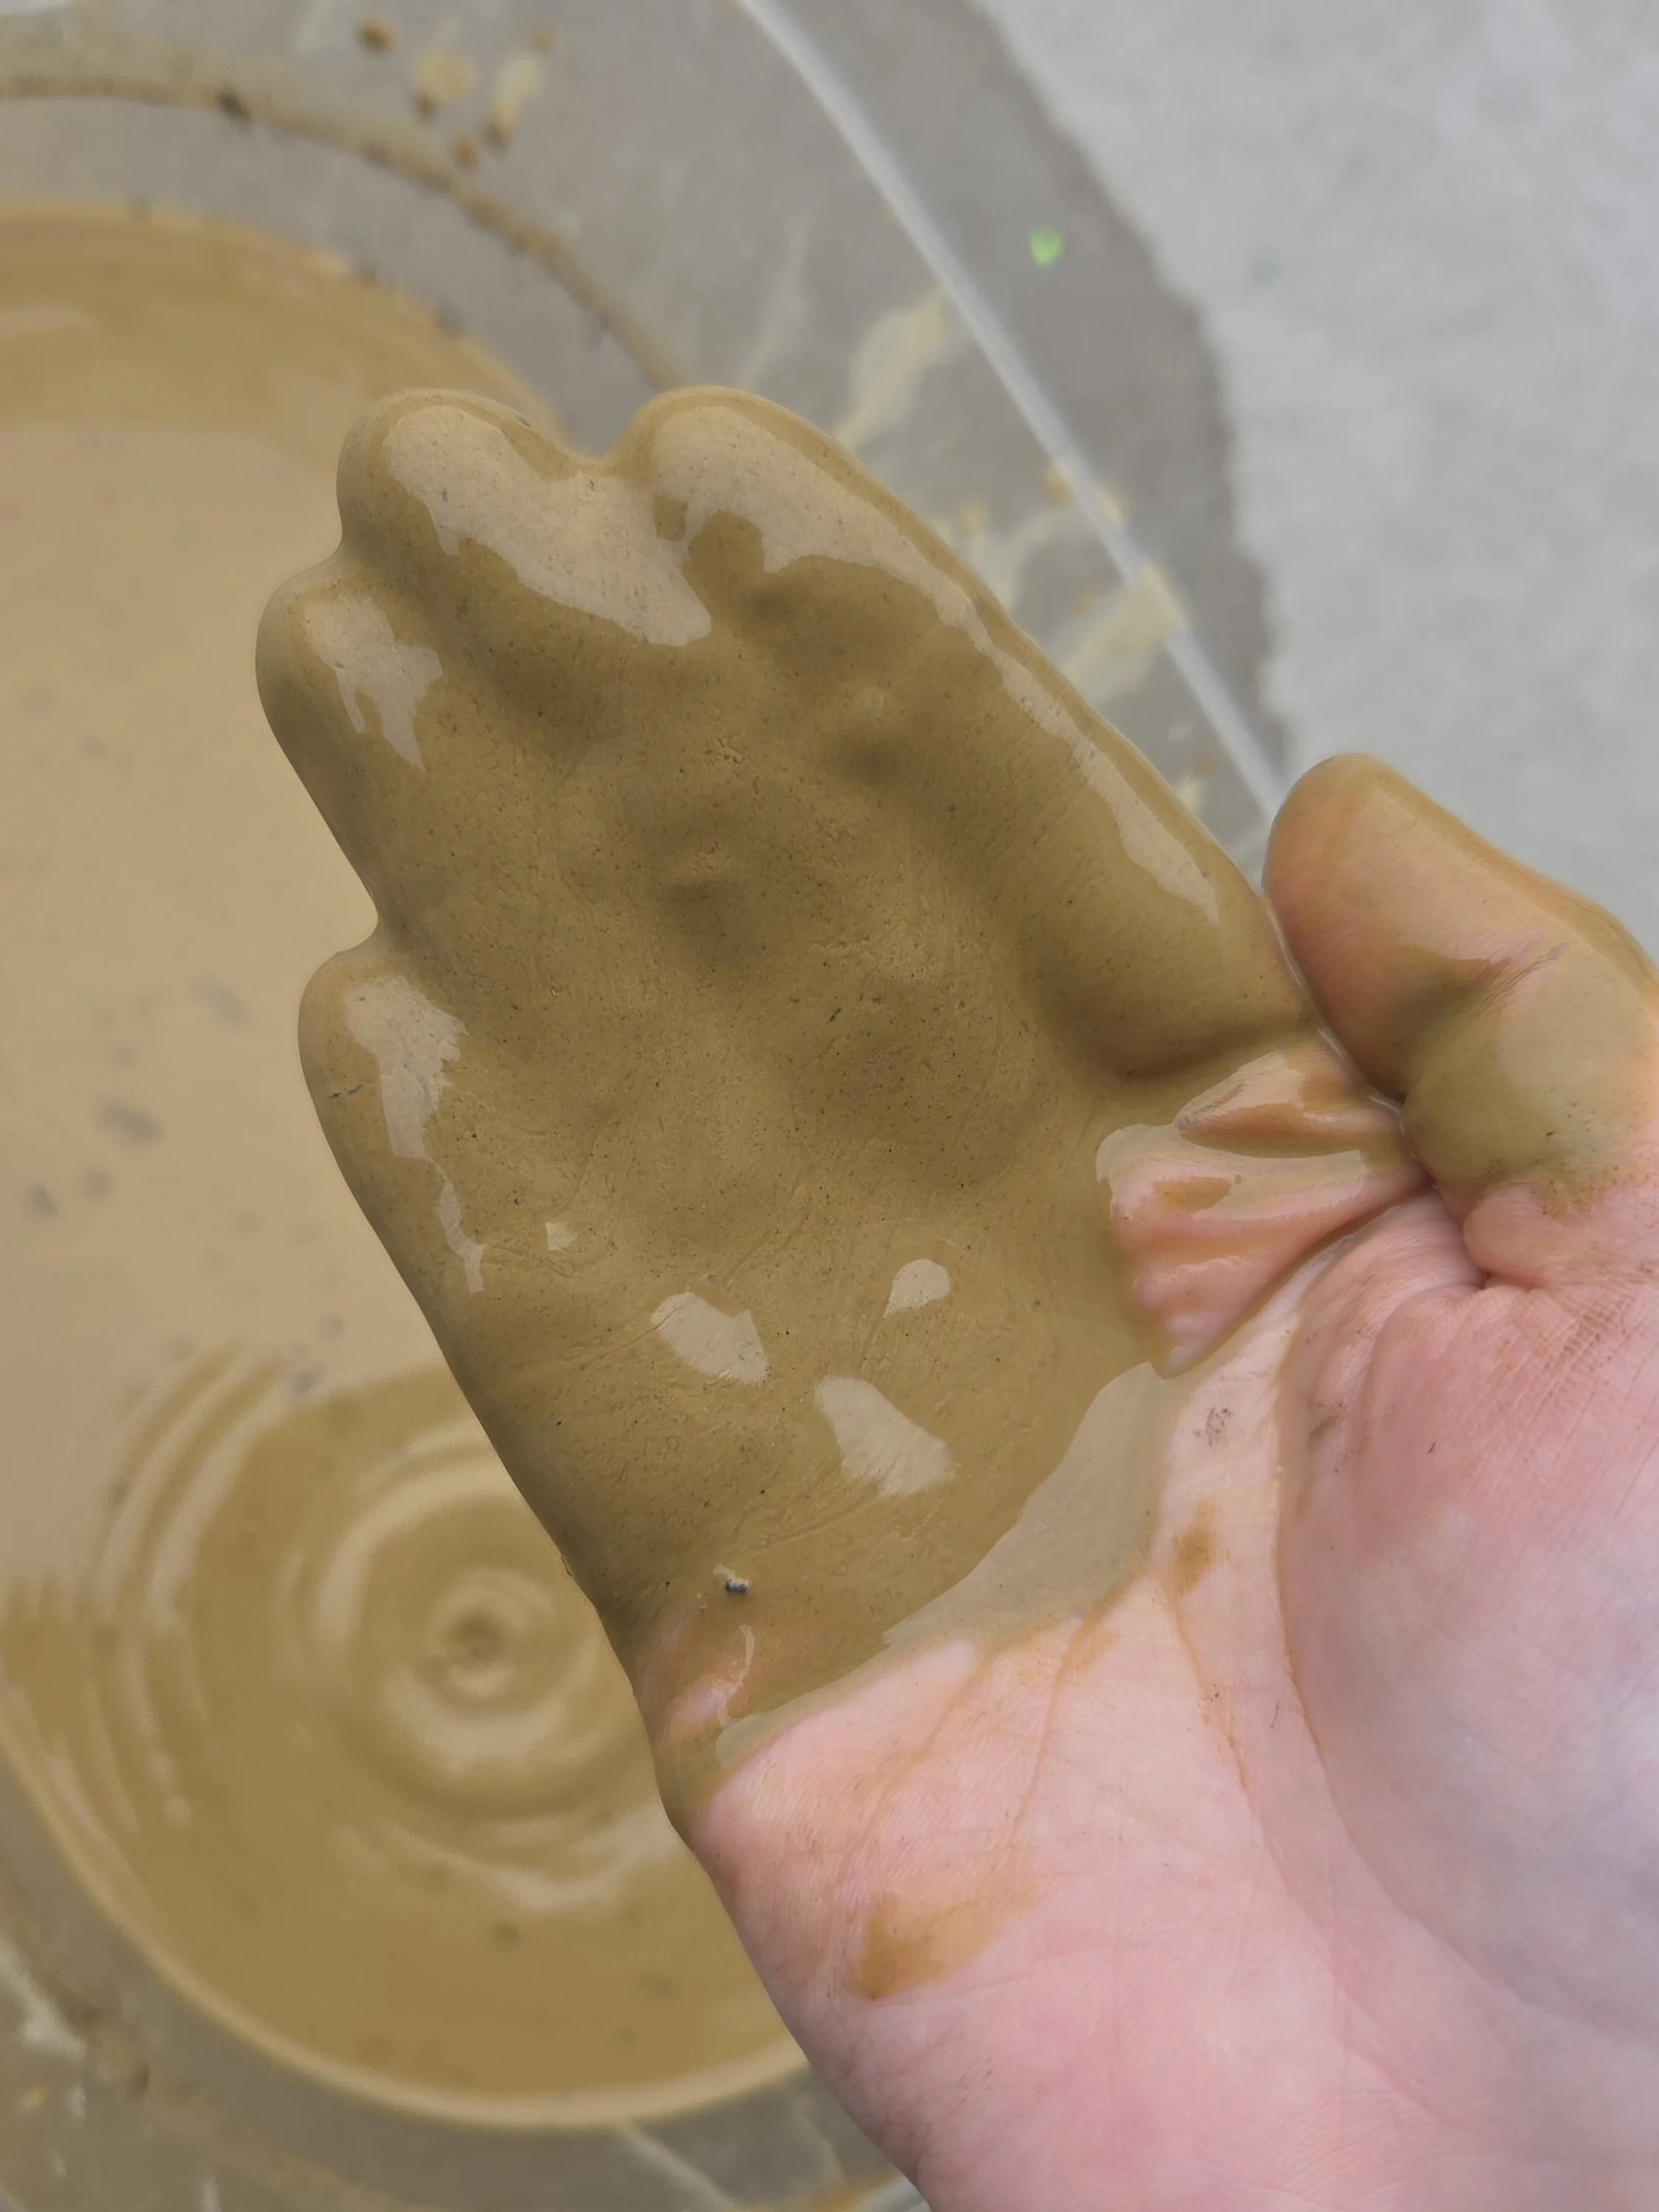
The way I processed this harvested clay was primarily through water suspension. To begin this process, I added water to my bucket of clay and filled it several inches above the clay. Then, using my hands, I broke up the clay beneath the water to release the fine clay particles from sand and rocks, and to separate clay clumps. After creating this slip (whole milk consistency) I let it rest for several minutes before pouring the slip into a new bucket. The resting time allowed for rocks and sand to settle to the bottom so that when I poured out the slip, the large particles remained at the bottom. From here, I allow this secondary slip to rest for a couple of hours before pouring it again. This second pass removes finer silt, which is granules of the same mineral sources but with larger granules. Silt removes plasticity in clay but may increase firing threshold. (hypothesis: to be tested)
Left: The Rocks, sand, and silt that settle from the initial slip
Right: The finer silt that settles from the secondary slip
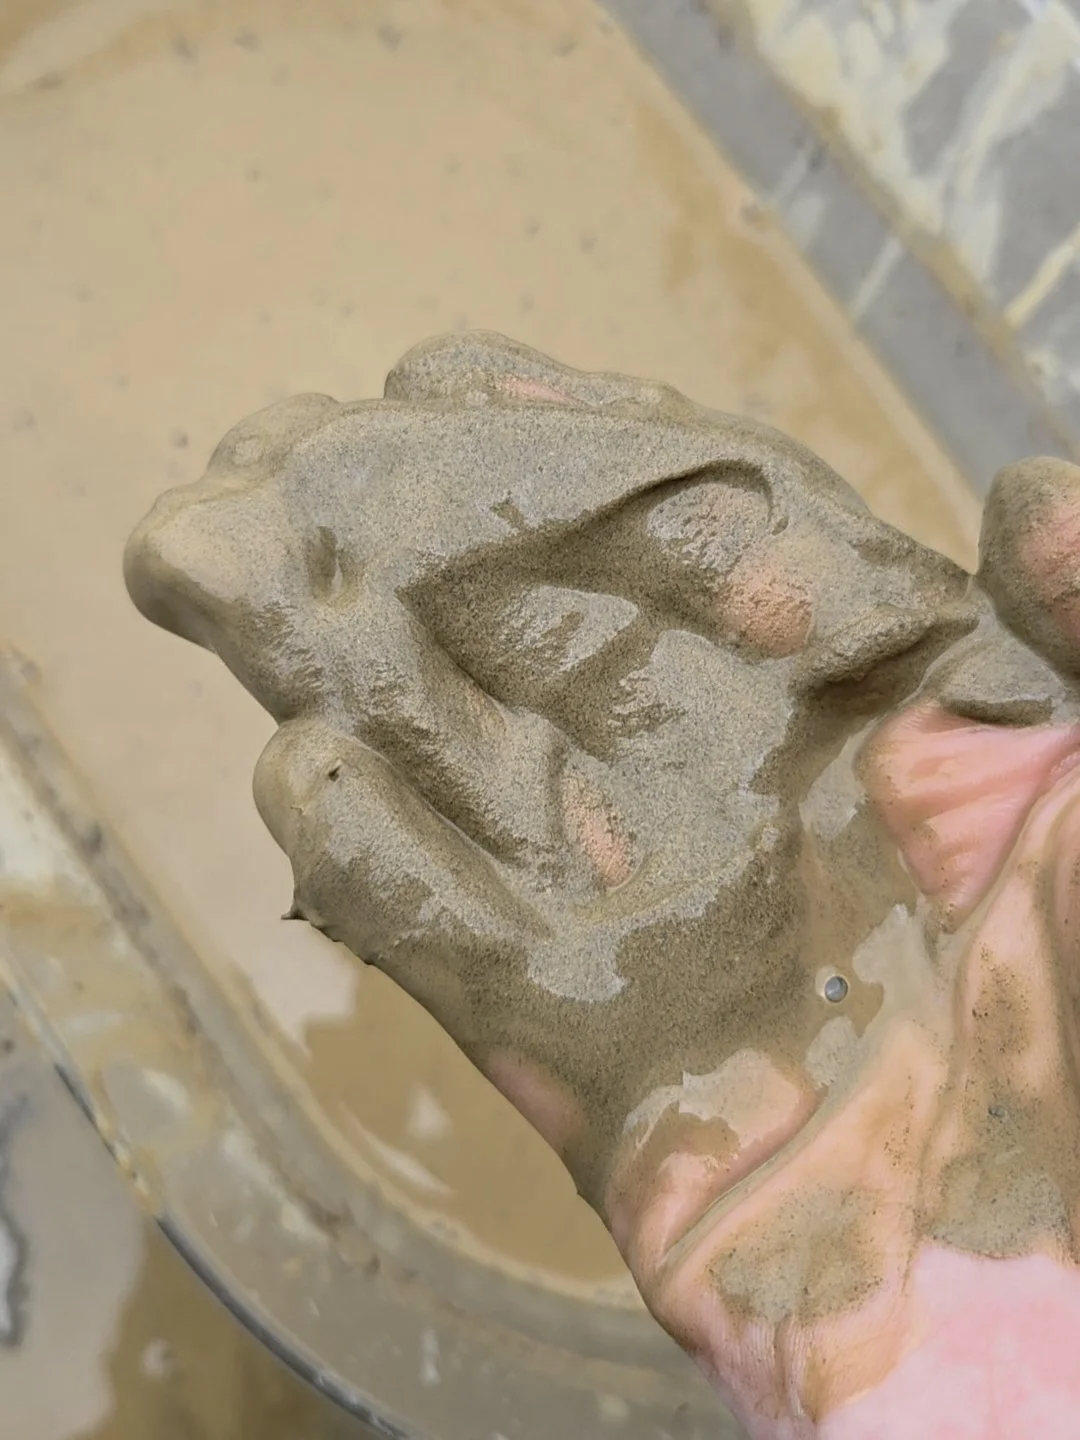
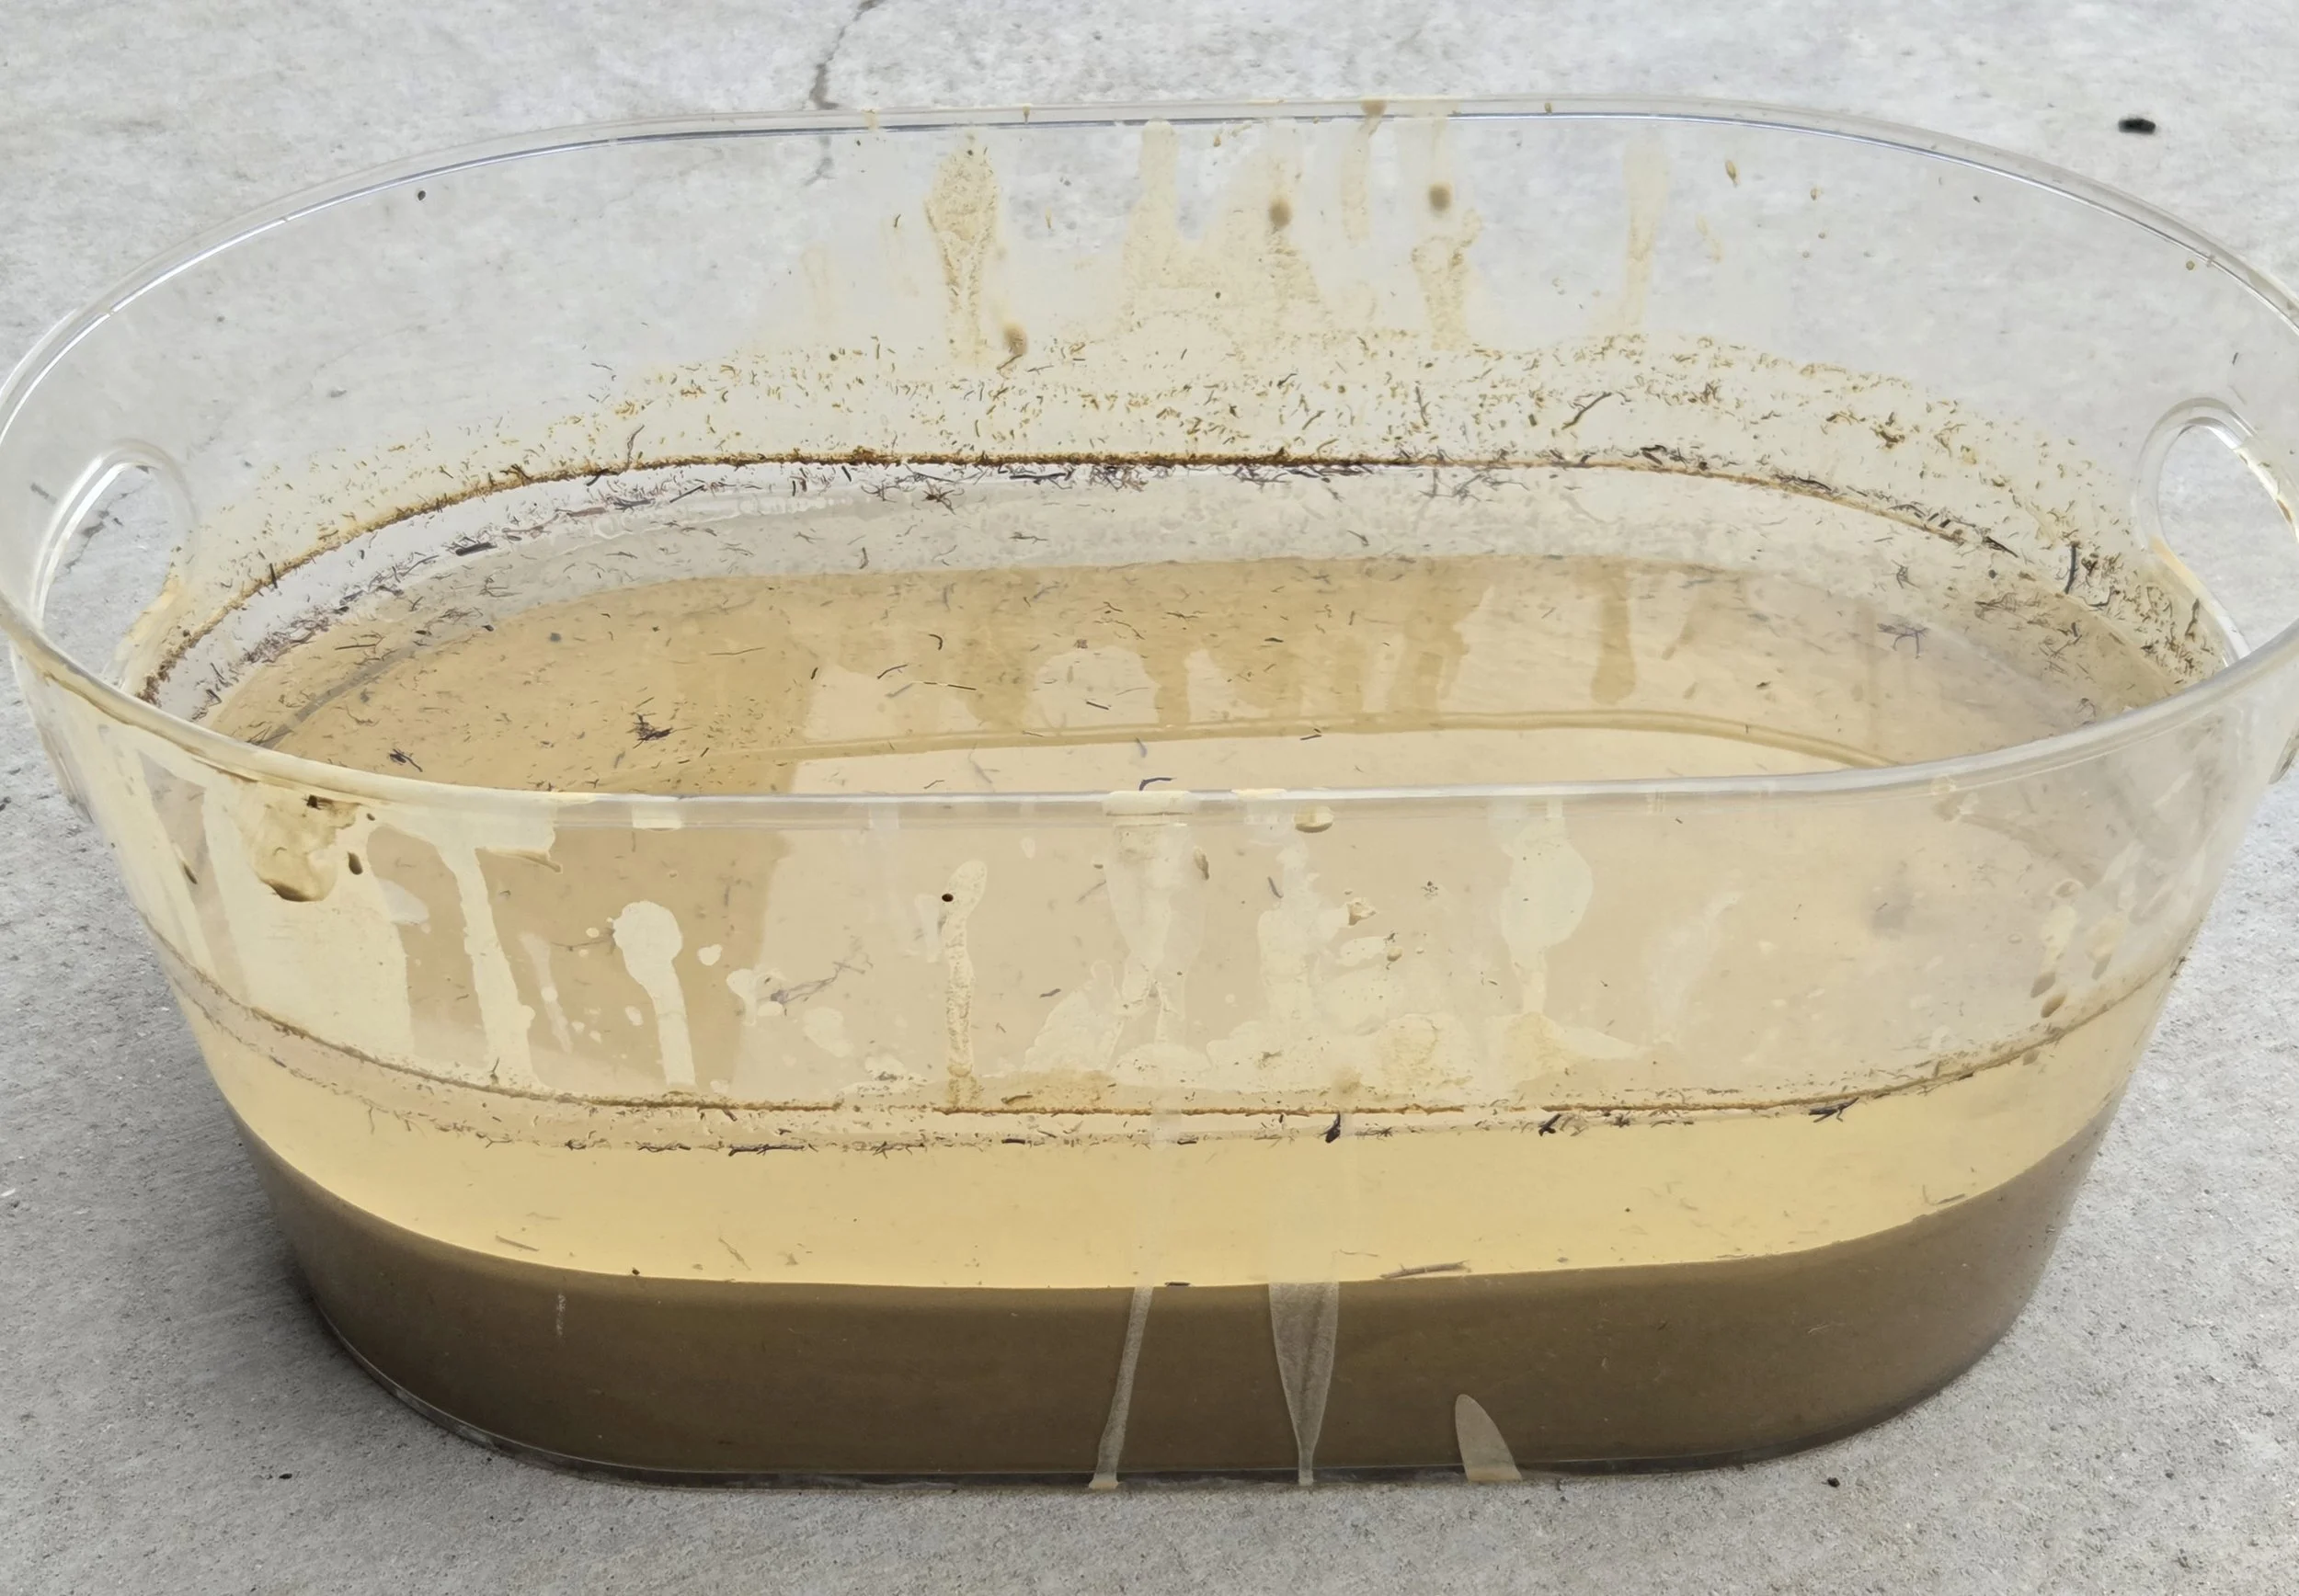
After several days, the clay particles fully sank, leaving water and organic matter on the surface. I poured out the water but was careful not to spill any of the terra sigilata finest particles
Testing the Clay’s Plasticity:
Wedging Processed Local Clay: